
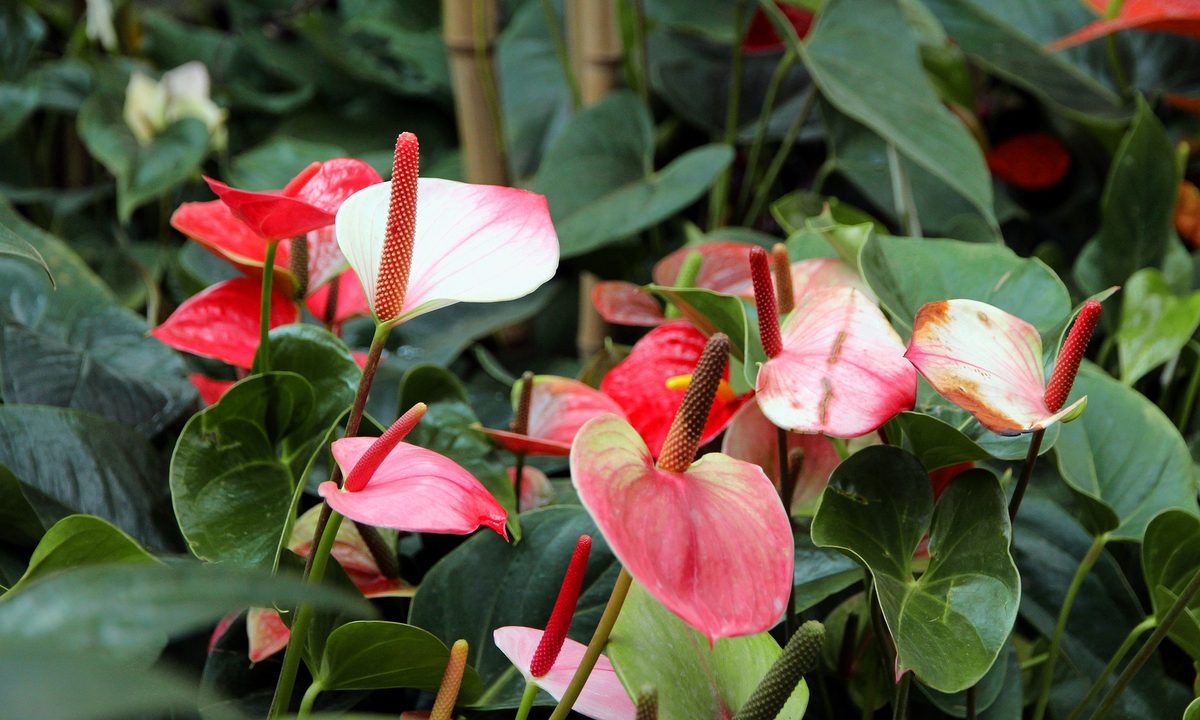
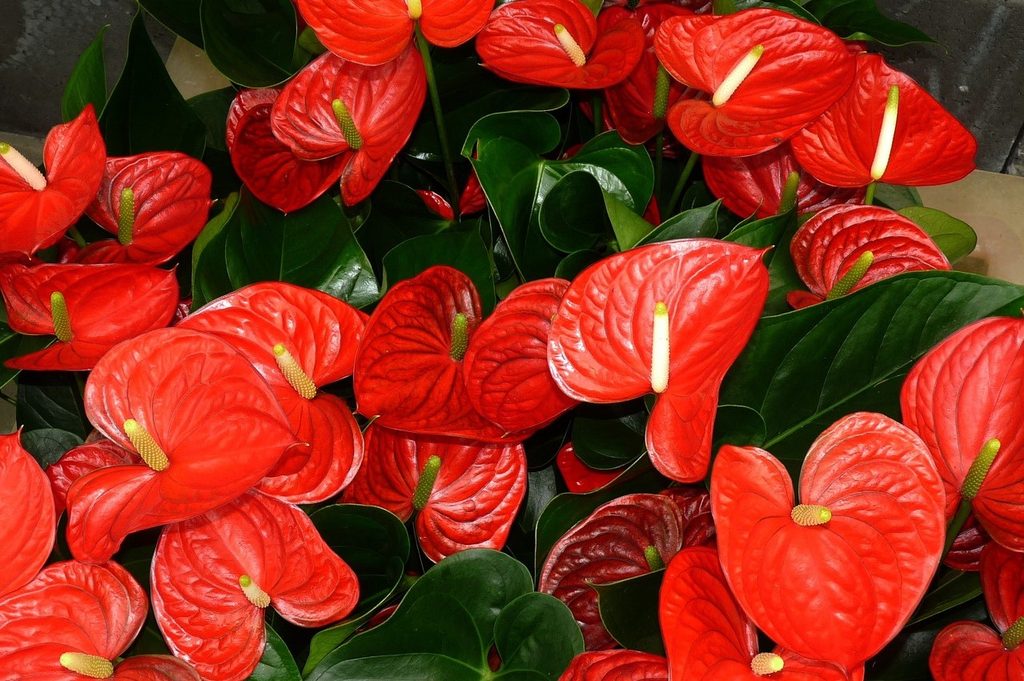
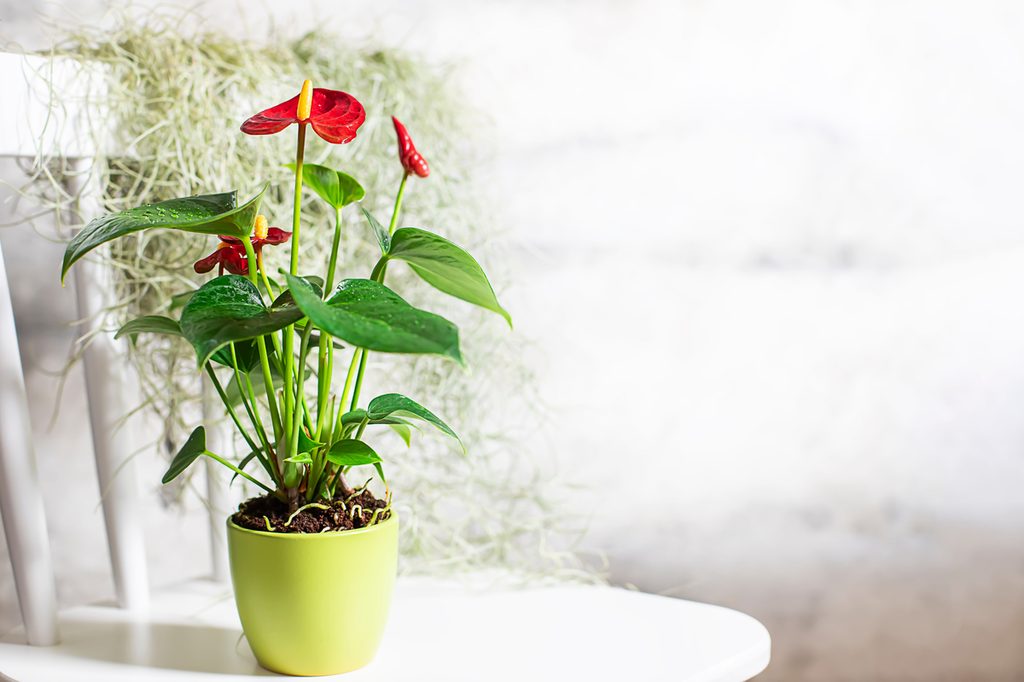
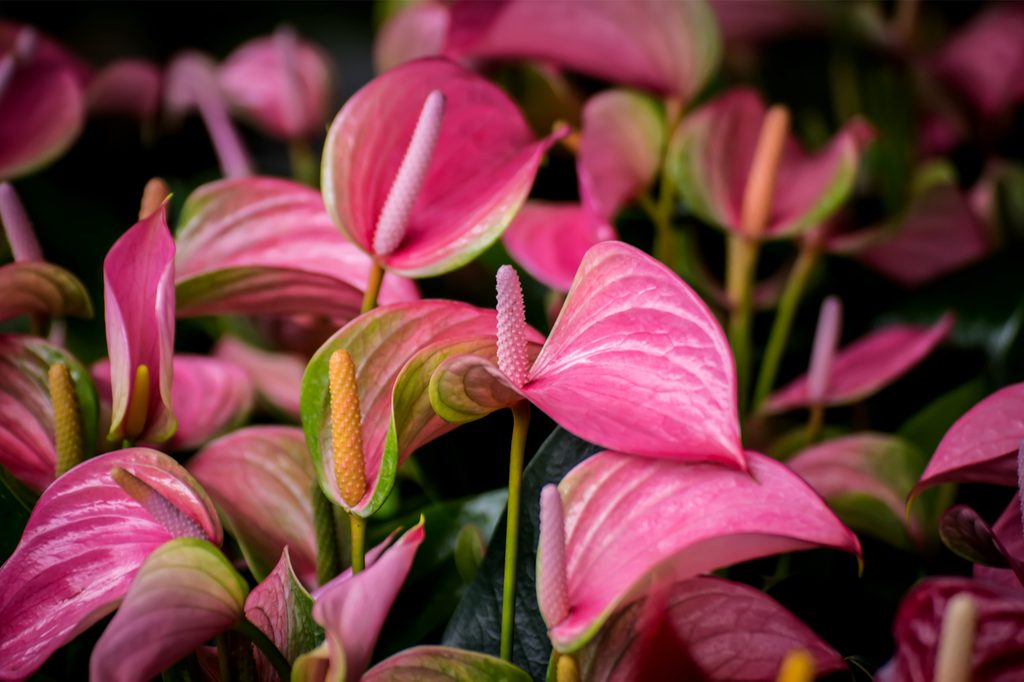
Anthurium plants, or flamingo flowers, are some of the most stunning houseplants that you’ll come across. A beautiful fixture in any home, they feature waxy, heart-shaped leaves and bold, glossy flowers. While anthurium plants are fairly easy to find in nurseries and online, there are other ways to get them. If you or someone you know already has an anthurium plant, you can propagate it to create new anthurium plants. Want to try it for yourself? Here’s everything you need to know about how to propagate anthurium plants.
Method #1: How to propagate an anthurium by cuttings
Can you grow an anthurium from a cutting?
Long story short, yes. Growing an anthurium with a cutting isn’t the most common way to propagate it, but it is possible. You can start a new anthurium with a cutting, but it has to be a specific kind of cutting — you want a stem cutting, not a leaf cutting.
Find an anthurium plant with plenty of healthy stalks and leaves available. You want to take a stem that has a few leaves in addition to one or two nodes, then cut beneath a node. Even better, find a stalk that already has aerial roots growing from it and cut as close to the base of your mother plant as possible. Separate the anthurium cutting from the original plant with sterile pruning shears to avoid spreading any bacterial or fungal infection.
Can anthurium be propagated in water?
The next step is determining where to situate your anthurium cutting. Your simplest option is to place your stalk in a jar of water. However, you can also place your anthurium in a sterile potting mix — some viable options include a cactus soil and orchid bark mix or a peat, bark, and perlite mix.
You want to keep the roots well-aerated since anthuriums are technically epiphytic in nature. This means they attach to surfaces like tree bark and derive nutrients from air and rain without the need for soil. If you go down the potting mix route, make sure to keep the soil consistently damp but never soggy. In addition to sufficient watering, you can also leave a clear plastic bag over your plant to increase the humidity.
If you propagate your anthuriums by way of cuttings, you may have a long road ahead of you. Anthuriums can take a few months to reach a mature size.
Method #2: How to propagate an anthurium by root division
How do you split an anthurium?
The easiest way to propagate an anthurium is through root propagation. In fact, you can divide your anthurium into as many plants as possible as long as each section has a healthy root system. If you’ve got an overcrowded pot, split it up during early spring for the best results. Be careful to remove each section to retain fleshy roots and growth points as you cut them apart with a sterile knife or pair of pruning shears.
Place your separated plants into a peat-based potting mix and leave them in medium light and temperatures above 70 degrees Fahrenheit — keeping a heating pad underneath your freshly potted anthurium can also help with root development. And last but not least, water your soil consistently until you notice roots forming.
Method #3: How to propagate anthuriums by seed
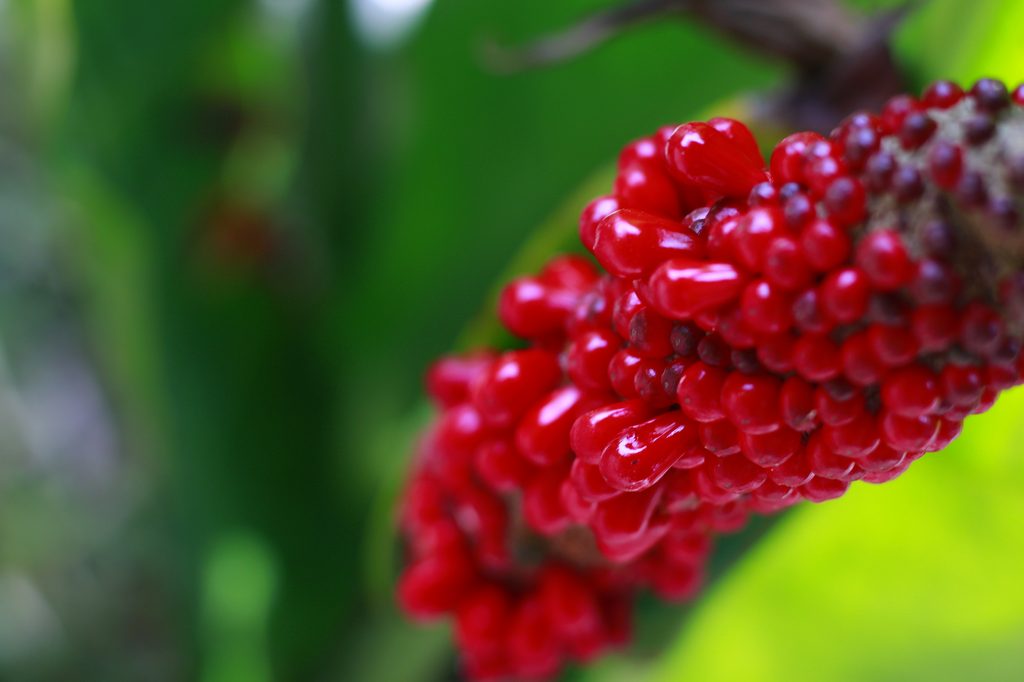
It’s very much possible to grow anthuriums by seed, but it’s far from being the easiest option on this list. If you’re lucky enough to have an anthurium that yields berries, you can pluck the berries from the spadix and squeeze the fruits to harvest the seeds. If you don’t see any berries yet, you can delicately cross-pollinate pollen from two different plants with a paintbrush. If you’re lucky, berries will start to form.
After collecting your anthurium seeds, plant them in damp vermiculite or peat moss in standard germination trays made from plastic or peat. You can use a clear plastic cover to create a humidity dome and remove this contraption once seedlings start popping up. The germination process takes about a week or two, and you want to leave your plants in a warm, well-lit area. When the seedlings outgrow the cells in your germination trays, you can carefully move them into more spacious nursery pots.
When can you repot your anthurium propagations?
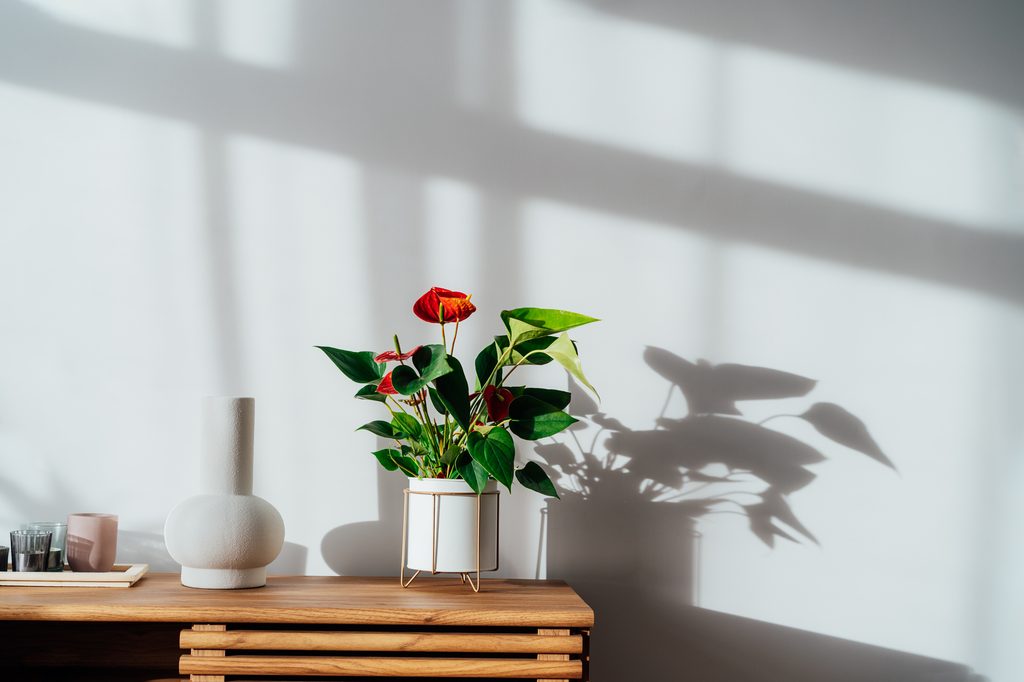
Now that you’ve got a new anthurium started, you might be thinking about placing it into a more permanent planter. The best time to do that is around spring or summer, or as your plant is growing prolifically during the growing season. Regardless of the time of year, you want to make sure that your anthurium has a healthy root system so that it doesn’t experience too much transplant shock when you move it.
Generally, you don’t need to be in a rush to repot your anthurium unless it’s tightly packed into its pot or has roots poking out of the draining hole or on the soil surface. Most anthuriums only need to be repotted every other year, give or take. As you wait for healthy roots to grow, consider placing your plant in a cover pot if it’s situated in a plain nursery pot.
Common problems when propagating anthuriums
If your propagated anthurium is struggling to thrive, there are a few common problems that could be occurring. One of the most common is a lack of light. Like other young plants, newly propagated anthuriums need plenty of bright, indirect sunlight in order to grow. While mature anthurium plants can tolerate some shade or direct sun, newly propagated anthuriums are more sensitive. Temperature may be another factor. Anthuriums need to stay warm, and young anthurium plants are extra sensitive to drafts. Water is another important thing to monitor. Keep the soil moist but not soggy as your anthurium plant develops its root system.
Pests can also cause problems for your propagated anthurium plant. Spider mites, mealybugs, and aphids can cause some cosmetic damage to a mature anthurium plant, but may do more serious damage to a weaker, young plant. This is especially true if your propagated anthurium is already struggling. Be sure to plant your anthurium cutting in fresh, clean soil, and wipe the leaves down with a soft cloth to remove pests and pest eggs.
When it comes to propagating anthuriums, you have three different options: growing cuttings, dividing roots, and starting seeds. The most low-maintenance option is to divide the roots, but anthurium enthusiasts can find success when trying out cuttings and seeds. With some patience and careful planning, you can enjoy showy anthurium leaves and blooms before you know it.


