
Plant enthusiasts active on social media are likely familiar with the icon that is Summer Rayne Oakes, a foliage guru who’s best known for her plant videos on YouTube that span from informative houseplant guides to lush greenhouse field trips. Homestead Brooklyn is the general name of her plant project based in New York City — it incorporates many things, from her blog to her workshops. In addition to uploading videos to YouTube, Oakes also runs the Instagram account @homesteadbrooklyn, where she shares her musings about all things foliage-related (as well as pictures of her birds). Over the years, she’s doled out great advice — here are our favorite lessons from her so far.
You can give your plant time before seeking out a new pot.
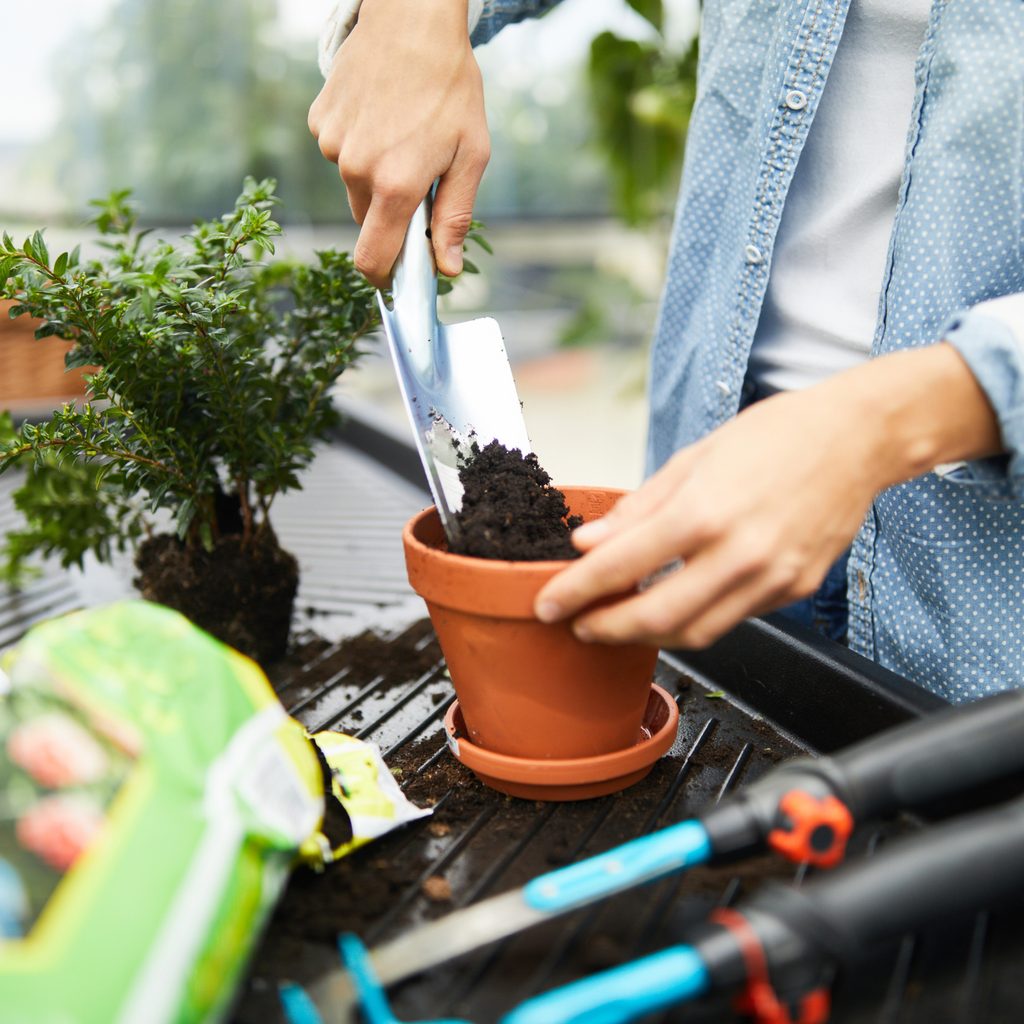
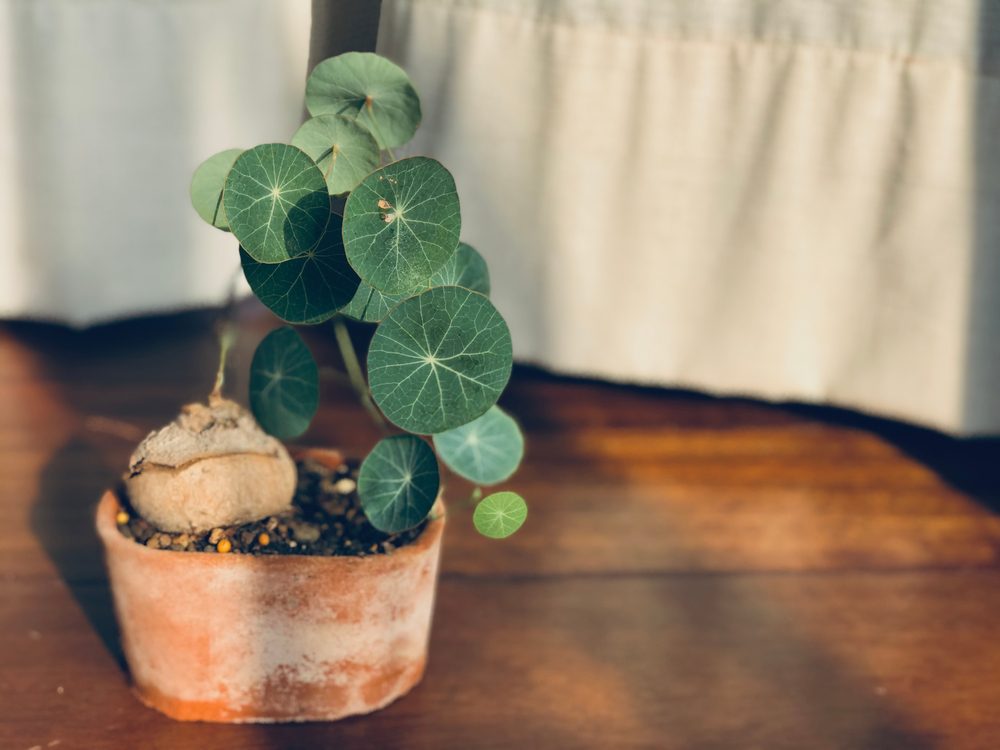
In this clip, Oakes sets out to replant a bromeliad that she’s had for three years. (For full disclosure, it is a paid partnership with Espoma Organic, but the information is helpful nonetheless.) Even as multiple offsets have grown from the bromeliad, she’s left her plant in the same container for years. The lesson to be learned here is that your houseplant will inevitably need a new home, but you can put this task off for a while before facing any lasting repercussions. As a matter of fact, many plants even appreciate being a little rootbound. Oakes writes in her post that she’s enjoyed seeing the roots and plants grow. If you don’t rush to repot your plants, you’ll have more time to enjoy their growth as well. Even though plants may drop leaves or slow down growth when rootbound, most will tolerate being bound to a container for some time.
You will inevitably play plant doctor.
In this post, Oakes reminds plant enthusiasts that they’ll eventually have to tend after a plant in need. It’s not a threat — just the reality of being a long-time plant parent! Yellowing leaves, pests, and rootbound plants are part of the gardening process. Taking time to inspect your plants will help you diagnose problems before they get out of hand. But the reality is that we can often inadvertently put off foliage issues before they become serious. Oakes reminds us, however, that plants are forgiving and resilient — for the most part anyway.
Restore your connection with nature by bringing your plants indoors.
Oakes shares an excerpt from her book How to Make a Plant Love You in this post, sharing how she reconnects with nature by bringing plants into her home. Plants give us not only the joy of greenery but also the calmness of routine. Watering and feeding your green friends encourage you to take time out of your week to care for other living beings.
If you live in an urban area where you may not get as much access to nature, you can engage with the great outdoors from the comforts of your home. And hopefully, that will inspire you to be curious about the world around you and get around to planning those hiking trips.
Get to the root of your plant problems by looking at the roots!
In this video clip, Oakes troubleshoots her leaning money tree and advises her followers to look to the roots when their plants sag or tip over. In general, the roots are a great place to start looking when the problem isn’t immediately obvious. What do we mean by this? Pests, for example, will make themselves known with sticky residue and webbing. But you may need to dig up your plant’s roots to see what’s going on in some cases. A rootbound plant, for example, may start dropping leaves to let you know that it needs more space. When you dig it up, you’ll notice the roots tightly wound together. In the case of root rot, you may also have yellow leaves. But your roots may appear black and mushy if the rot issue has advanced.
In the full video on YouTube, Oakes explains that the issue with her money tree was that the soil surface started to dry out and clump. Parts of the roots weren’t getting enough water, which caused the plant to lose balance and tip over in its planter. Oakes also pointed out that her tree had three stems, deducing that since she tended to water one side only, some of the roots weren’t getting enough water as a result. As a solution, she repotted her money tree by adding fresh soil and repositioning her roots before watering them into place.
Summer Rayne Oakes has been, and will continue to be, a leading name in the plant community. Whether you’re seeking plant inspiration or troubleshooting tips, you’ll find something to love from her @homesteadbrooklyn account. Between her genuine love for plants and her practical approach to sharing her knowledge, she has a lot to offer fellow houseplant enthusiasts through her content.


