
When and how to transplant tomato plants for the best results

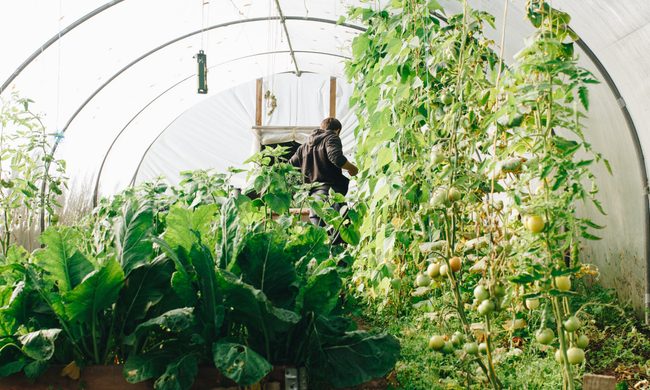
There’s a time in every gardener’s life when they try to grow their own veggie plants from seed. This is a gratifying process, and there are many benefits to growing your own seed starts. One of those benefits is bigger and healthier plants. By growing your own baby tomato plants, you can ensure that the plants are well cared for, never given anything you don’t want them to have, and transplanted in just the right way at just the right time for optimal plant health. So how do you transplant tomato plants to ensure they’re happy and healthy and live to produce lots of yummy tomatoes for your home?

baby tomato plants

How do you transplant a grown tomato plant?

If you’ve never transplanted tomatoes before, the idea can be intimidating. You have all these tiny plants that you’ve cared for over the last several weeks, and now it’s time to pluck them out of their nursery pots and plop them into the outside soil where they’re exposed to sun, weather, and critters. Luckily, you’ve cared for them so well that they’re healthy and robust plants that will be able to handle anything nature throws at them.

Step one: Harden the plants

Hardening the plants is a term gardeners use when talking about the process of acclimating a greenhouse-grown plant to outside conditions. Typically it refers to sunlight, but it could also refer to wind and other weather that could harm the plant. About a week before you’re ready to transplant, you’ll want to harden your baby tomato plants by exposing them to sunlight at increasing increments each day. For example, day one should be about 30 minutes, then 45, then 50, and so on until the day of transplanting. If you don’t do this, you’ll risk your plant being burnt and killed when you transplant it outside.

Step two: Don’t water the plants

Before you start pulling little plants out of their pots, you mustn’t water the plants a few days before transplanting. Wet soil can make the transplanting process much harder on you and the plant. Dry soil falls away easier and is less likely to break off roots as you move the plants to their new home.

Step three: Prepare the new soil

The new location for your tomato plants will need to be prepped before you get all those babies out of their homes. Whether you are planting into the ground, a raised bed, or a pot, you’ll want to amend the soil to guarantee that the plant has many nutrients to soak up. It also is easier if you dampen the soil right before transplanting. Damp soil is much more manageable and more easily manipulated around the plant.

Step four: Plant deeply

As you gently pull out the baby tomato plants, you’ll want to shake off the old soil to expose the roots. This will ensure the plant has access to the new soil and nutrients you’re about to provide it with. 

Additionally, you’ll want to plant the tomato baby deep to ensure it has a solid base to withstand the weather it’s about to endure. This simply means finding the bottom third of the leaves, plucking them off, and then planting it up to the bottom of the leaves you’ve left behind. It will not harm the plant.

Step five: Now you can water

Now that the plants are in their new home and you’ve pressed the soil down around them to give them a strong support system until they grow more roots, you’ll want to water them deeply. Soak the soil around the plant like there’s just been a three-day-long rainstorm. Tomato plants love to be watered deeply.

tomatoes on the vine

When should you transplant tomato plants?

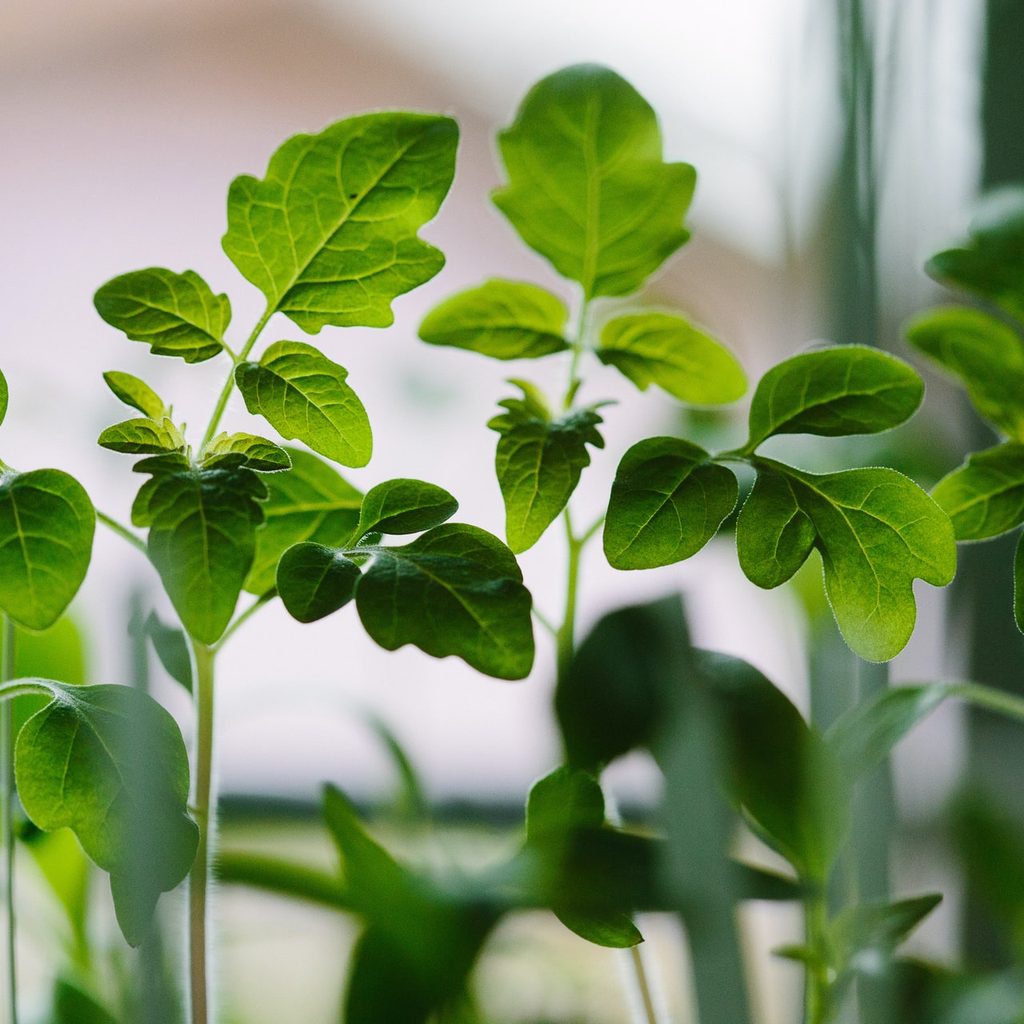
There are a few things to consider before deciding if it’s time to transplant your tomato babies into the great outdoors. First, you’ll only want to transplant them if the temperatures outside are above 50 to 55 degrees at night. Second, the tomato plant should be 4 to 5 inches tall before you consider transplanting it. Lastly, never transplant without hardening the plant first. Even if it’s 5 inches tall and the nights are 60 degrees out, harden your baby plants.

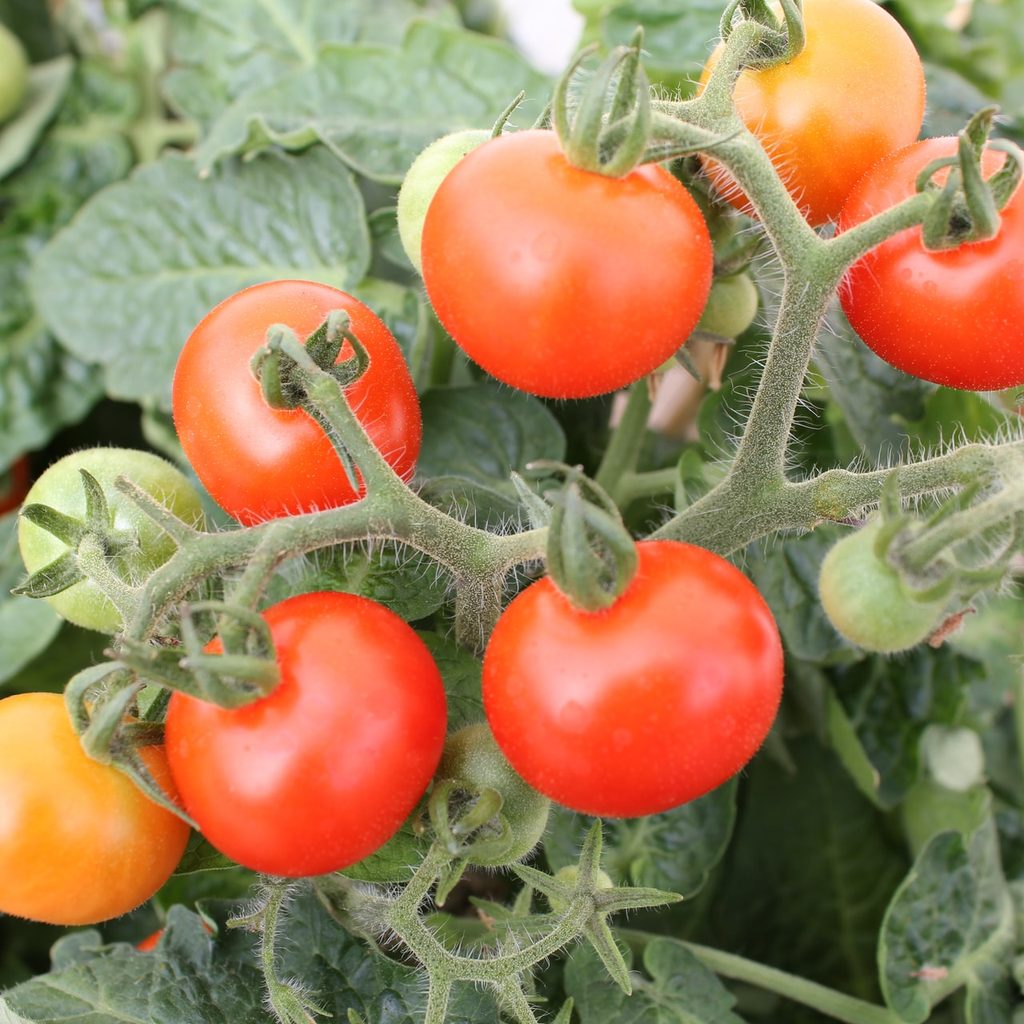
It would be terrible if all your hard work in growing and caring for those beautiful little tomato plants were ruined by a poorly executed transplant. Use this guide to ensure you and your plants stay happy, and you’ll have a summer filled with delicious, fresh, home-grown tomatoes.

Editors' Recommendations

Rebecca Wolken
Former Digital Trends Contributor
Rebecca's has written for Bob Villa and a Cincinnati based remodeling company. When she's not writing about home remodeling…
3 of the best solar garden lights for a bright and eco-friendly yard
outdoor sitting with lights

It's important to decorate your garden with stunning flowers and veggies, but it's also vital that your garden be well lit. Whether for parties, late-night harvesting, or quiet nights reading in the warm summer air, solar lights make a fantastic addition to any garden. They can transform a backyard into a cozy after-dinner area, light up a walkway for safe navigation, or bring attention to a favorite tree. Here we'll be going over the essential considerations to keep in mind while shopping for solar garden lights. We'll also include a few of our favorites you might want to add to your landscaping.

What to consider when buying a solar garden light
Not all solar garden lights are created equal; there are a few things you'll want to keep in mind.
Cost
The cost is one of the most important aspects of purchasing a new item for almost everyone. Although solar garden lights are very similar in price, it's still crucial to consider how much you're willing to spend on lights before you go looking. Having a better idea of your budget will help you find the ideal solution.
Ease of install
If you need something easy to put up for a party this weekend, you won't want to buy a setup that'll take hours to put together. Instead, finding a solar light that's easy to install will make life easier and allow you to get back to doing other things like gardening!
Lifespan
Outdoor products never last as long as their indoor cousins, so it's not surprising to find that solar garden lights have a shorter shelf life than other indoor lights. However, this doesn't mean you should have to replace your garden lights every year or bring them in during the winter. Instead, look for a light that can withstand the types of weather you often see and be sure to care for the light properly so it can last a long time.
Aesthetic
Of course, you should like the way your new lights look! If they don't suit the aesthetic of your garden, you'll likely be disappointed and tempted to go looking for other options. So be sure you're looking for a light that's going to suit the rest of your garden, or at least blend in and not take away from your garden ornaments.
MAGGIFT Solar Pathway Lights
These pathway lights by MAGGIFT are ideal for lighting the way during the darker hours of the day. Whether it's the path from the driveway to the house or the deck to the flower garden, these lights will soak up sun rays and provide you with plenty of light to see your way.

Read more
A complete guide to cleaning your greenhouse for beginners
greenhouse

When you first installed your greenhouse, it probably looked like a glittery glass castle for your lovely plants to grow and live in. However, weather, soil spills, and birds have made their mark on your greenhouse over time and now it's probably looking cloudy and nasty. So how do you clean a greenhouse?
Why worry about a clean greenhouse?
You may be wondering if you even need to worry about cleaning your greenhouse. If you don't mind the dirty look, maybe you could leave it as it is? Unfortunately, it's much better for your greenhouse and your plants if you give the greenhouse a deep clean at least once a year. It'll make it easier to use when it is clean and organized, and the walls of the greenhouse need to be clear so they can let in as much light as possible. Additionally, a clean greenhouse is less likely to spread pests and diseases to your precious plants. And lastly, things last longer when you care for them and greenhouses aren't cheap.

When should you clean a greenhouse?
There's no right time to clean a greenhouse; whenever you can is better than not at all. However, we suggest cleaning it when there isn't so much to do in the garden and it isn't so hot out. Usually, the fall is when the garden chores slow down and it starts to cool out, making cleaning the greenhouse much easier on you.
What is the best way to clean a greenhouse?
You can use whatever cleaning method works for you, but here is our step-by-step process that we recommend.
Step one: Empty the space
Of course, we know you can only empty a greenhouse so much if you have tender plants that need to stay warm. But as much as you can, take out the tools, buckets, and bags of soil. It will be much easier on you if you don't have to fuss with items in your way as you clean the walls and floors. This also allows you to go through what you have and declutter if necessary.
Step two: Rough dusting
Over the season, spiders and bugs and maybe even some mice have tried to make homes in your greenhouse. This has probably led to a few cobwebs and dust piles around the corners. You'll want to remove these large areas of debris before you start the deep cleaning. Use a broom to knock down the cobwebs and sweep up the floor; you've probably spilled some soil during the summer!
Step three: Clean the walls
The panels of your greenhouse will now need to be deep cleaned. You can use a bucket of warm water and a sponge to wipe them down, but we also recommend bringing a long-handled brush to make life easier. This way, you can dip the brush into the bucket of soapy water and scrub down the walls with the long-handled brush. You'll be able to reach every inch of the walls without killing your back.

Read more
Good, better, best: The perfect gas grill for your outdoor kitchen
best outdoor gas grill woman grilling outside

Grills these days do a lot more than cook Independence Day hot dogs. Viewed as a more flavorful and healthful alternative to some other, more conventional cooking methods, grilling is the centerpiece of many a culinary adventure, from the everyday to the downright fancy.

Does any of that sound appealing? You may be ready to make a long-term investment in a heavy-duty gas grill. A solid gas grill is easy and economical to use, stands up to wear and tear over time, is fairly simple to use and maintain, and can provide the kind of flexibility and functionality you need in an everyday cooking space.

Read more