
What you need to know about light deprivation (or ‘light dep’) greenhouses and how they work

Here are the benefits of light dep greenhouses and ways to set one up

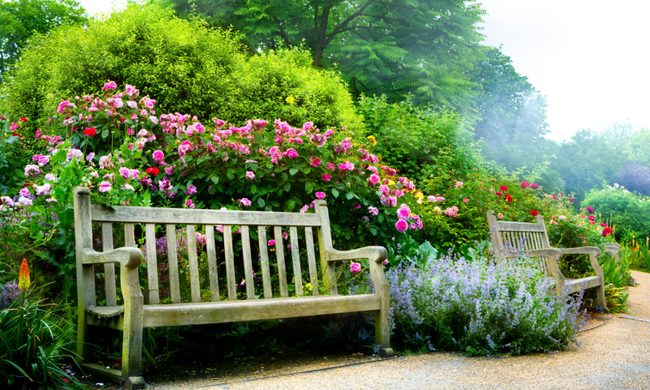
In a horticultural context, the term “light deprivation” may be a little daunting to the uninitiated. After all, isn’t light supposed to be essential for healthy plants? But more gardeners than ever are swearing by this approach. It’s a well-established fact that light deprivation can help greenhouses become more productive across all four seasons, including winter; when growing slows down or comes to a halt.

So what is a light deprivation (or “light dep”) greenhouse, and how does it work? Here are all the details for understanding this fresh approach to greenhouse gardening and determining whether it’s right for you.

Three people holding a small wooden crate full of lettuce

How does a light deprivation greenhouse work?

The light deprivation method is designed to manipulate the amount of light that comes into a greenhouse and when with the end goal of controlling the time it takes for plants to reach maturity and flower. This, in turn, creates more harvests, as a large number of plant varieties won’t produce fruit or flowers until the number of sunlight hours in a given day has dipped below a certain point, hence the need to cover the greenhouse in extra darkness.

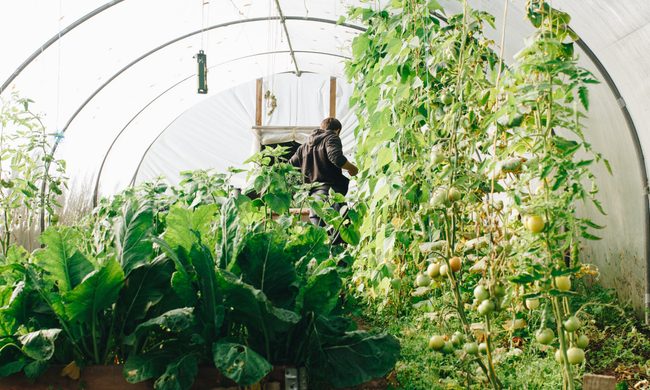
To accomplish this, a greenhouse that’s set up for light deprivation artificially controls the influx of light. This is done by blocking sunlight, usually with some kind of cover or shade system. This can be as simple as a plastic tarp or as complex as a fully automated timing system.

The specifics of operating a light dep greenhouse can vary based on what you’re growing and other factors, but in general, each setup should aim to create about 12 hours of uninterrupted darkness. Many growers handle this by covering or shading their greenhouse at 7 p.m. and uncovering it at 7 a.m. This could mean adding and removing your blackout tarp, or simply adjusting your system until it reaches the perfect balance.

The ultimate key is that simple shades won’t do the trick; it needs to be total darkness. That requires special equipment and special setups.

Plants in a dark background

What does a light deprivation greenhouse cost?

There are light deprivation options for every budget. Here’s a cross-section of the possibilities:

  • Greenhouse plastic film: For about $100, you can get enough of this sheeting to cover your greenhouse and provide the darkening effect needed for that light-deprivation magic.
  • Hoop houses: these small greenhouses are easily converted into light deprivation mode, and range in cost based on size and quality, from around $200 up to several thousand dollars.
  • Exhaust fans: particularly important for larger greenhouses, exhaust fans help keep air moving to reduce the buildup of mold and excessive heat, both of which are common side effects of the light deprivation approach. Costs range from $20 for a standard box fan to more than $1,000 for larger, most specialized models.
  • Greenhouse kits: Sturdier and typically larger than a hoop house, standard greenhouse kits generally run anywhere from $1,500 to $7,000. Many are designed for light deprivation and come standard with features like built-in exhaust systems.
  • Built greenhouses: These are the most solid and well-engineered of the bunch, but you’re going to pay for that quality. Costs on these vary widely, and you’ll need to find and contact a contractor in your area for a quote, but price tags can easily run into five figures.

Your preference depends on your goals, your budget, and your level of motivation. By and large, though, there isn’t a high threshold for converting your existing greenhouse to blackout mode or purchasing all you need to set one up from scratch.

Snow on greenhouses

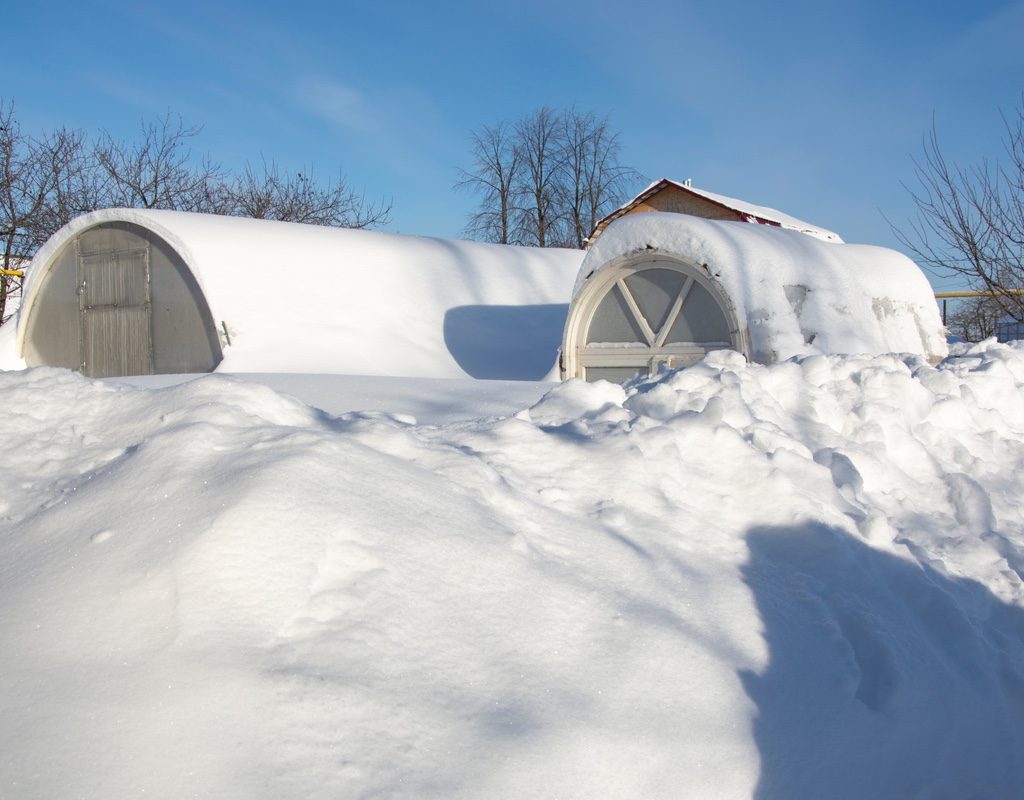
Why is winter a good time for a light deprivation greenhouse?

The truth is that light deprivation greenhouses are useful all year round — whenever you want your plants to flower ahead of schedule. So even if you purchased the system with winter in mind, it would transfer pretty seamlessly to other seasons as well.

That said, there are a couple of advantages that a light deprivation setup can provide in colder weather.

  • Keep it growing: With proper covering and ventilation, your plants and flowers can continue to thrive in a light deprivation greenhouse, even during inhospitable weather. A good light deprivation setup helps eliminate condensation buildup, which can occur in the winter and is the sworn enemy of healthy plants everywhere.
  • Keep warm: In colder weather, the shading, or “blackout,” materials trap warmth inside the greenhouse, providing extra heat when plants need it most.

In a nutshell, light deprivation greenhouses increase your crop yields throughout all four seasons, including winter, when most gardeners choose not to grow crops at all. If you’re motivated to continue producing fruit or flowers without an off-season in your growing schedule, a light deprivation greenhouse may be for you.

Editors' Recommendations

Scott Harris
Scott Harris is a freelance writer based near Washington, DC, with more than a decade of experience covering health…
When and how to transplant tomato plants for the best results
baby tomato plants

There's a time in every gardener's life when they try to grow their own veggie plants from seed. This is a gratifying process, and there are many benefits to growing your own seed starts. One of those benefits is bigger and healthier plants. By growing your own baby tomato plants, you can ensure that the plants are well cared for, never given anything you don't want them to have, and transplanted in just the right way at just the right time for optimal plant health. So how do you transplant tomato plants to ensure they're happy and healthy and live to produce lots of yummy tomatoes for your home?

How do you transplant a grown tomato plant?
If you've never transplanted tomatoes before, the idea can be intimidating. You have all these tiny plants that you've cared for over the last several weeks, and now it's time to pluck them out of their nursery pots and plop them into the outside soil where they're exposed to sun, weather, and critters. Luckily, you've cared for them so well that they're healthy and robust plants that will be able to handle anything nature throws at them.
Step one: Harden the plants
Hardening the plants is a term gardeners use when talking about the process of acclimating a greenhouse-grown plant to outside conditions. Typically it refers to sunlight, but it could also refer to wind and other weather that could harm the plant. About a week before you're ready to transplant, you'll want to harden your baby tomato plants by exposing them to sunlight at increasing increments each day. For example, day one should be about 30 minutes, then 45, then 50, and so on until the day of transplanting. If you don't do this, you'll risk your plant being burnt and killed when you transplant it outside.
Step two: Don't water the plants
Before you start pulling little plants out of their pots, you mustn't water the plants a few days before transplanting. Wet soil can make the transplanting process much harder on you and the plant. Dry soil falls away easier and is less likely to break off roots as you move the plants to their new home.
Step three: Prepare the new soil
The new location for your tomato plants will need to be prepped before you get all those babies out of their homes. Whether you are planting into the ground, a raised bed, or a pot, you'll want to amend the soil to guarantee that the plant has many nutrients to soak up. It also is easier if you dampen the soil right before transplanting. Damp soil is much more manageable and more easily manipulated around the plant.
Step four: Plant deeply
As you gently pull out the baby tomato plants, you'll want to shake off the old soil to expose the roots. This will ensure the plant has access to the new soil and nutrients you're about to provide it with. 

Read more
What you need to know about successfully growing summer squash in containers
container summer squash man cutting

You can roast it, you can sauté it, you can slice it, and you better believe you can dice it. Summer squash is chock full of important vitamins and minerals, so it’s delicious and nutritious. But if your garden is running out of real estate, have no fear. There’s no reason you can’t grow squash in a container. Although summer squash requires a not-insignificant amount of TLC, it’s more than worth it for lovers of this agreeable fruit (and yes, it is technically a fruit). Here’s a complete guide to everything you need to know.

Picking the right squash for the job
As many gardeners know, summer squash does not describe a specific species but rather the timing of the harvest. Yellow squash are harvested earlier in their life cycle, when the outer rind is still edible. No need to peel!

Read more
Renovating your backyard? How to decide what size deck is right for you
right size deck for you man building

The backyard deck is one of life’s simple pleasures — but building one is anything but. There are a dizzying array of options, which all vary based on how you want to use your deck, your property, your budget, and other factors. Perhaps the first question to face is one of size, and with decks, bigger is not always better. These decisions will be driven by the size of your property and the purposes you want the deck to serve. We’re here to help you find the right deck size for you and your unique specifications.

Key questions to consider
Before you start to think about the size of your deck, there are several other parts of the project to consider. These can substantially affect your options, including the size of the deck. These questions include:

Read more