Knowing when to harvest watermelons can be tricky, especially if you’re used to growing crops like tomatoes, where there’s an obvious physical change (like turning from green to red) that indicates ripeness. Watermelons go through more subtle changes, so they can be difficult to spot if you don’t know what to look for. If you’re wondering if your watermelons are ready to harvest, this is the guide for you. We’ll break down everything you need to know about when to harvest watermelons for the perfect summer snack!
How to tell your watermelons are ready for harvesting
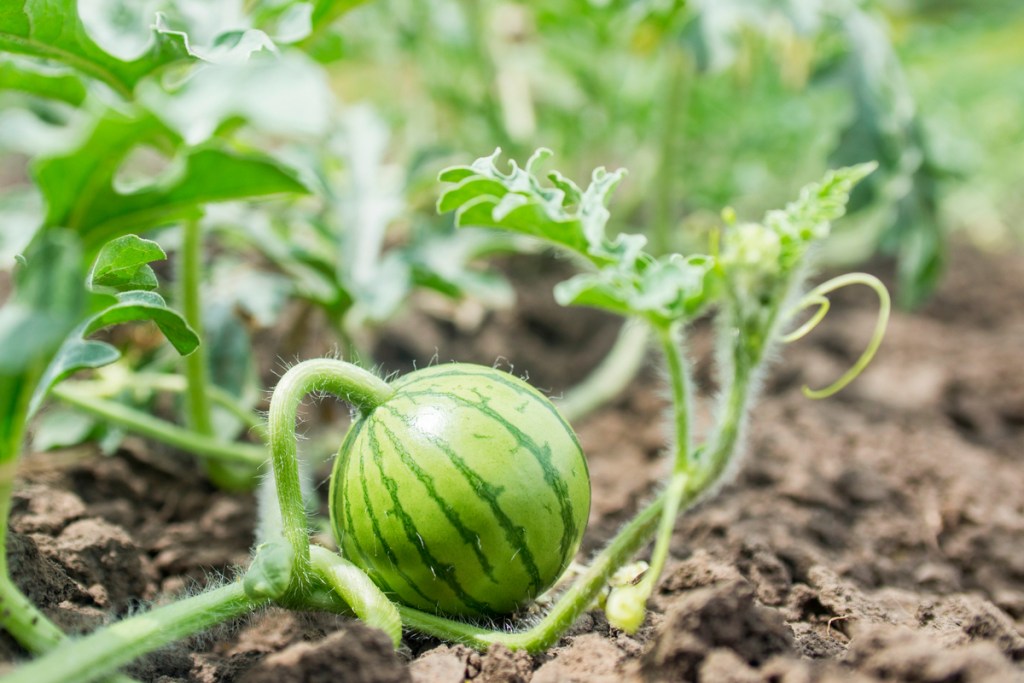
Most watermelon varieties are ready to harvest roughly 1 month after the plant has bloomed, or 2 to 3 months after planting your watermelon seeds. The exact time can vary depending on the type of watermelons you’re growing, what the weather has been like, and whether all the plant’s needs have been met.
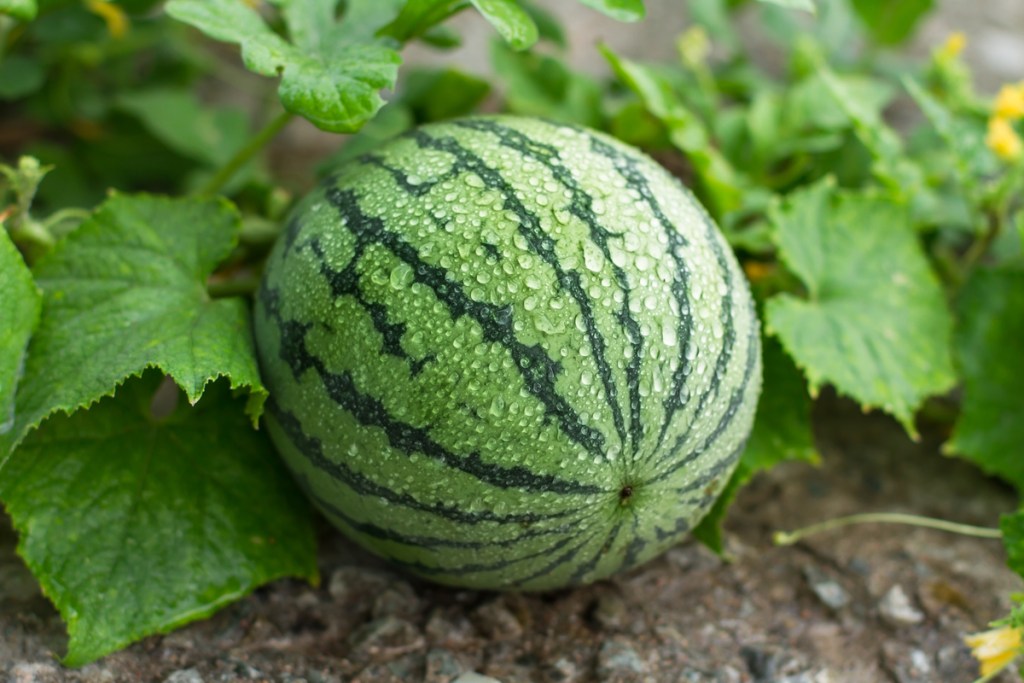
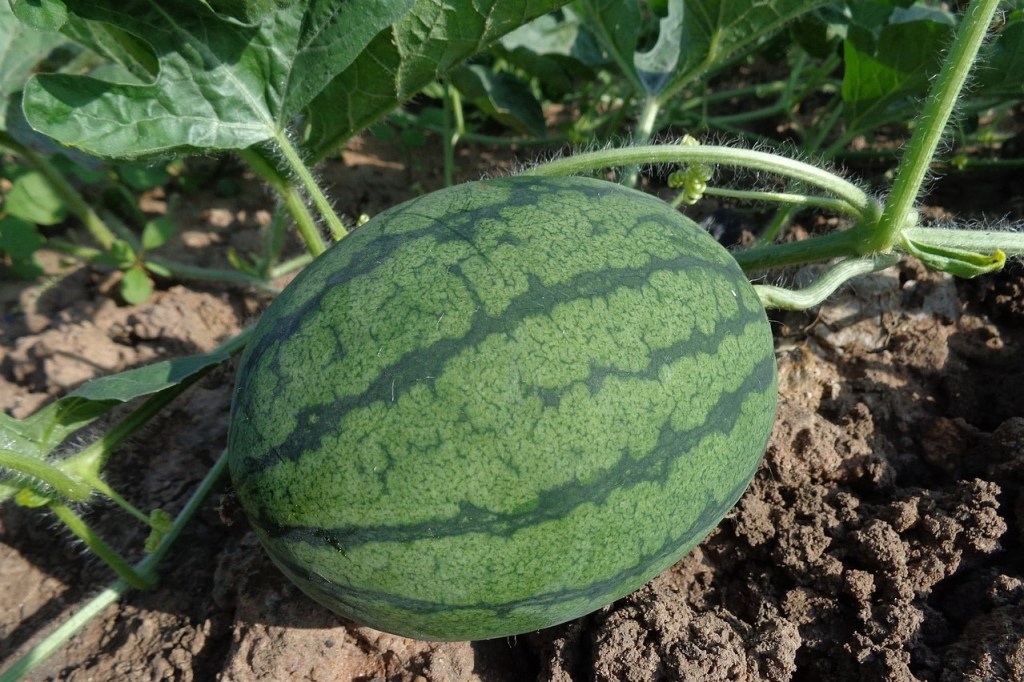
Appearance is the easiest way to tell when to harvest watermelons. As your watermelons grow and ripen, you’ll notice that the green color has a shiny look to it. One of the biggest indicators that watermelons are ready to harvest is when the shine turns dull. A ripe watermelon will have a dulled green appearance and the belly of it (the part that sits on the ground) will turn from a green-white to a yellow/cream color.
What does this mean for you? Well, it means that in order to best tell when your watermelons are ready to harvest, you’ll have to check on them daily. If you aren’t familiar with the melon’s shiny appearance and aren’t checking the underside, you’ll have a harder time knowing when they’re done growing.
Some experienced gardeners even say you can tell by tapping on the watermelon. A ripe watermelon will have a hollow ring, whereas one that isn’t ready to harvest will sound more metallic; however, to the untrained, inexperienced ear, the two sounds seem the same. That’s why the best way to know when to harvest watermelons is by relying on appearance.
What’s the best way to harvest watermelons?
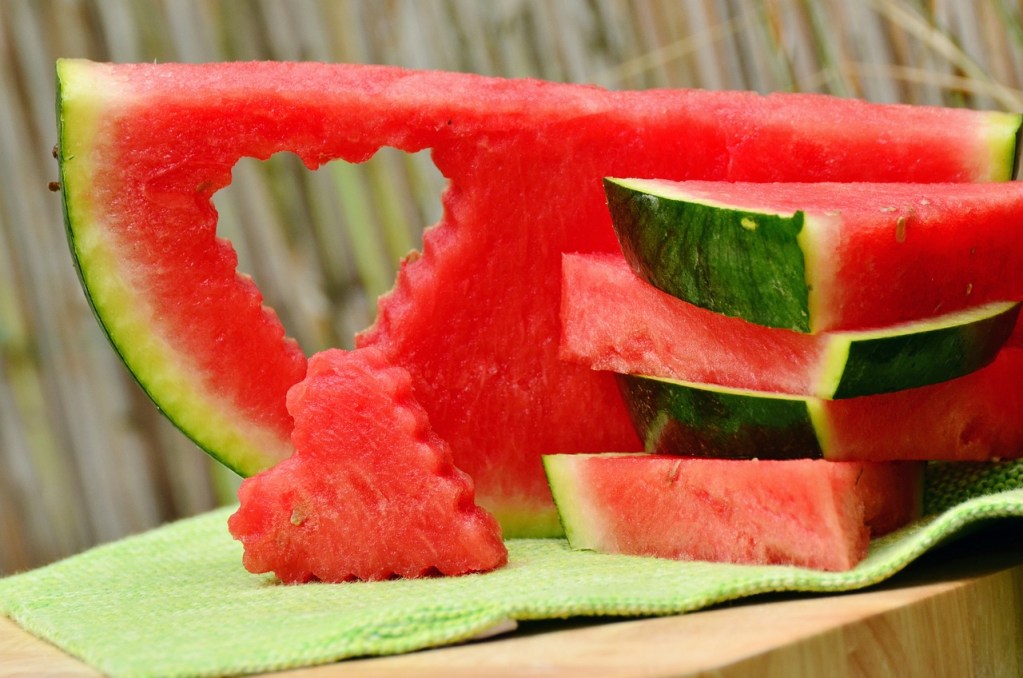
When harvesting your watermelons, you should leave about 2 inches of the stem on the fruit. Using a sharp knife, cut the watermelon from the vine. It can be stored for roughly a week at room temperature and about two to three weeks in a 50- to 60-degree Fahrenheit environment (like a fridge).
Remember: They don’t ripen off the vine. Once you make the cut, that’s it. That’s the melon you’re getting. So, be as sure as you can that the watermelon is ready.
Growing healthy, delicious fruit
Growing delicious watermelons will look a bit different at the start depending on the climate you’re in. Warmer climates and areas with longer growing seasons can sow their seeds directly into their gardens about one to two weeks after the last frost; however, if you’re in a cooler climate, you should start your seeds indoors about two to three weeks before the last frost so that the seedlings can be transplanted into the garden two weeks after.
In either place, you can always buy watermelon seedlings from nurseries, though you should still be sure to follow the guidelines for when to plant them in outdoor garden beds. Good watermelon growth relies on proper care and conditions. If those are met, it’s likely you’ll be harvesting many melons in the summer.
Ideal conditions for watermelon plants
Watermelons should be planted in loose, well-draining soil that can retain moisture well. They prefer to be in full sun locations where they can receive a lot of morning and afternoon light and absorb the nutrients needed to produce delicious fruit. Melons prefer to have a soil pH of 6 to 6.8, so it’s always best to test your soil before planting to make sure they’ll be able to thrive in that environment (or so you know if you need to provide additional material to the soil to achieve the desired pH balance).
Watermelons like to be planted on hills, mounds, or raised rows, so take care not to pack the soil too tightly when setting up the growing space. You want to give them a well-rounded environment to thrive in, so try to keep the soil as loose as you can during this process.
Watering requirements
In addition to proper sunlight, your watermelons will continue to thrive with regular watering from seedling to maturity. Similar to other fruits like tomatoes, watermelons do the best with 1 to 2 inches of water per week until they begin to grow fruit. The soil should be kept moist but not soggy, which is why it’s extra important to make sure the soil is loose and well-draining. Once the fruit begins to grow, you can reduce the amount of water you give the plants. This causes the fruit to start storing its sugars and produces the sweetest melons.
How long can ripe watermelons stay on the vine?
If you’re low on storage space, you might be wondering how long your ripe watermelons can stay on the vine in your garden. In ideal conditions, ripe watermelons can remain on the vine for one to two weeks. However, there are a couple of factors that can impact that time. The primary factors are the weather and pests.
In humid or rainy weather, you will need to harvest your ripe watermelons more quickly. Hot, wet conditions increase fungal and bacteria activity, meaning your watermelons may begin to rot. You should also harvest them as soon as they are ripe if you have been seeing pest damage in your garden, particularly if you’re seeing rindworms, beetles, or small mammals like squirrels, raccoons, or rats. While pests that eat leaves can be a nuisance, these pests will eat the watermelon itself.
In the proper conditions, growing sweet, ripe watermelons should be fairly straightforward, but don’t worry if you don’t get it right the first time (or the second, third, or fourth times, either). Gardening at its core is a trial-and-error process, and one location may be better than another. Sometimes, the weather conditions themselves work against you. What’s important is that you do the best you can with what you have, and your plant will do its best in return.