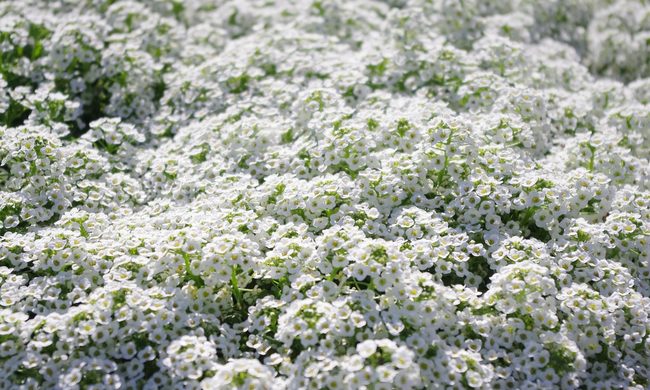
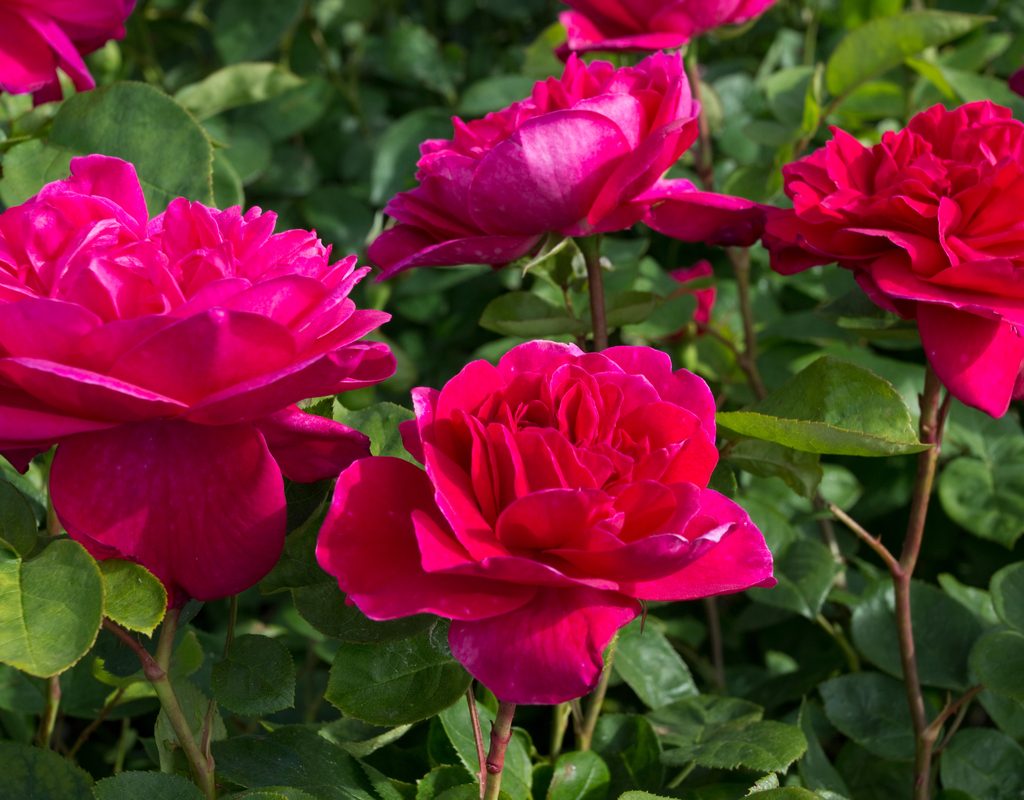
If you’ve started noticing some black spots on roses in your garden, chances are they’re infected with black spot disease. This disease, scientifically known as Diplocarpon rosae, is a fungus that causes parts of the leaves to develop black spots, eventually yellowing and falling off. Not only does this impact how your roses look, it can also severely impact their health. Like other types of discolored spots, early treatment is key to stop them from spreading. To keep your roses happy and healthy, here's everything you need to know about treating black spots on roses.

How to identify black spot
Black spot disease is one of the easier fungal plant infections to identify.
Step 1: Inspect your roses once a week for signs of black spot. The fungus usually starts on the lower leaves and makes its way upward, so check the top and undersides of leaves for circular dark spots. These spots will not have clean edges and will instead look more uneven and feathery.
Step 2: While checking your roses, also look for signs of pests, fungus, dead foliage, and other problems that may require treatment or closer monitoring.
What causes black spot disease?
The fungus is caused by spores that are found in unfavorable environments. (We’ll get to good conditions a bit later.) These spores germinate in the spring and spread onto the plant through splashing water. They will only start infecting the rose if the plant is wet for 7 continuous hours. The existing spores have the ability to produce new spores that get splashed onto other leaves, which is how the infection spreads.
Step 1: When watering your roses, make sure to dry the leaves if they are still wet after several hours.
Step 2: If you remove any diseased leaves or stems from affected roses, dispose of them promptly. Diseased tissue can become breeding grounds for the fungal spores which can then spread to other plants if it's left in flower beds or on the ground.
How does black spot affect roses?
Rose leaves affected by black spots will eventually turn yellow and fall off. As the disease worsens, it can infect young canes with blisters and flowers with red spotting. Eventually, the entire plant will weaken and possibly lose all its foliage. Because of their weakened state, roses infected by black spot disease will have fewer flower buds and be more stressed. Remember: one infection or disease makes a plant prone to other problems.
Treating and preventing black spot disease
Unfortunately for leaves that have already been infected by black spot disease, there’s no cure. The best thing you can do is treat the problem and work to prevent future recurrences. This ranges anywhere from pruning off diseased or dead foliage and stems to using topical treatments.
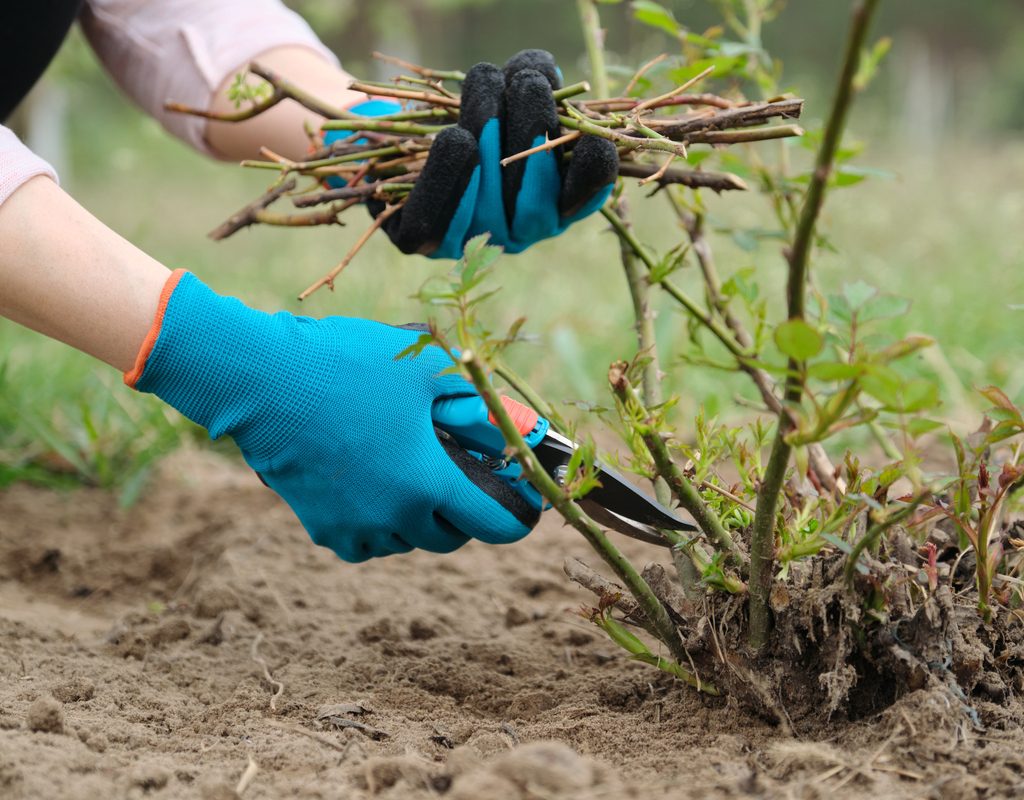
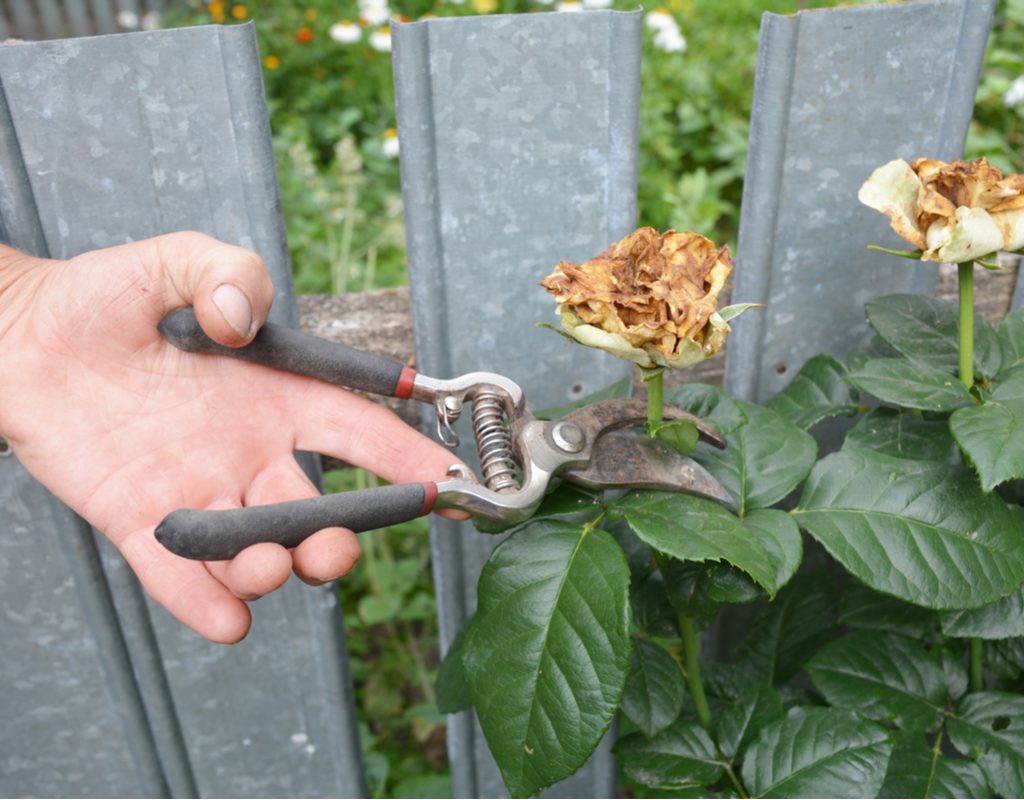
Step 1: Trim off and properly dispose of infected leaves and/or stems. Because the spores can remain on infected tissue throughout the winter, be sure to clean up any leaves that have fallen on the ground beneath the roses, too. Otherwise, come springtime, they’ll start their germination all over again and re-infect your plant.
Step 2: Prune only in dry weather and with sterilized shears. Unclean pruners can potentially introduce more problems and diseases to your plant, and the goal here is to get rid of the fungus and keep the plant healthy.
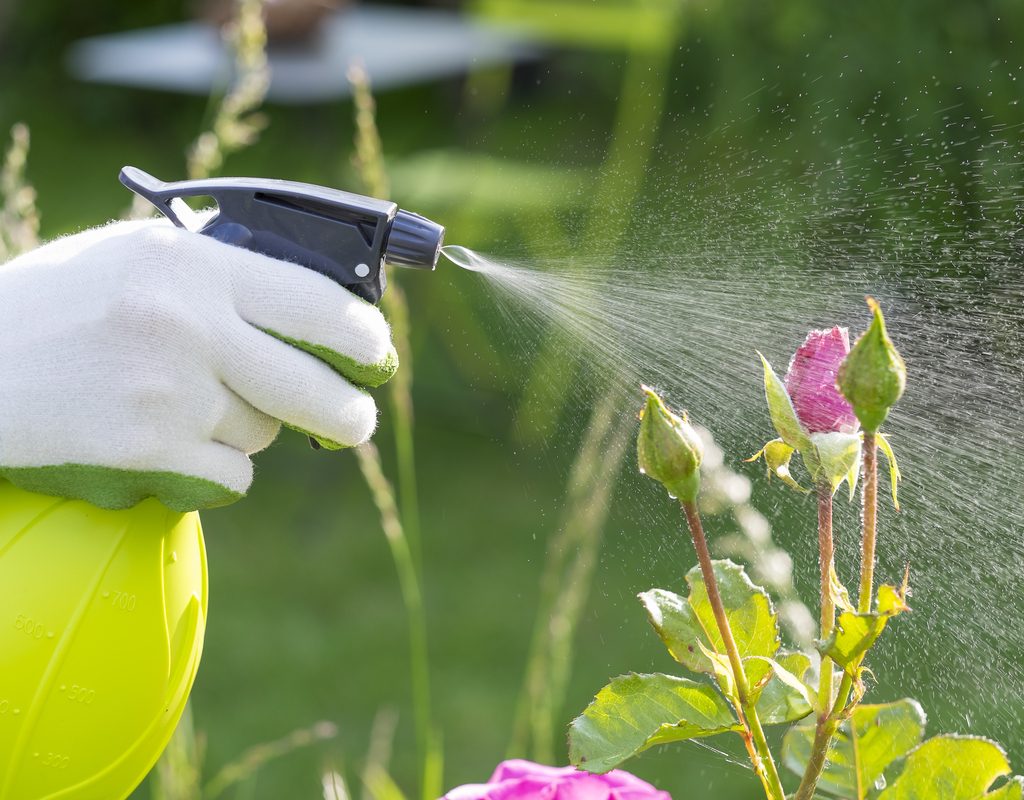
Step 3: Apply neem oil or another pesticide with added fungicide to help treat and prevent future infections. Simply follow the directions on the bottle you purchase when applying to your plant.
Step 4: Create a baking soda spray to guard against infections. Baking soda spray is a DIY solution that prevents more than treats, so shouldn’t be used to clear up an infection. To make the solution, dissolve a teaspoon of baking soda into a quart of warm water in a spray bottle, then add up to a teaspoon of liquid dish soap.
Step 5: Use sulfur power or a wet mixture. Sulfur helps prevent fungus diseases and deter pests, so it will not be effective against active infections. There are forms of sulfur marked as “wettable,” meaning you can mix them with water and spray them onto the plant.
How to create conditions that help prevent black spot disease
The best thing you can do for your roses is to provide ideal growing conditions. Black spot disease will thrive on roses in the right conditions, and those conditions are usually less than favorable for your plant.
Step 1: Trim off any dead or dying tissue as soon as you notice it, even if it is not infected with black spot disease. Keeping your rose healthy will ensure it's better able to fight off diseases and pests.
Step 2: Plant your roses in well-draining soil to avoid any pooling of water or soggy dirt, especially since they enjoy weekly waterings.
Step 3: Provide roses with full sun, especially in the morning, which will help dry excess dew or moisture from overnight moisture or rain.
Step 4: Don't crowd roses too closely. Good airflow between plants will help keep them healthy and happy. Pruning can help with this.

Can indoor roses develop black spot?
Small rose varieties can be grown in containers and indoors, but is this enough to keep them safe from black spot fungal infections? For the most part, yes! Black spot thrives in wet, cold conditions. Since you have more control over the environment indoors, it is much easier to prevent your roses from being left in these conditions for an extended period of time.
Furthermore, they are less likely to come into contact with the fungal spores when indoors. However, it is still technically possible, although unlikely, for your indoor rose plant to develop black spot. Proper care is still the best way to prevent the infection.
As long as you catch it early enough, black spot disease won't mean the end for your roses. It just means you’ll have to be a bit more diligent about inspecting your plants, particularly if conditions haven’t been ideal (for example, lots of rain and not a lot of sun to dry out the plants). A healthy plant is a happy plant, and you’re less likely to encounter black spot disease on roses if you care for them as best you can.