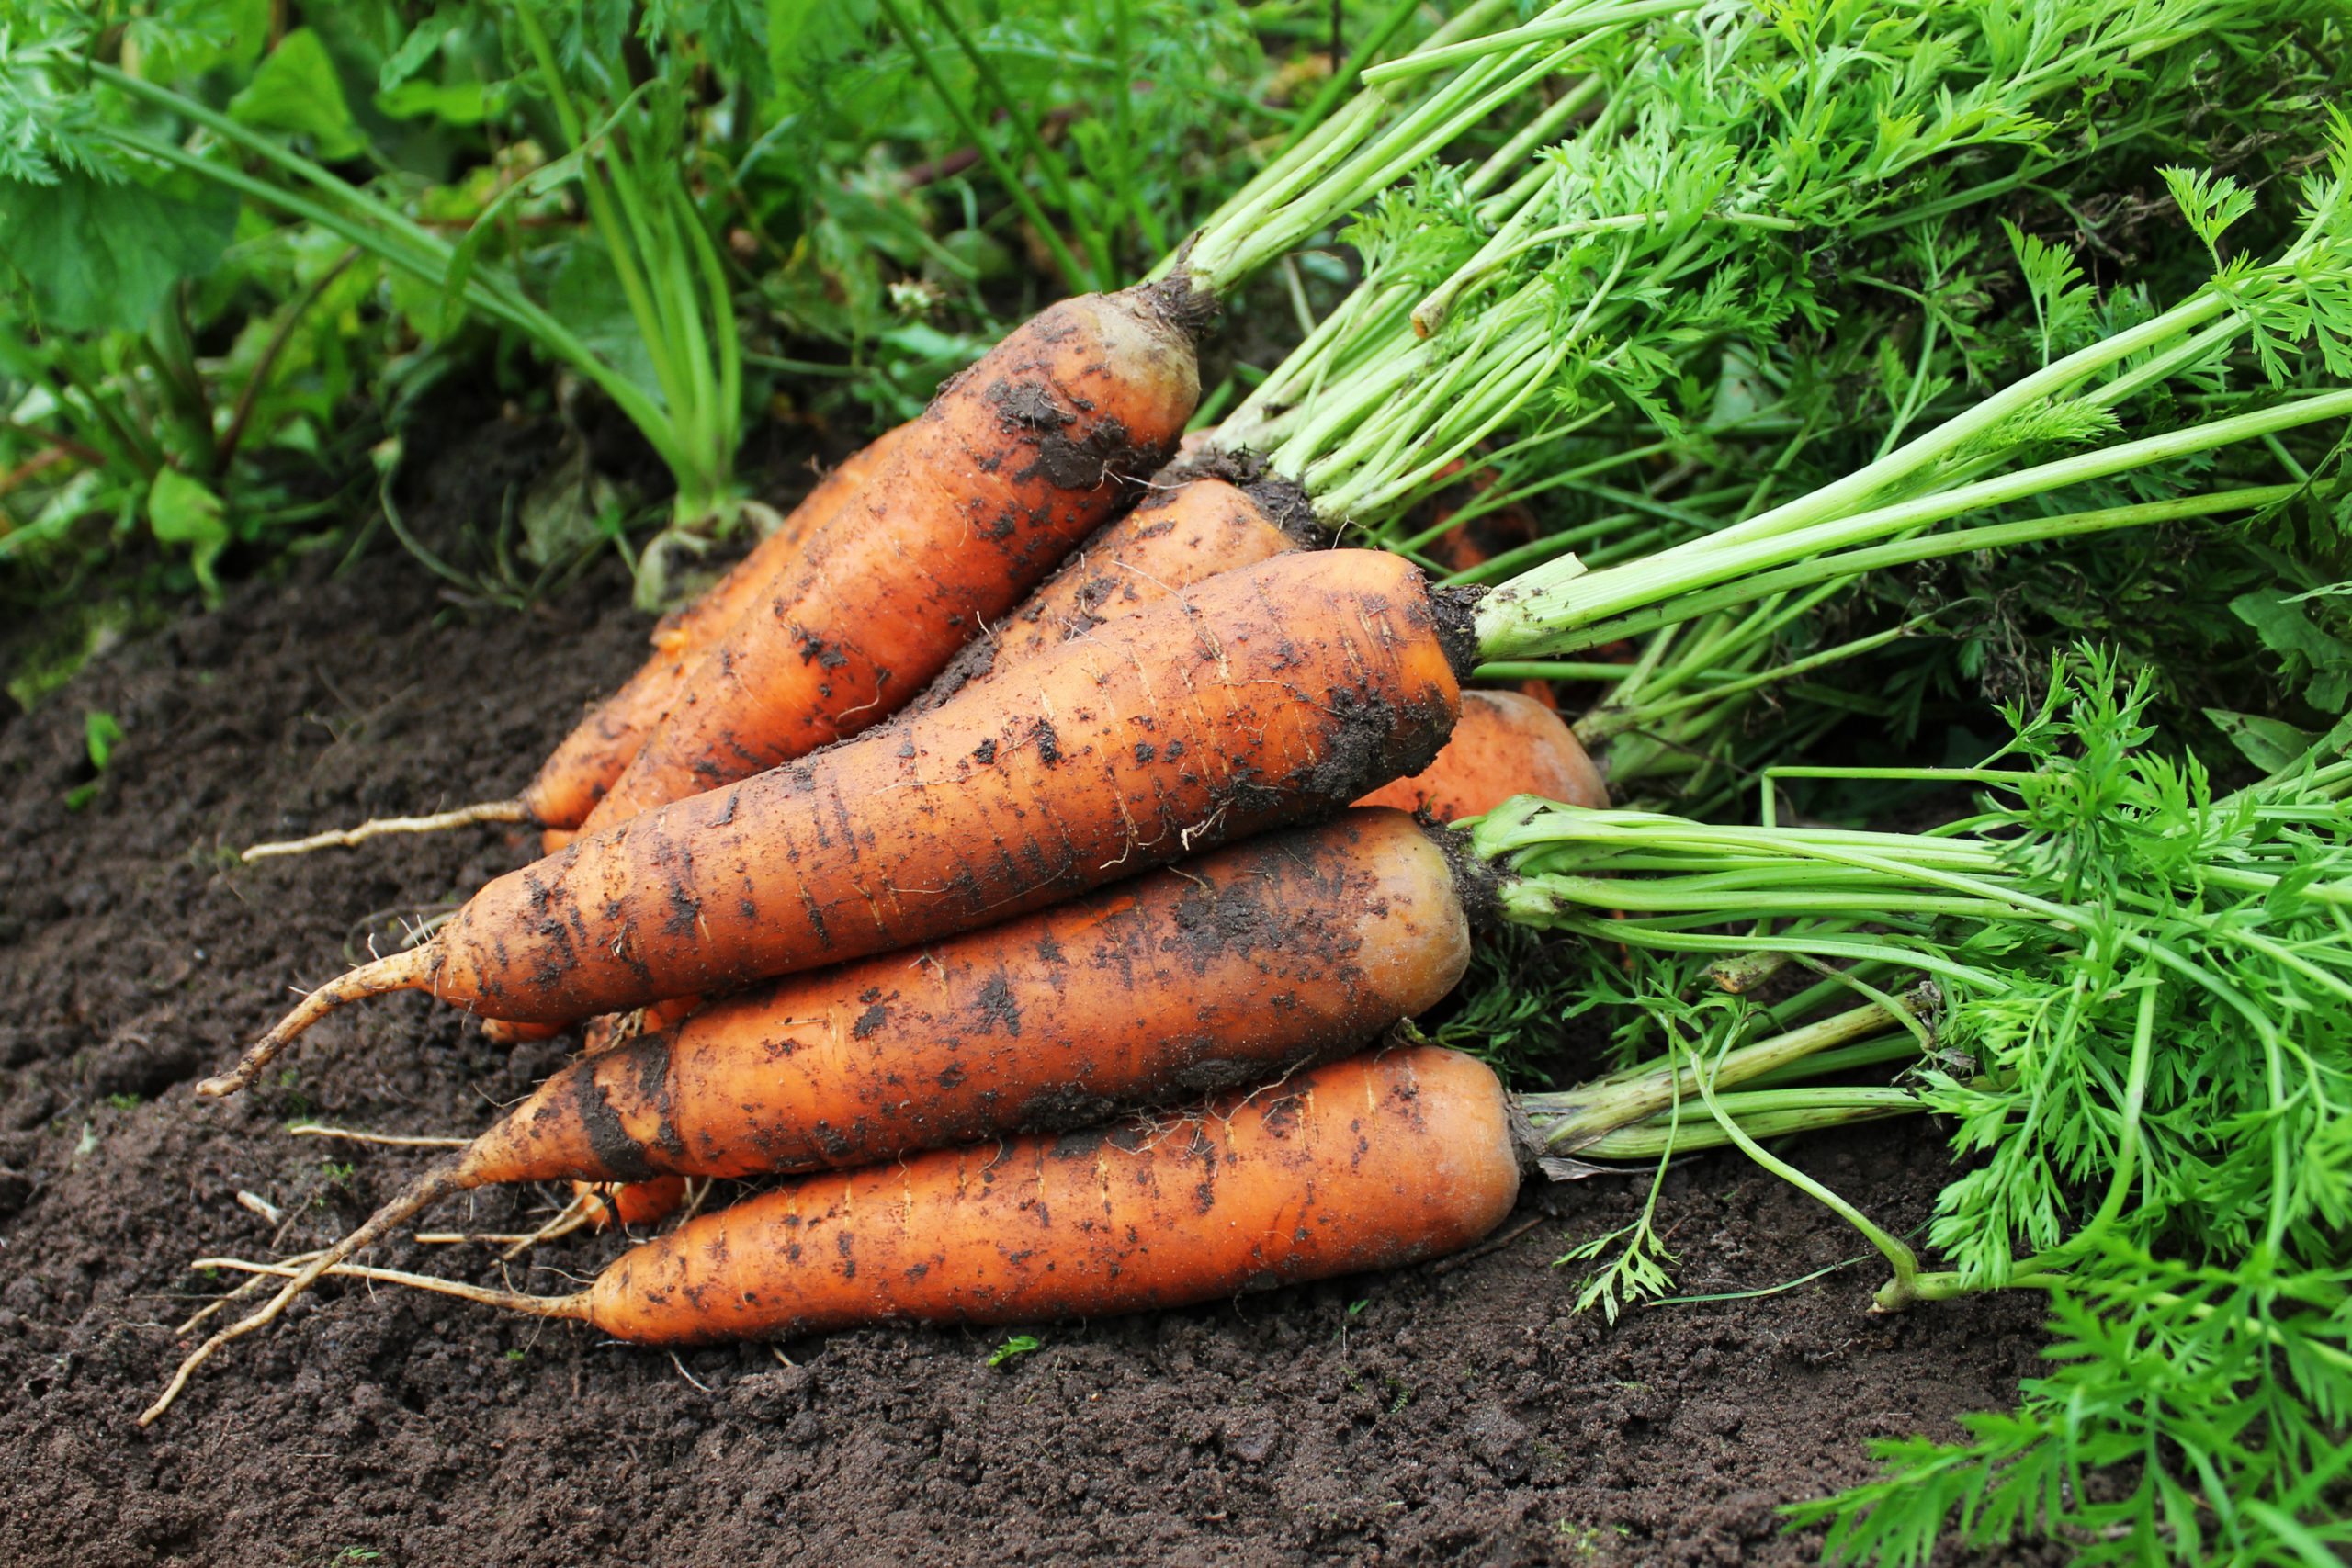
If you’ve ever wondered where carrot seeds come from, especially if you want to produce your own, you’ll first have to understand a bit about the carrot’s life cycle. Most veggies, like beans, corn, tomatoes, squash, and lettuce, are annuals. An annual completes its life cycle, growing from seed to producing seed, in a single growing season. But carrots, along with parsnips and beets, are biennials. A biennial is a plant that requires two growing seasons to complete its life cycle.
Plant and cultivate
In order to save carrot seeds, sow open pollinated seeds rather than hybrid seeds. Open pollinated plants are pollinated by insects and wind. They produce offspring with the same characteristics as the parent plants. Hybrid plants are pollinated by artificial means. They do not produce offspring similar to the parent plants, and in fact may be incapable of producing viable seeds at all.
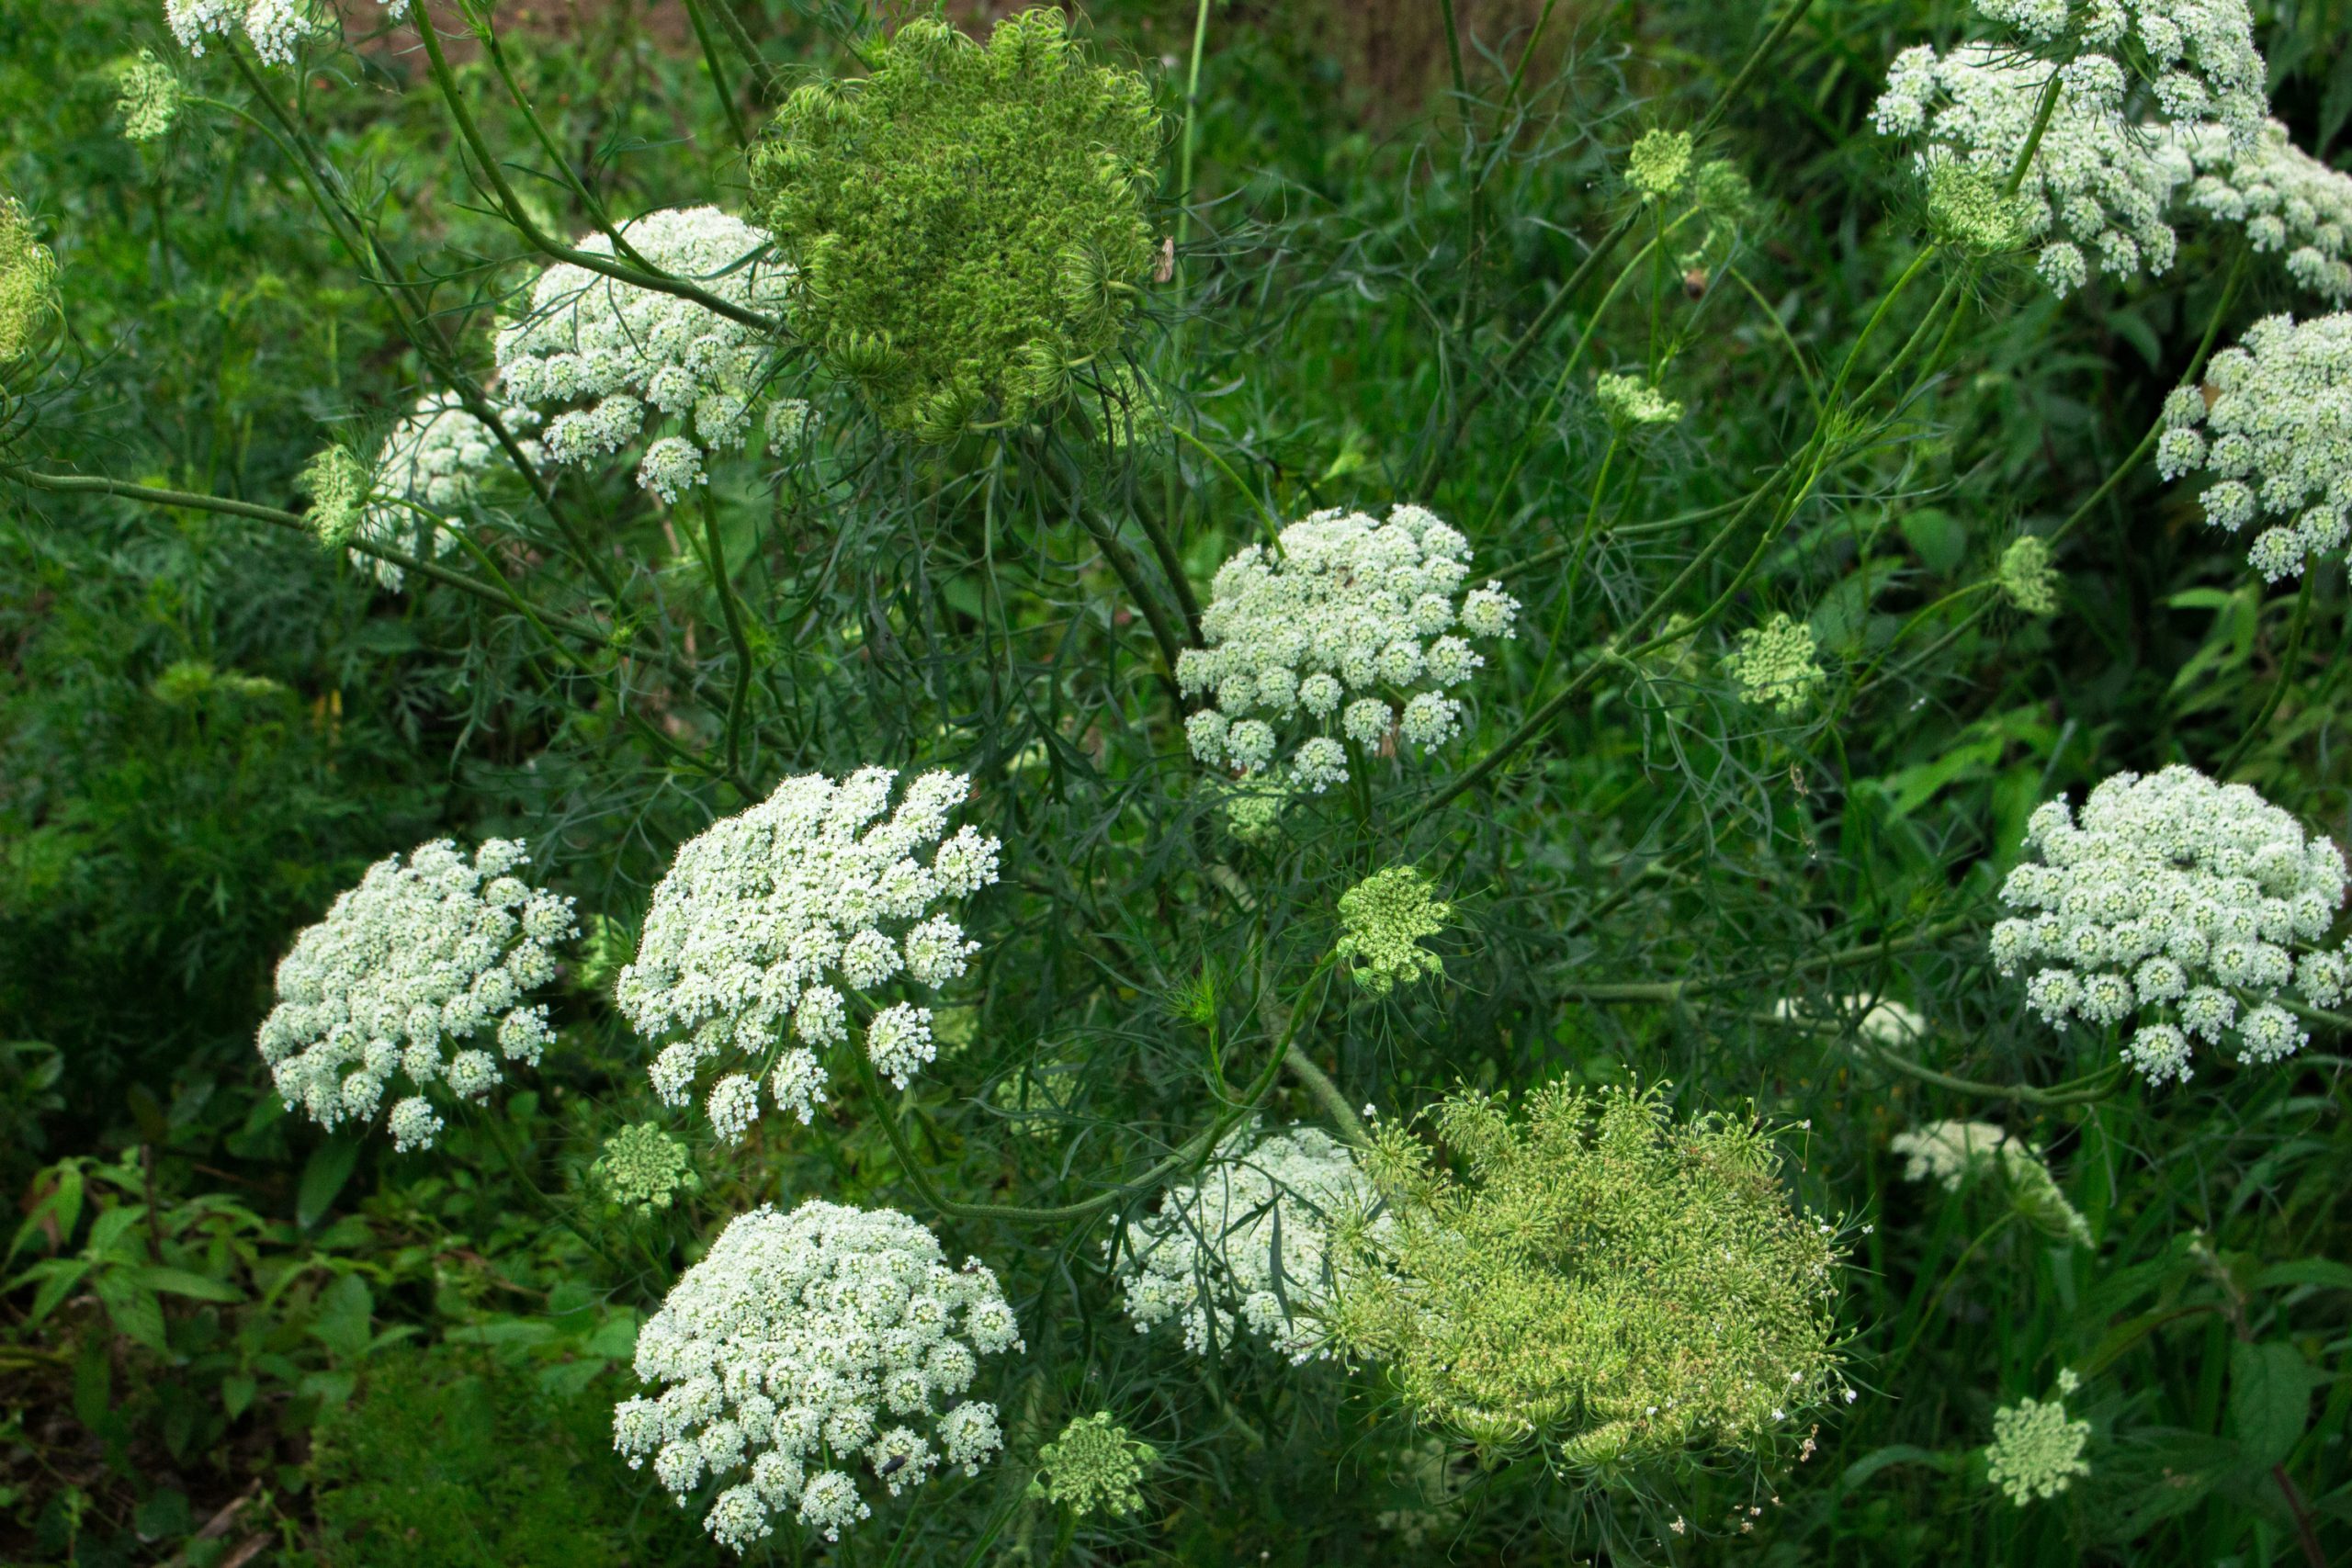
Carrots are the same botanical species as the common field weed Queen Anne’s Lace, Daucus carota. In order to keep the open pollinated crop true to its expected type, be sure to isolate it by at least one-quarter mile from Queen Anne’s Lace and other carrots.
Sow the seeds in cool weather, between early spring and late summer. After the seeds germinate, the young plants spend their first season growing a deep taproot and lush foliage. At the end of the season, the top dies back but the root stays alive.
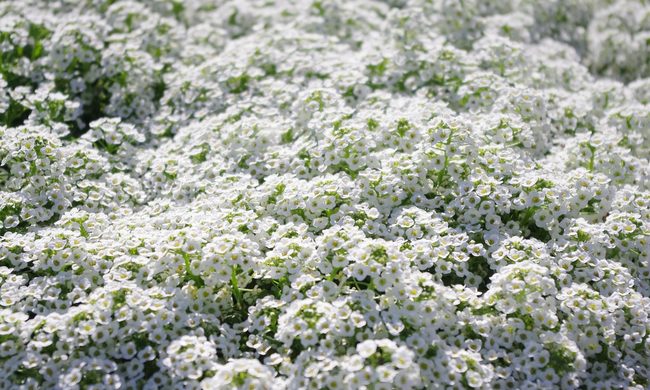
The following spring, new foliage quickly emerges. Soon after, by early summer, a flower stalk develops that produces many flat-topped clusters of tiny flowers. Pollinators of all kinds are attracted to the lacy white flowers. The plant uses energy stored in the root to produce seeds on the pollinated flower heads. By late summer seeds begin to ripen and turn brown. At this point it is time to begin harvesting the carrot seeds.
Harvest and cure
Carrots flower and produce seeds over an extended timeframe. If you’re not sure what carrot seeds look like, pay close attention to the very tips of the flower stems. As the umbel is fertilized, the base of each tiny flower begins to swell. Usually the outer seeds begin to mature earlier than those closest to the center.
You’ll know the seeds are ready for harvesting when the seed heads begin to turn brown and dry. This is when you’ll trim the heads off and set them aside until they fully dry out. An ideal place for these is in a small paper bag, where they’re protected from the environment but the container isn’t airtight. You can attempt to use a glass jar or plastic container if that’s what you have, but be wary that sealed containers protecting your seed heads will also lock in any excess moisture. If using plastic or glass containers, it’s best to leave them uncovered and store them in a dry, safe place until the seed heads are done drying out. Continue harvesting individual umbels over time, as they ripen.
When the umbels have completely dried and become brittle, it’s time to thresh them, or separate the seed from the chaff before storage. For a small amount of seed, this can be done by simply rubbing the dried umbels in hand, or by laying them on a tarp on soft ground and walking on them.
Thresh and store
Remove the chaff, or debris, from the seeds by screening and winnowing. Filter the entire batch through coarse mesh (¼ inch to ⅛ inch) to remove sticks and large debris. Remove finer debris by tossing or dropping the screened harvest in front of a gentle fan. The heavier seeds drop straight down, but the debris is blown away.
Store carrot seeds in a cool dry location. Seeds kept between 40 and 60 degrees Fahrenheit at 40 percent relative humidity will remain viable for up to four years. They store well in zipper bags, glass jars, metal tins, or the small envelopes that are used for floral arrangement cards. Label them with the harvest date and cultivar.
How to save carrot seeds
When planting your seed carrots, plant them like you would a standard harvestable carrot. About 1/4 inch into the soil and one inch apart will allow the baby carrot plants space to breathe while giving you a higher chance of germination without losing space. Once the baby carrots have sprouted, check to see which are the strongest and biggest and thin out the rest to allow the bigger plants to flourish. Planting can be made easy with tool sets like these.
It’s recommended to save seeds from at least five different carrot plants. This ensures that you will get a wide range of hardiness and genetics for your next batch of carrots. When planning out your garden for the year, set aside five plants that will be dedicated to your seed-saving endeavor.
Additionally, if you will be attempting to harvest a variety of carrot species, it will be necessary to space them far enough away from each other that there will be no cross-pollination. This will result in hybrid carrot plants that could end up being unhealthy or unsuccessful in germination or growing. It’s recommended that you separate them at a significant distance — about 10 to 20 yards.
Do not harvest your seed plants when harvest season comes around. Allow your seed carrots to overwinter. Mulch them up once the stems have died off to give them an extra layer of protection.
If you’re in a climate where the winters are especially harsh, you will want to gently pull up your seed plants and store them in a cool, dry place. Bag them up in a perforated plastic bag in a ventilated container. Line the container with sand or dry leaves or wood shavings to act as a blanket to keep them cool and dry. Then when spring rolls around, you can plant these back into the ground with their carrot tops showing — and then wait.
Plant these overwintered carrots about 24 to 48 inches apart. The carrots will continue to grow, and their greens will get bushier and taller. You’ll notice flowers appear and fade, and then the plant will begin to turn brown. This is when you will want to harvest those carrot tops that include the seeds. Dry these out in a protected area where no moisture can get to the carrots for two weeks.
Once the seeds are dry, rub the plant between your hands to work the seeds out. They will begin to fall, so be ready with a bowl or plate to catch all those precious seeds. To store them, gather them into an airtight container so no moisture can get to them. Carrot seeds can be viable for up to 6 years if stored correctly, resulting in fresh and tasty carrots for years to come.
Improve crop quality
One of the benefits of saving seeds is the ability to improve the crop’s performance in your garden. Rather than simply saving seeds from every carrot, choose only those that exhibit the best characteristics. Carrots are notoriously slow to germinate. You could improve the average germination time by marking those that sprout fastest to reserve for seed saving, and harvest all others in the first year. Select for root color or quality at harvest time by reserving and replanting those with the best overall appearance.
Each carrot is able to produce up to 1,000 seeds or more. It takes very little space and almost no extra time to enjoy growing your own carrot seeds.