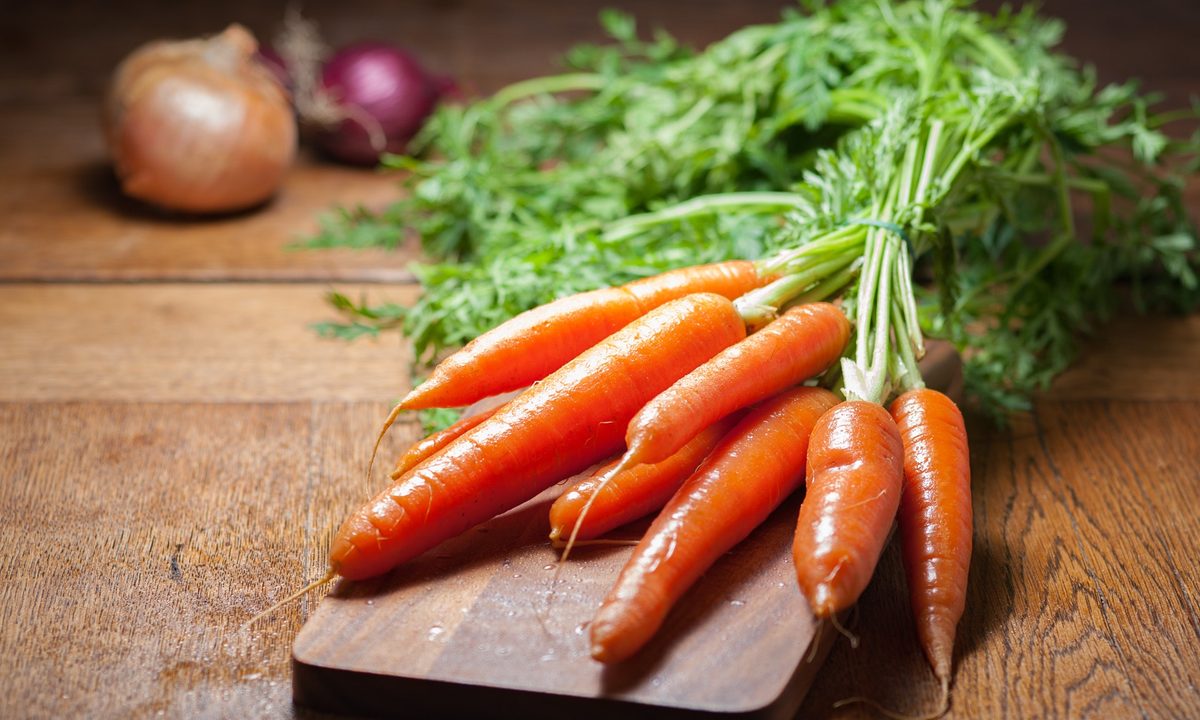
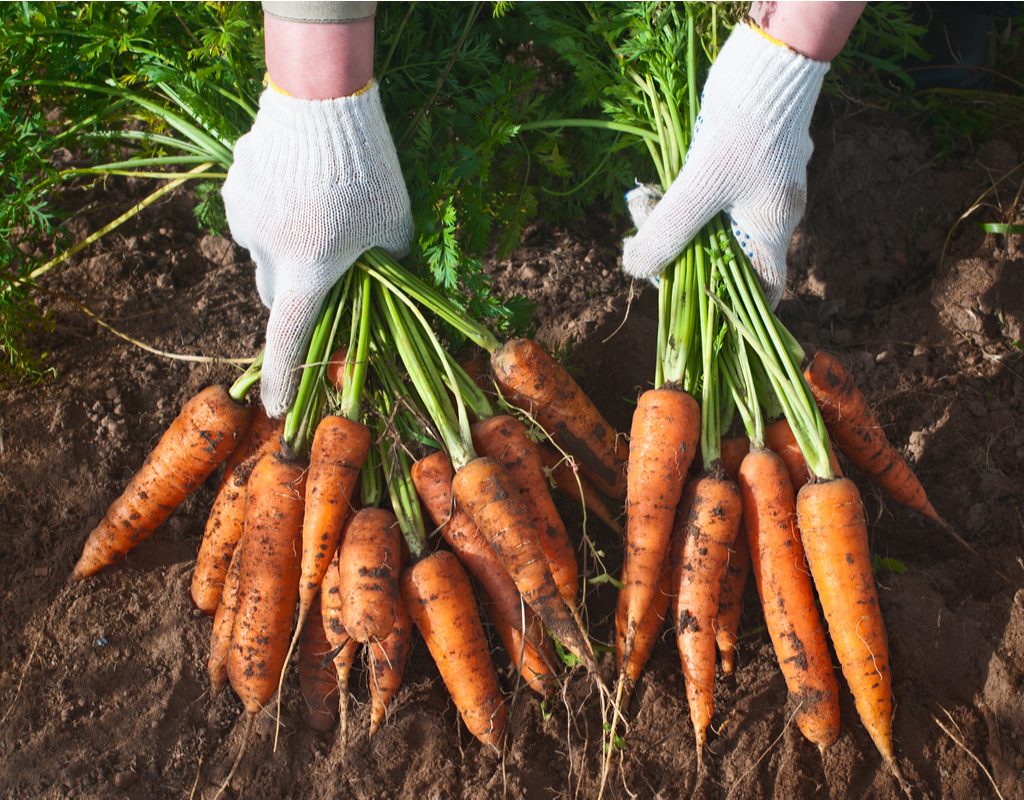
Carrots are delicious, nutritious, and a popular addition to vegetable gardens. Growing carrots is fairly easy, and you can even preserve their seeds, but what do you do once they’re ready to be harvested? Should you clean them before storing, and what is the best way to clean them? In this guide, we'll walk you through when and how to clean carrots from your garden.

How should you clean carrots?
Cleaning carrots is easy! Here's how to do it:
Step 1: Place your carrot on a clean cutting board.
Step 2: Cut off the top of the carrot.
The part of the carrot we eat is the root, which stores nutrients for the leaves. If the tops are left on, they’ll continue using the moisture in the carrot, which leads to dry carrots.
Step 3: Run the water in your kitchen sink until it is lukewarm.
Step 4: Place the carrot under the running water and use a vegetable brush or scouring pad to scrub. Be sure to get all sides of the carrot and scrub from all angles.
Step 5: Repeat the process with the rest of your carrots.
Tips for cleaning carrots
Step 1: Avoid using any bleach or soaps, as these can soak into the vegetable and make you sick when you eat it.
Step 2: Wash your carrots only once you’re ready to eat them.
Washing can strip away some of the natural protections carrots have, which makes them spoil slightly faster. If this isn’t possible, be sure to dry carrots thoroughly with a clean towel before storing them in the refrigerator.
Step 3: Avoid peeling your carrots until you're ready to use them.
Peeling your carrots can certainly help them aesthetically, but in most cases, it isn’t necessary. If your carrots are organic and fresh, you don’t need to peel them.
Step 4: Save any peels or scraps for vegetable stock, your compost bin, or dog treats.

What to do after cleaning your carrots
Here's what to do with your carrots after cleaning them:
Step 1: Make use of the tops.
Once the tops are cut off, they can be used as compost or stored to make vegetable stock. However, the tops don’t last quite as long as the carrots, so it’s best to use them quickly.
Step 2: Keep your carrots away from apples, bananas, pears, potatoes, or any other fruit or vegetable that produces ethylene gas.
Ethylene gas is naturally produced by some plants, and it causes fruits and vegetables to ripen faster. This is really useful for the plants and for you if you’re trying to encourage your bananas to ripen faster, but it is a hindrance when you’re trying to store vegetables and fruits for longer periods of time.
Step 3: Consider pickling carrots.
In addition to traditional carrot storage methods like submerging them in water or in the ground, you can also pickle your carrots. There are a variety of recipes to do so, and you can tinker with them to create the exact taste you enjoy. The basics of pickling are vinegar and sugar in a jar with the vegetables of your choosing.

Does washing carrots get rid of pesticides?
Washing vegetables thoroughly can remove pesticide residue, although it may not be able to remove larger amounts of pesticides. If you've been using your pesticides as directed then there should only be small amounts left on your carrot which can be washed off. However, if your carrots have come into contact with more pesticide than normal (for example, if you tripped in your garden and spilled pesticides onto your carrot patch), then washing them may not be enough.
Before you use any chemical in your garden, you should read the instructions carefully. Take note of any special instructions or warning labels. This should tell you whether it is safe to use near vegetables, how much is safe, how often to use it, and any other safety concerns you should be aware of.
Carrots are an interesting and versatile vegetable, and there are so many options for what to do with them. Now that you know the best ways to clean carrots from your garden, you can focus on how you want to eat them!