
Decorative pumpkins are a fun part of autumn, but what do you do with them when the season ends? In some areas, you can set discarded pumpkins with your yard waste for the city to collect. But if you’re looking for a more eco-friendly option, why not compost them? To help you get started on composting after the scary season, we’ll walk you through the dos and don’ts of composting pumpkins.

What do pumpkins add to compost?
Pumpkins are a great source of nitrogen and moisture for your compost bin. Pumpkins are also chock-full of vitamins, which are great for people and plants. However, it’s an important thing to keep in mind that you don’t want to compost pumpkins that have had candle wax in them or glitter, paint, or other decorative elements.
If you plan on composting your pumpkin, you can save yourself some time and effort before you even begin carving by only using biodegradable decorations. Don’t worry if you’ve already used non-compostable decorations, though. You can still compost your pumpkin if you scrape or carve off the areas that have paint, glitter, or other finishes on them!
Is every part of the pumpkin compostable?
Yes, you can compost your entire pumpkin! The skin, meat, stem, guts, and seeds are compostable. However, pumpkin seeds are quite hardy and will overwinter in your compost pile. If you leave the seeds in, you’re likely to find a few pumpkin plants in your garden next year when you use your compost. If you plan on regrowing pumpkins in the coming season, then this can actually be a benefit.
You can remove all the seeds from your pumpkin (which you may have already done) and toss them, but there are other ways you can use the seeds. Pumpkin seeds are edible, and roasted seeds are a popular fall snack. You can also compost the seeds after boiling them if you want the nutritional benefits of the seeds without the volunteer sprouts.
Preparing your pumpkin for composting
We’ve already touched on removing any candle wax, glitter, or paint from your pumpkins, but there are a few other things you can do to make your pumpkin easier to compost. Pumpkins break down more quickly and easily when they’re cut into smaller pieces. You can break your pumpkin apart in any way you’d like. If you want to be sure every piece ends up in your compost, you can smash it while it’s in a bag or already in your compost bin. This is a fun part of the process where you can involve kids or friends in a pumpkin-smashing contest!
Once you’ve got your pumpkin in the bin, be sure to mix it in well or cover it over with leaves. If you don’t have a compost bin, you can still compost your pumpkin! Simply spread the pumpkin chunks over your garden instead of in the bin and add a layer of leaves or soil over them.
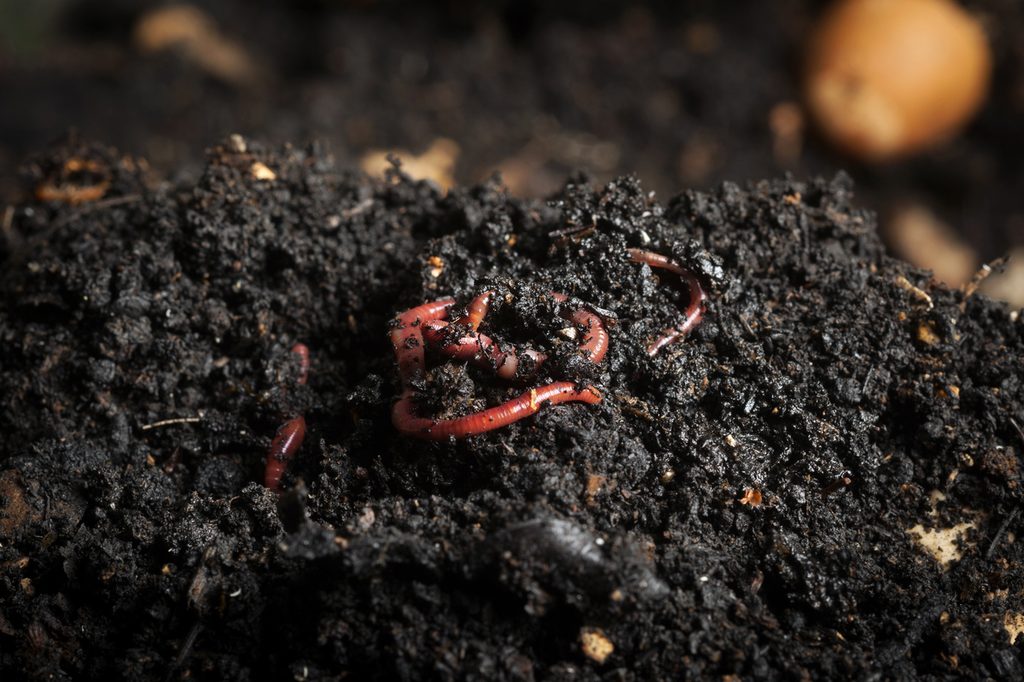
Can you add pumpkins to a worm bin?
You certainly can add pumpkin to your garden worm bins. In fact, worms seem to really enjoy pumpkin! It’s sweet, high in nutrients, and easily digestible. Similar to composting, be sure to remove any and all candle wax, glitter, or paint before you add your pumpkin to your worm bin. Otherwise, there’s very little prep. You can set your whole pumpkin in the bin, or break it into pieces to speed things up. If you have multiple pumpkins or one large pumpkin and a very small worm bin, you might want to consider freezing some pumpkin for later use.
How long does a pumpkin take to decompose?
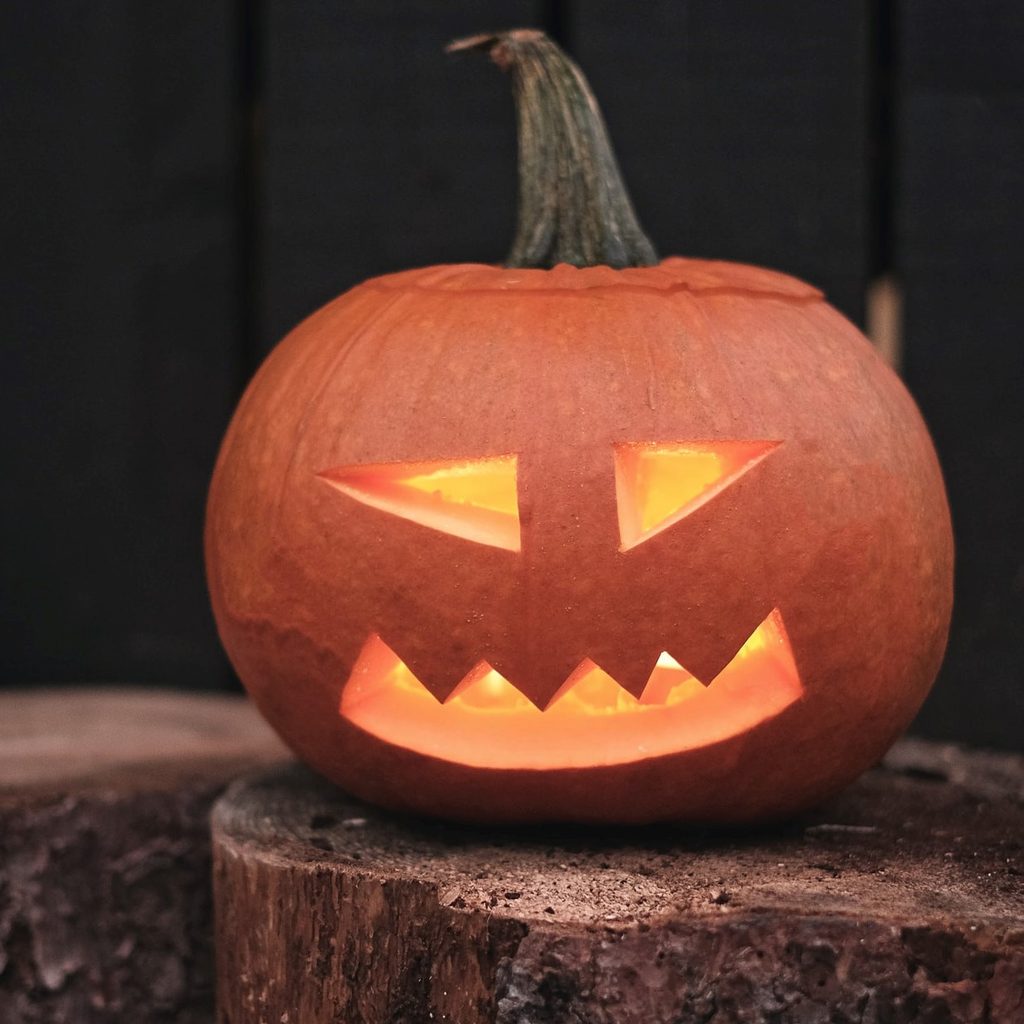
Uncut pumpkins can last anywhere between two to three months, but you’ll have about a week if you carve them. Cut-up pumpkins can take anywhere from two to three months to fully break down in a compost pile, although you can start to see the pieces turning into rot within 10 days of tossing them in a pile. Theoretically, you should have fresh compost by the new year!
Bear in mind that the more chopped up your gourd bits are, the faster the process will be. Other factors that can accelerate decomposition are heat and moisture, so hot composting is a potential option for your pumpkin composting venture.
There’s no need for your pumpkins to go to waste once the season is over. Instead, let your garden benefit from the nutrients your pumpkin can offer by composting them. No matter what your composting setup is like, there’s a way to incorporate pumpkins back into your garden. Just be sure to remove the seeds first, unless you want to grow pumpkins again next year!


