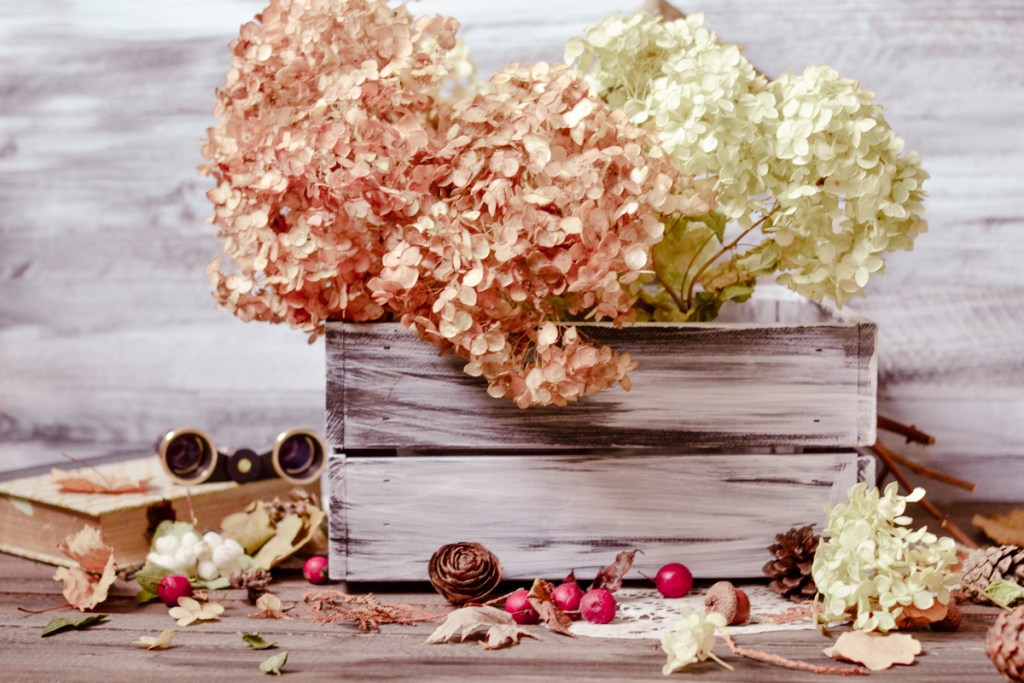
Fresh-cut flowers are beautiful additions to your home, but they don’t tend to last long. It’s always a little sad to watch them wilt before you toss them out. What if there was a way to keep them around? Well, good news! You can keep your bouquet long after it fades with these easy projects. If you have a dead flower bouquet and just can’t bring yourself to put it in the compost, then it’s time to get crafty. Keep reading to find out what to do with dead flowers and how to keep them looking great in new ways.
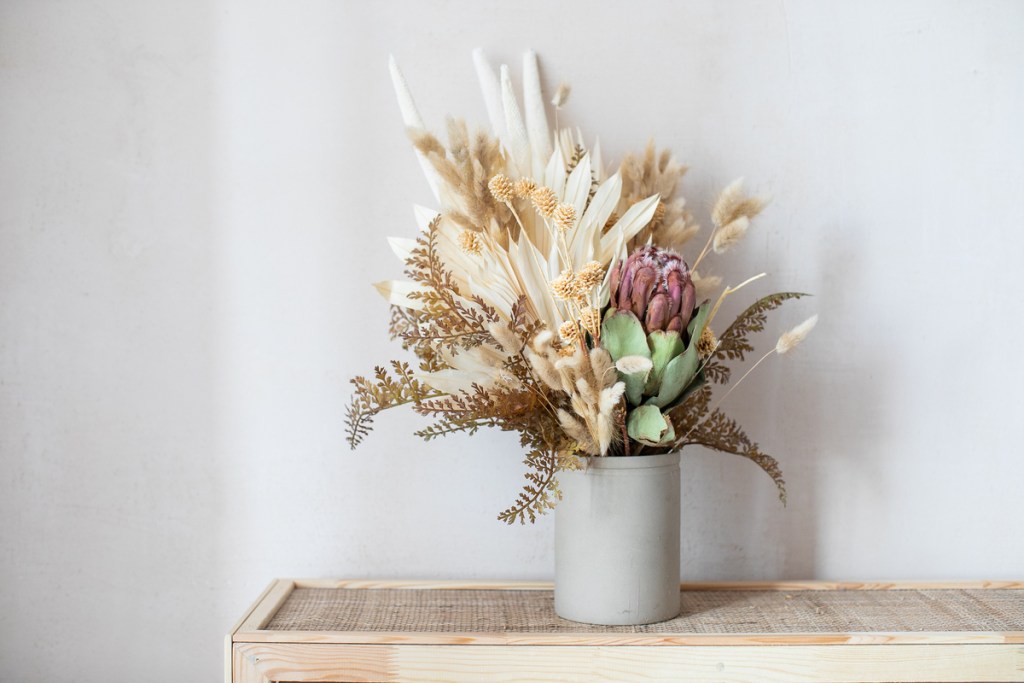
Make a dried bouquet
An easy way to preserve cut flowers is to dry them. Use your dried flowers to make a decorative dry arrangement — a quick spray with unscented hairspray will protect them against petals dropping.
- Remove the bouquet from the vase and strip the foliage and thorns from the stems.
- Trim the stems to your preferred length, but make sure they’re at least 6 inches long.
- Hang each flower individually. It’s fine to simply rubberband the bouquet together for drying, but the stems receive better air circulation and dry more quickly if they’re separated at first.
- Use unflavored, plain dental floss to hang the flowers upside down in a dark location with good airflow. They will dry in two to four weeks.
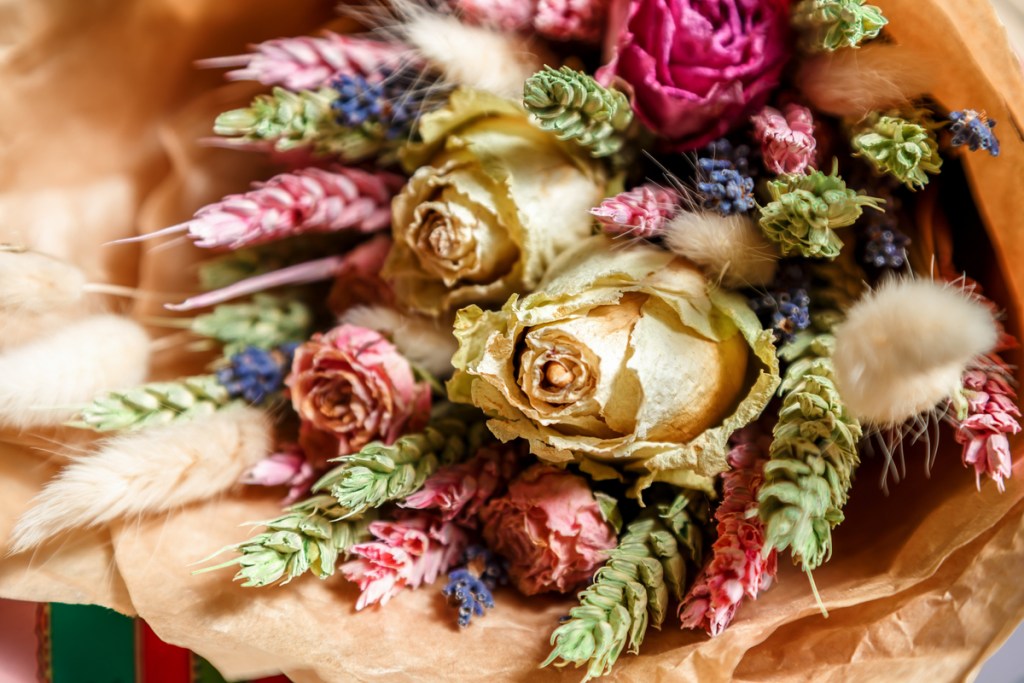
Make potpourri

Use entire fresh or dried flower heads, flower petals, or a blend of both to create a beautiful and fragrant potpourri. It is important that the potpourri blend be completely dry so that it does not develop mold.
- Remove flower heads from the stems and separate the petals if you wish.
- Spread the flower heads and petals on a baking sheet.
- Quick-dry the flowers in an oven at 200°F until dry, which can take up to two hours.
- Place the dried flower parts in an airtight container and add two or three drops of essential oils to increase the intensity of the aroma. Rose oil, lemon oil, honeysuckle oil, and lavender oil are popular fragrances for potpourri.
- Store the dried flowers in an airtight container for six weeks. The flowers will absorb the essential oils and release the fragrance when used.
- When the flowers are ready, display your new homemade potpourri in an open jar or decorative bowl.
Make a flower wreath
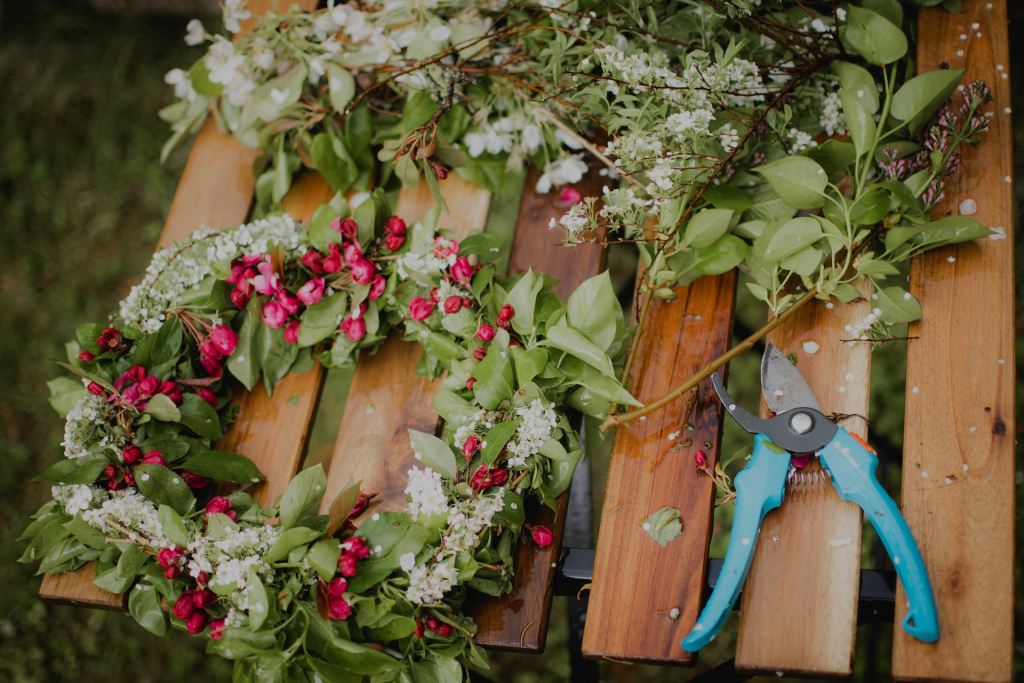
A fresh wreath can be beautiful, but it’s not guaranteed to last very long. If you’re looking to keep your flower wreath around for a while, it’s worth spending a bit of time to dry out the flowers beforehand — this is the perfect craft for celebrations and holidays.
- If you don’t already have dried flowers, cut fresh flowers and hang them upside down for a few weeks for your dry flower wreath material.
- Gather your dried flowers, cut most of the stems off, and secure a few in small bundles with floral tape. Trim the ends as needed.
- Secure your bundles to a floral wreath (either willow or wire) with floral wire or twine.
- Continue attaching your dried flower bundles to the wreath form, hiding stem parts with the blooms on the dried flower bundles. When you approach your last bundle, hide the stems in the flowers of the first bundle.
- If you’d like, use wire or string to create a small slipknot for hanging your wreath.
- Fluff out your wreath and adorn it with ribbons, dried berries, and other embellishments.
Make flower petal beads
The tradition of making rose petal beads goes back centuries. You can use this method to create beads for a beautiful necklace, earrings, or bracelets from rose petals and other types of thick flower petals. You will need the petals of eight to 12 roses, distilled water, a frying pan (black cast iron is traditional, but any non-stick frying pan will do), a blender, thin wire nails or quilting pins, and a sheet of foam or corkboard.
Heat the petals
- Put the petals and a half-cup of distilled water into the frying pan.
- Simmer below the boiling point until the petals become soft. Add water as needed so the pan does not dry out.
- When the petals are thoroughly softened, like cooked greens, turn them off and let them cool.
Blend and dry the petals
- Place the cooled rose petals in a blender with just enough water so that the petals blend to a smooth texture. You should no longer see identifiable rose petal fibers in the mixture.
- If the mix is very wet (think spaghetti sauce), place it back in the frying pan and heat it to evaporate excess moisture.
- Another way to dry the mix is to spread it on parchment paper on a baking sheet and place it in a warm oven for a few hours.
Make the beads
- When the texture of the rose dough is workable and feels like smooth clay, begin shaping it into beads. They will shrink as they dry and cure. The drier the mix, the less the shrinkage, and the stronger the beads will be.
- Put a pin or nail through the center of each bead and push them into the foam or corkboard. Every two hours as the beads begin to dry, gently slide them inward or outward on the pins so they do not stick. Remove the beads from the pins after a day.
- Let the beads dry out for a few days before making them into jewelry.
- Store the beads in the open air for several months as they continue to dry. When they are fully dry, they will tolerate incidental moisture like rain but will disintegrate if you wear them in the shower.
Make pressed flower art
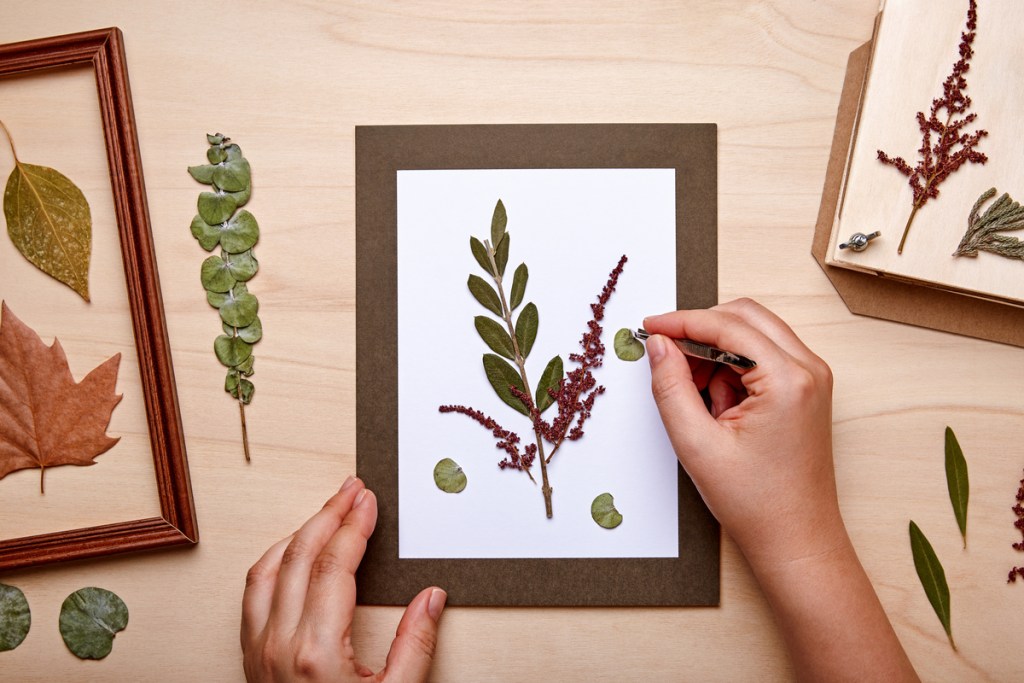
Make custom artwork by simply choosing colorful flowers, pressing them for a week, then arranging them in a frame on a simple white background.
- Choose the flowers you’d like to press, then remove the stems and foliage.
- Lay the flowers on a paper towel, cover them with a second paper towel, and tuck them into a hardback book. Place more books on top to add extra weight. The idea is to make the flowers as flat as possible.
- After a week or two, remove the towels with the pressed flowers from the book.
- Coat the sheet of white cardstock with decoupage glue.
- Gently arrange the pressed flowers on the glue-coated surface and press them in place.
Make flower confetti

While you can purchase freeze-dried petals for flower confetti, it’s also relatively simple to make them yourself. These are great for celebrations such as weddings, and they can be beautiful and sentimental keepsakes. Here’s how to make quick and easy flower confetti.
- Pluck petals off from a bloom carefully, making sure to use fresh petals only.
- Place a layer of petals onto a microwavable plate lined by a paper towel.
- Layer another piece of paper towel over your petals.
- Microwave the petals in 30-second intervals until the petals no longer have any moisture.
- Repeat as needed, then store your dried petals in an airtight container.
Alternatively, you can also layer your petals onto a lined baking tray and set the oven somewhere between 150 to 200 degrees Fahrenheit for about 10 minutes.
Other crafty ways to make use of dead flowers

The options you have to make use of your dead flowers can be endless. Here’s a list of other things you can turn your wilted flowers into to repurpose them and keep them out of the compost:
- Candles
- Floral cleaner or room spray
- Bath products
- Coasters
Also, keep in mind that you can use more than just roses! There are countless varieties of flowers out there that you can incorporate into beautiful craft projects.
As you can see, repurposing your flower bouquets takes just a bit of creativity and some time. With a little patience, you’ll have a beautiful craft that you’ll want to cherish for years to come — and you’ll know it came from your ingenuity!


