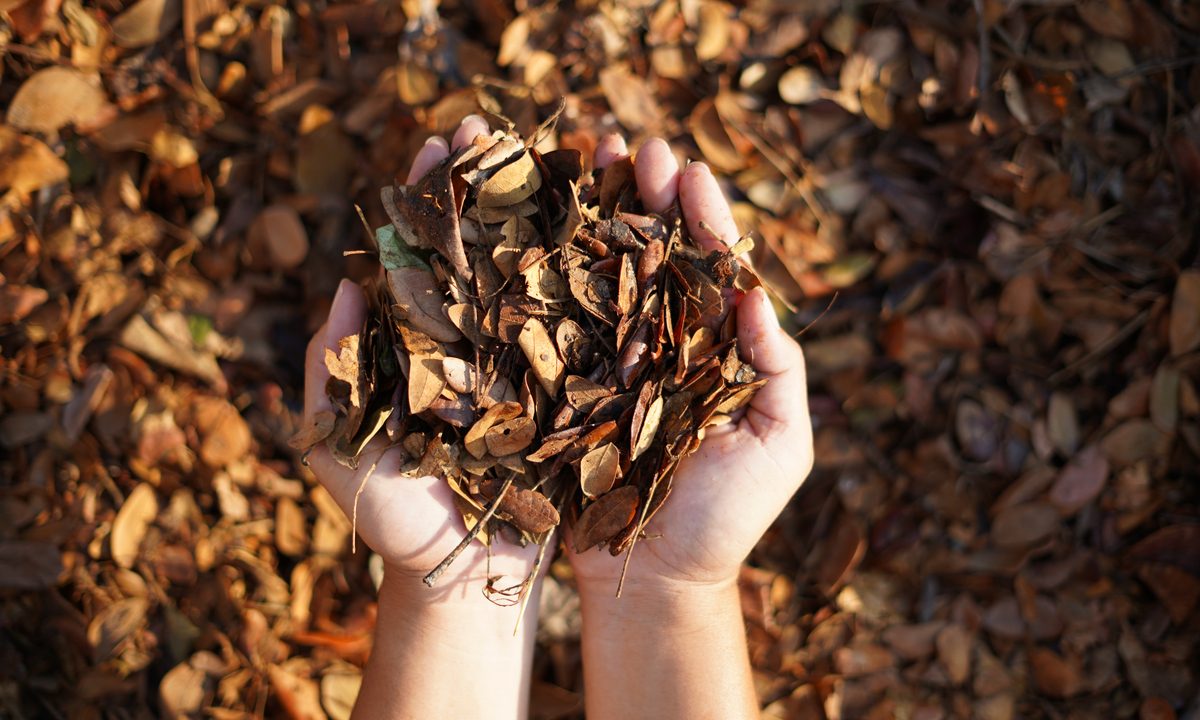
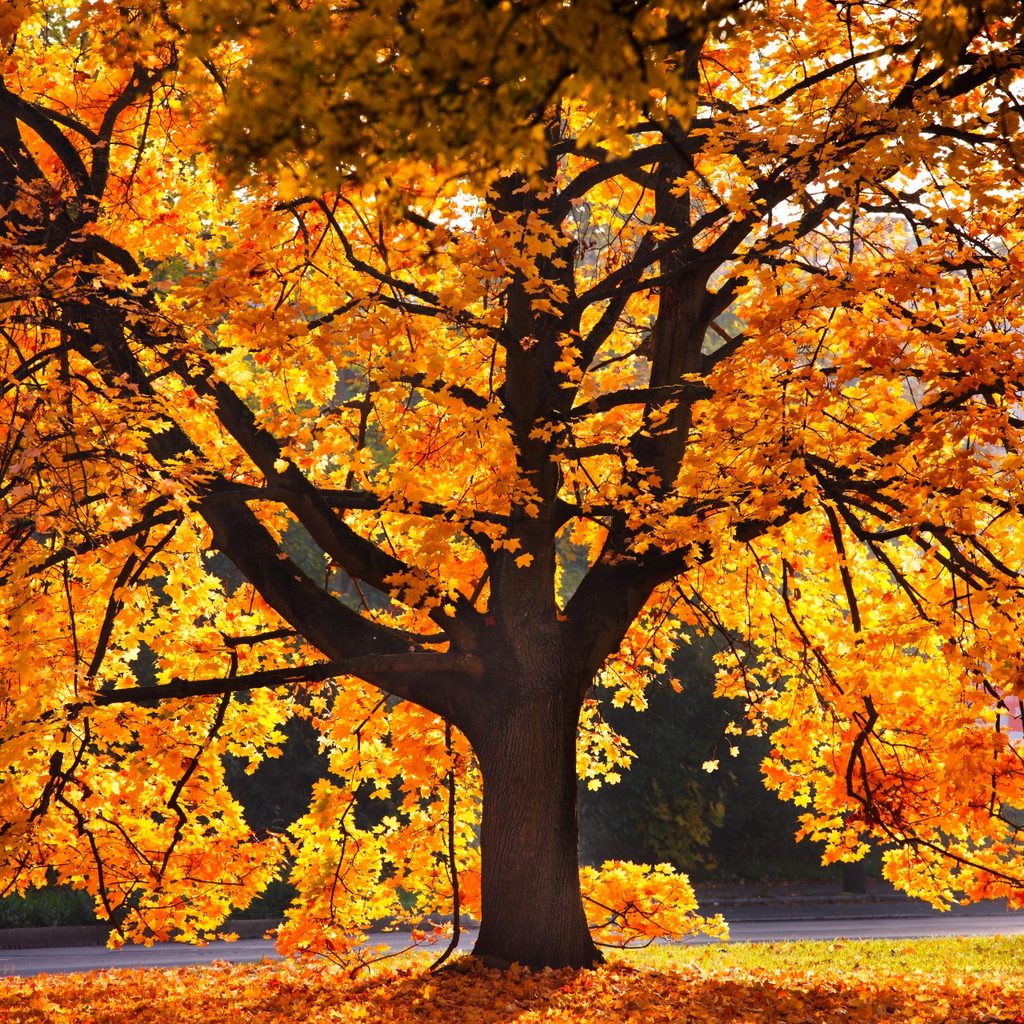
Leaves are one of nature’s great nutrient recyclers. Throughout the growing season, they are food factories for trees and shrubs, turning sunlight and water into stored sugar. Then, as nighttime temperatures cool and the days shorten, they shut down and fall to the ground. As they decompose, they return a wealth of accumulated nutrients back to the soil.
In forest ecology, fallen leaves support entire ecosystems as they break down. Fungi have the primary responsibility of decomposing the tough cell walls, followed by earthworms and other creatures that feed on the fungi. Ultimately the leaf remains become part of the earth that goes on to support future generations of plants and animals.
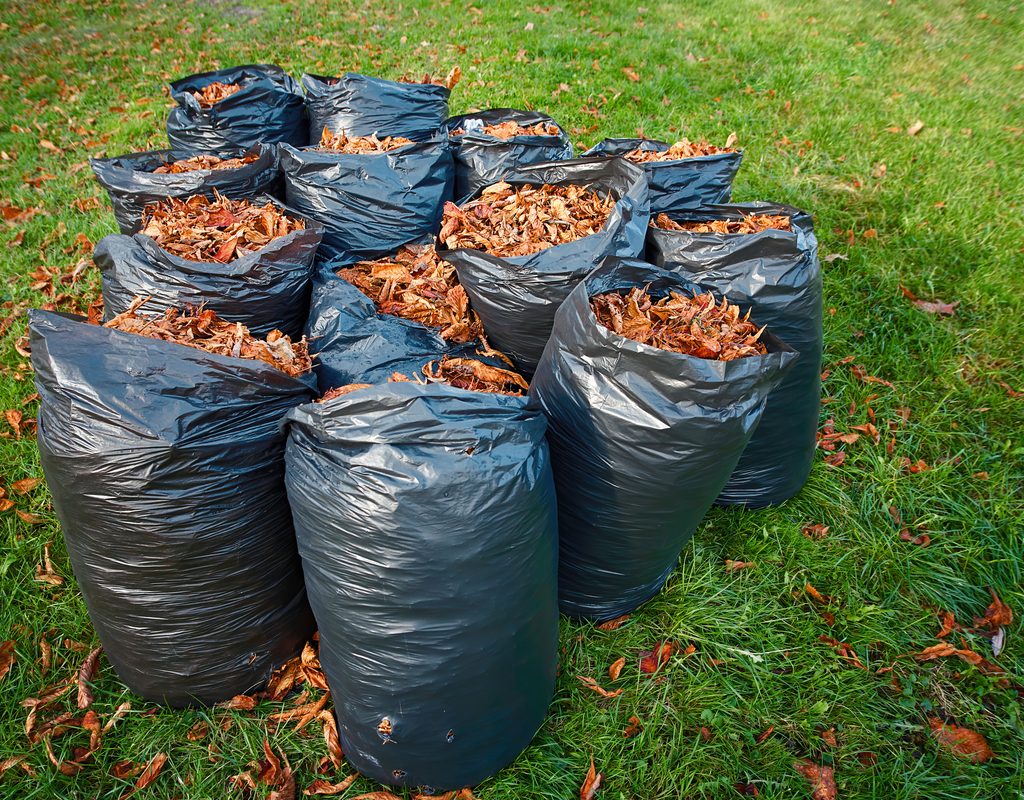
Gardeners have the ability to influence the decomposition process by moving, storing, shredding, and incorporating leaves into compost. Here are some of the best ways to use fall leaves as compost.
Easy compost blend
Here's how to set up your fall leaf compost pile.
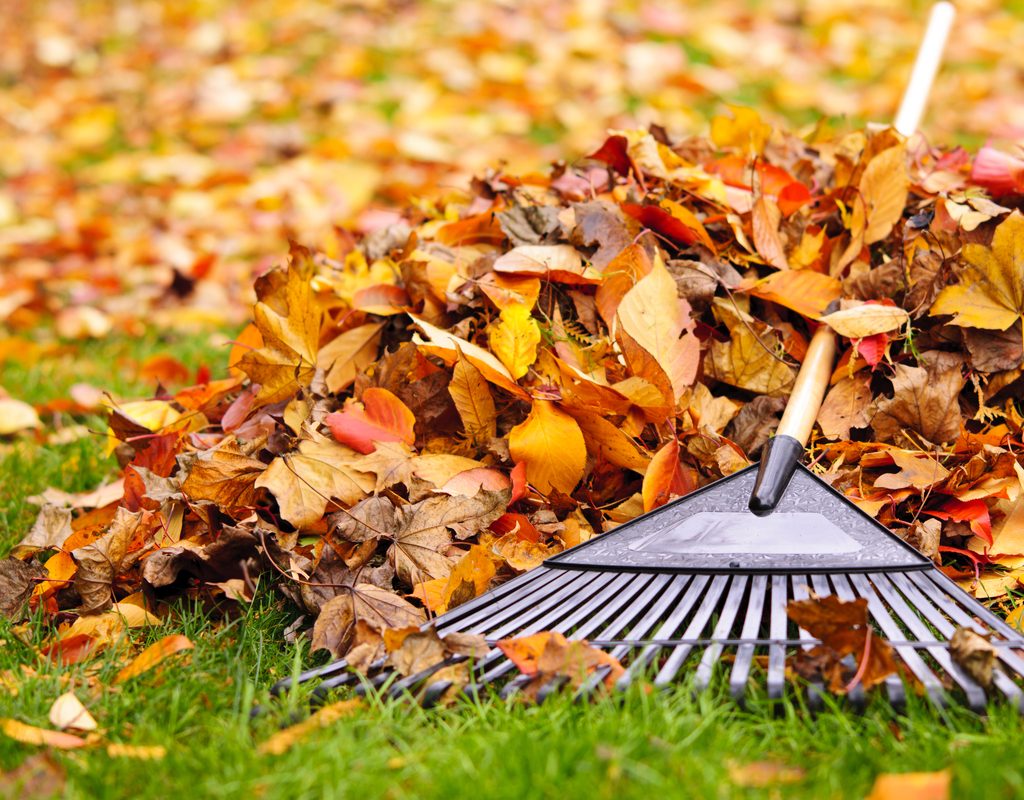
Step 1: Collect the leaves using a bagging lawn mower.
The lawn mower will shred the leaves, which helps them decompose faster, and collect the leaves for you to use.
Step 2: Empty the collection bag into a compact pile, continuing until the pile is roughly 4 feet tall and wide, or until you run out of leaves.
Step 3: Add water to the pile until it is thoroughly moist.
Step 4: Cover the pile with a tarp to hold in the moisture.
Step 5: Turn the pile once a week, and the batch will be ready to use within two months.
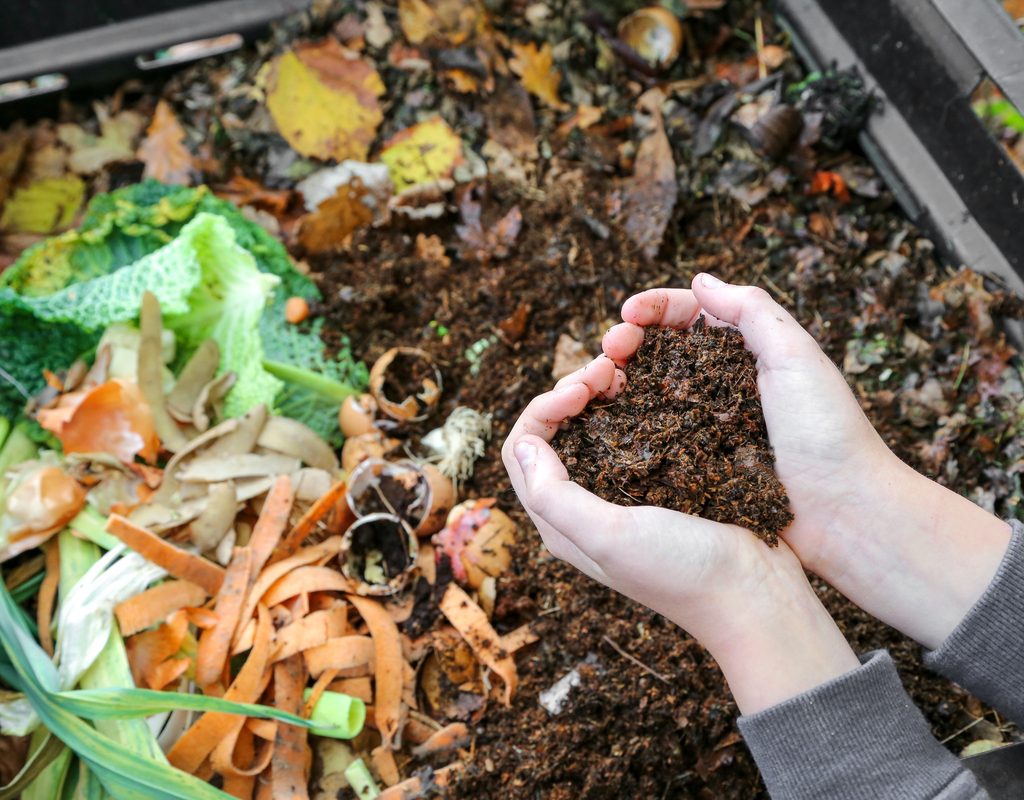
Brown and green compost material
In traditional composting systems, the ingredients are categorized as either nitrogen-rich “greens” or high-carbon “browns.” Bacteria and other composting microbes need a 4-1 ratio of browns to greens to process the material efficiently.
Early in the season, autumn leaves offer a fair amount of nitrogen, but as the season progresses and the leaves dry out, they quickly become a primary carbon source. When adding fallen leaves to this type of system, consider them as you would other browns.

Leaf mold
In many areas, leaves continue to fall well after grass stops growing. This is a perfect time to make leaf mold. Leaf mold is a “cold compost” made of nothing but fallen leaves. Because it relies on fungi to colonize and break down the leaves, it can take a year or more to finish a batch. That said, making leaf mold requires no labor beyond building the initial pile. Here's what to do:
Step 1: Use T-posts and fence wire to build a 4-foot high, circular bin with a diameter of at least 4 feet in a shady location.
Step 2: Line the bin walls with plastic to minimize moisture loss, leaving the bottom open.
Step 3: Fill the bin with fallen leaves, wetting them as you go.
Step 4: Cover the bin with a tarp.
Step 5: Open the bin in a year or two to collect the leaf mold.
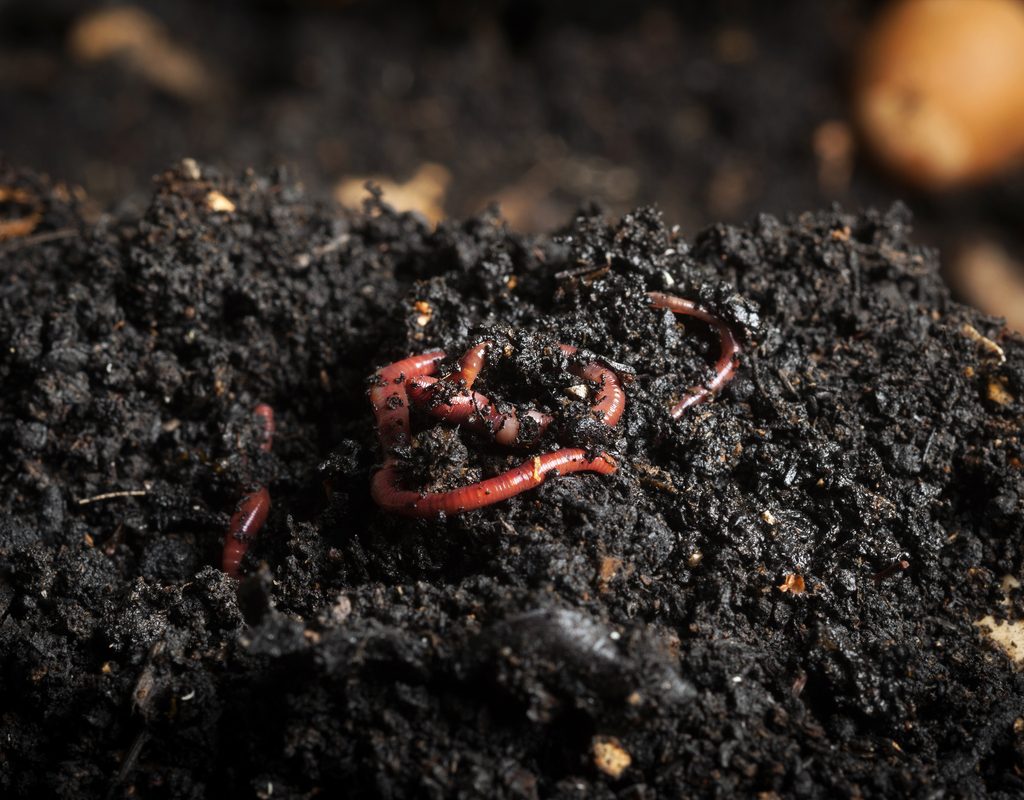
Worm composting
Worm composting, which is also known as vermicomposting, is a way to make compost quickly in a confined space. These systems start with worms and some sort of carbon-rich bedding, to which kitchen scraps and other high-nitrogen material is added in small quantities over time. The bedding material captures excess moisture and nutrients, provides shelter for the worms, and keeps the texture of the compost much more open. Here's how to start your own.
Step 1: Fill a 10-gallon plastic tote about three-quarters full of shredded leaves.
Step 2: Dampen the leaves.
Step 3: Add worms to the bin.
Step 4: Feed the worms weekly with finely chopped kitchen scraps.
The worms will consume about three times their own weight in food waste each week.
Step 5: Add fresh bedding as needed.
Step 6: Harvest the compost and start a new batch when the bin is about halfway full of compost, using just a thin layer of bedding at the top.
Leaf mulch
Composting isn’t necessary before using fallen leaves for mulch, although shredding is recommended. The leaves slowly decompose throughout the winter and spring, feeding the soil-dwelling microbes and plants as they help to protect and improve the soil. Here's how to use leaves as mulch.
Step 1: Shred the leaves using a lawn mower.
You can either leave the leaves scattered over your yard or collect them with a bagging attachment to use in your garden.
Step 2: Spread 2 inches of leaves around your plants.
A layer thinner than 2 inches is fine, but one thicker than 2 inches could absorb too much rainwater.

Garden bed preparation
Another good way to enjoy the benefits of fallen leaves is to pile them on a dormant garden bed. As they cover the bed through winter, they insulate the soil from wide temperature fluctuations, allowing biological action to continue. Fungi continue to decompose the leaves that are in close contact with the soil, and worms travel between the leaf pile and lower soil layers to incorporate the material.
What to keep in mind when using leaf compost
As wonderful as leaf compost is, there are a few things to keep in mind before you use it in your garden. Here's what to consider before you figure out how to use your fallen leaves:
Leaf compost can be slightly acidic. This is something to keep in mind if you want to use the compost on plants that can't handle acidity — consider adding limestone to your leaf compost to counteract the acidity.
It can take a while for leaves to break down. Without intervention, leaves can take over a year to break down properly. Of course, factors such as moisture, heat, and leaf size will impact how quickly your leaves decompose. If you need compost as soon as possible, you might want to stick to a composting method like vermicomposting.
Leaf mold retains a lot of moisture. You want to avoid adding too much leaf mold and especially too much of it by your plant's base, as this may make it more prone to rot.
If you’re not using autumn leaves in your lawn care regimen, it’s time to reconsider your habits. Fall leaves are some of the best raw materials for composting. They provide a rich source of carbon for decomposers, and add significant quantities of trace minerals and plant nutrients to the mix. Leaf compost is one of the best soil amendments that money can’t buy.