When the leaves begin falling and the weather turns cooler, there are a few common issues gardeners face. You’ll need to keep any perennials in your garden warm, deal with excess leaves in your yard, and maybe even give your soil a nutrient boost to prepare it for spring. If this seems like too many tasks for your liking, you might be interested to learn about leaf mold, a clever way to take care of all those things at once. Not sure what leaf mold is, or how to get started? Don’t worry, we have all the answers you need.
What is leaf mold?
Leaf mold is a specific type of leaf mulch that has been partially composted. As the name suggests, it’s made from fallen leaves. Unlike regular leaf mulch, which uses whole or shredded leaves while they’re still fresh, leaf mulch is made from leaves that have already partially decomposed. Although leaves can (and in many cases should) be added to compost, leaf mold is also distinct from compost. Leaf mold is entirely or mostly leaves, whereas compost is typically a mixture of leaves and other organic matter. Although the name can be off-putting, the process is simple and natural. You don’t need to worry about mushroom cultivation or introducing harmful fungi into your garden.
How is leaf mold used?
Although leaf mold is different from regular leaf mulch, it’s still a type of mulch and can be used in the same way you would use any other mulch. You can spread a layer, one to three inches thick, over the top of your garden soil. If you have plants that have thin or sensitive stems, or plants that are prone to fungal infections, you should leave some space between the stem and the layer of leaf mold. This is because leaf mold absorbs water, which, when pressed against sensitive stems for a long period of time, can cause abrasions or wet spots on the stem.
You can also mix leaf mold into the soil itself, using it like a fertilizer rather than a mulch. If you have a different mulch that you prefer to use, you can mix the leaf mold into the soil to give your garden the benefits of leaf mold while leaving room for a different mulch. If you do use leaf mold as your primary mulch, you can still mix it into your soil when spring rolls around and you begin to plant new plants.
What are the benefits and drawbacks of leaf mold?
Leaf mold works very well as a mulch. It helps the soil retain more water and protects the roots of your plants from the cold. Additionally, leaf mold is organic, all natural, and can be made at home. You don’t need to worry about adding chemicals to your soil or collecting the mulch after use, it can simply be left to decompose further. In fact, as the leaves decompose they add nutrients into the soil. Since the leaves are already partially decomposed, those nutrients are more readily available than they are with regular leaf mulch.
However, leaf mold is not a perfect fit for every garden. It does require fallen leaves, so individuals without access to deciduous trees may struggle to produce it. Additionally, it is not always the most effective insulation, so regions with colder weather or more sensitive plants may need a thicker mulch. The main drawback, however, is the length of time it takes to make leaf mold. It can take a year or more to create leaf mold, so the process is not for those who need mulch immediately.

How to make leaf mold
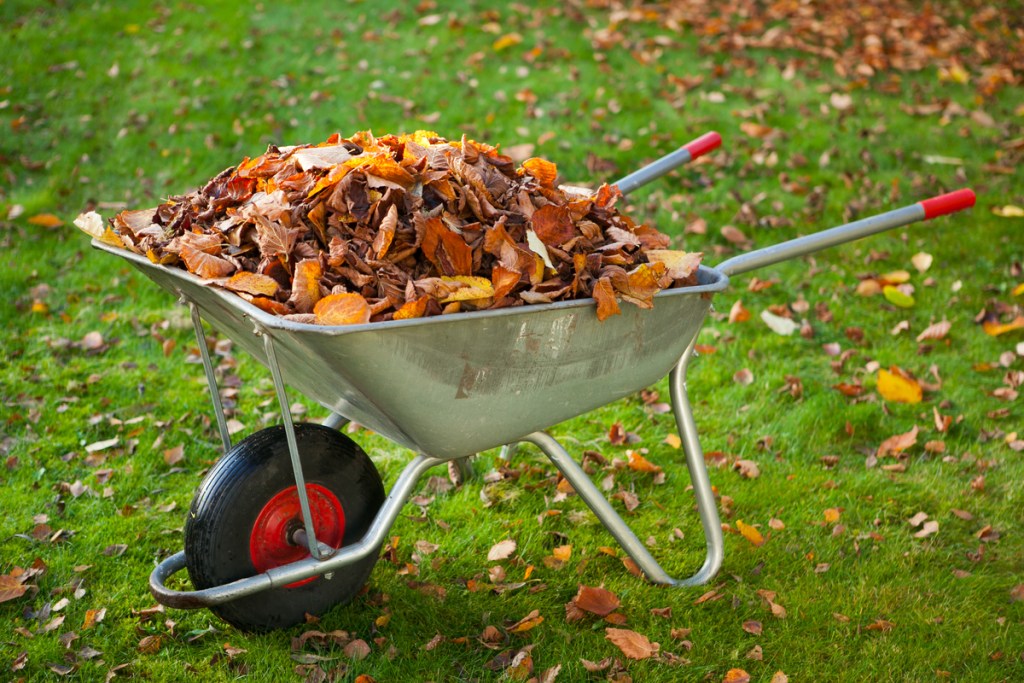
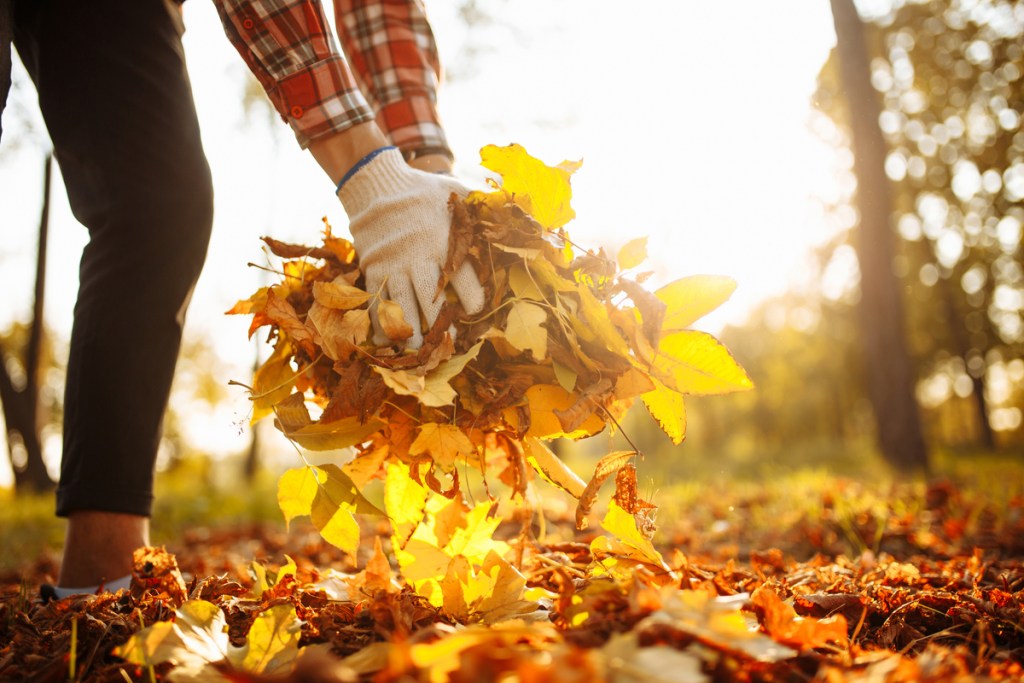
Start by gathering up the loose leaves in your yard. If you don’t have any trees, or if your trees haven’t dropped many leaves yet, you might try getting in contact with local parks. Some parks will sell or give away their excess leaves to keep the park clean, so it’s a win-win for everyone. You can keep all the leaves in a pile or in an empty bin, but remember that they’ll be there for a while, so pick a location that works well for you. If you use a bin, make sure there are drainage holes or remove the bottom entirely.
You can leave them whole or shred them. Shredded leaves will decompose faster, and leaves can be shredded using a rake, garden vacuum, or the mulching attachment on a lawn mower. Larger piles will also decompose faster, as they’re better at retaining water and heat, both of which speed decomposition. A tarp or windbreak can be useful for stopping your leaves from blowing away.
All that’s left to do is wait. If your pile dries out, particularly if you live in a hot climate, you can add water to stop the decomposition from slowing. You can also stir or fluff it occasionally, to increase airflow. Completed leaf mold should crumble when picked up, and it should be fairly soft.
Leaf mold is easy to make, beneficial for your garden, and is a great way to make use of excess leaves. If you have the patience to wait for it, leaf mold is a wonderful resource. Now that you know all about leaf mold, how to make it, and when you can expect it to be ready for use, you can start gathering up your leaves and get started on your own leaf mulch or leaf mold.

