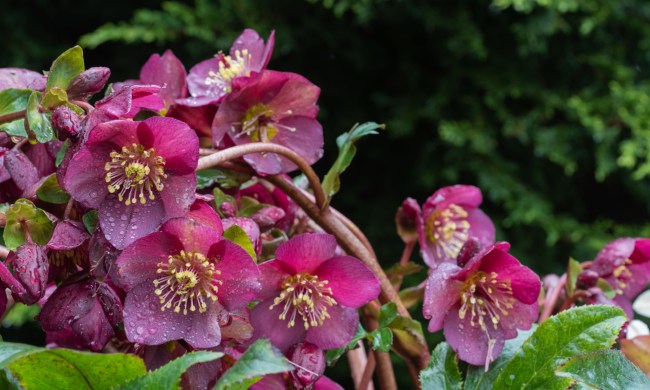
Garden fresh flowers are beautiful, brightening any space and adding a touch of sweet floral scent to the air. Fresh isn’t the only way to enjoy your flowers, though! Dried flowers can be just as lovely and have plenty of uses. If you’ve ever looked out over your garden and wondered which of your flowers would be best for drying, then you’re in the right place!
Which flowers are the best for drying?
This depends on what you’re drying them for. Dried flowers are useful for any number of reasons, but they break down more or less into two categories. Flowers can be dried for decoration or display or to be added to things such as potpourri or tea. Some characteristics will be the same for either reason. Namely, look for a flower that is in good health. Avoid flowers that are diseased or damaged, especially if the flower is going to be used in something that will be consumed.
For flowers that will be dried and displayed, some consideration should be given to where they will be displayed to match the general aesthetic you’re aiming for. In general, look for flowers with sturdy blooms. Delicate flowers will be harder to keep intact. Lilies, for example, have a tendency to lose petals.
If you’re drying flowers for use in other products, then the delicate flowers are back on the table. For example, roses in full bloom are too delicate to easily dry whole, but the petals from those roses can be dried on their own. You will want to choose flowers that fit with your intended product, though — flowers that smell strongly for potpourris or are edible and tasty for teas.
Lavender, carnations, marigolds, strawflowers, statice, nigella or love-in-a-mist, poppy pods, hydrangeas, roses, and larkspur are all relatively easy to dry, making them a great choice for beginners. Lavender and rose petals are excellent additions to tea, potpourri, or decor, while the others are wonderful for display.
Harvesting flowers
When harvesting flowers, you can just pick them, but that isn’t the best way. Picking flowers often crushes or damages the stems, which, depending on the severity of the damage, can make them harder to dry or less attractive to display. Instead, use a pair of sharp garden scissors or another sharp blade and carefully cut the stem to the desired length.
It’s important for the blade to be sharp, otherwise you risk crushing the stem. Be sure to keep your fingers clear and practice good blade safety!
Drying flowers
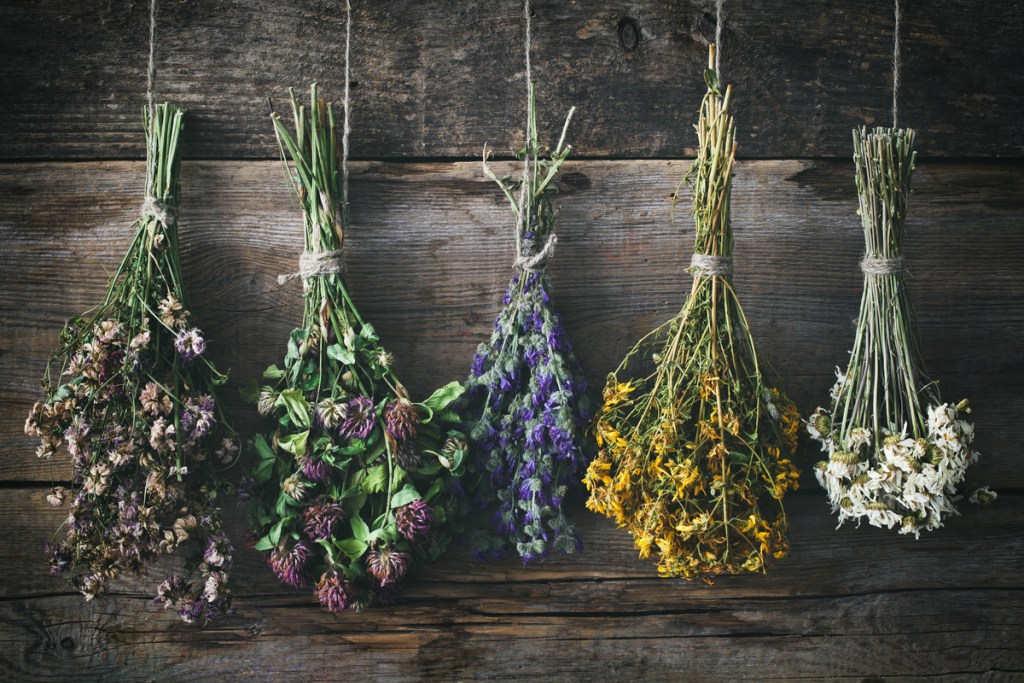
There are three primary methods for drying flowers. You can hang your flowers, press them, or microwave them. All methods work, so it really comes down to personal preference.
Hanging flowers to dry is a great method for flowers with long stems and allows you to keep the full shape of the flower. Simply tie garden twine, unflavored dental floss, or string around the end of the stem and hang the flower upside down in a cool, dry area. Sunlight can strip them of their color, so avoid hanging them in sunlight to preserve their color. In just a couple weeks your flowers will be fully dried.
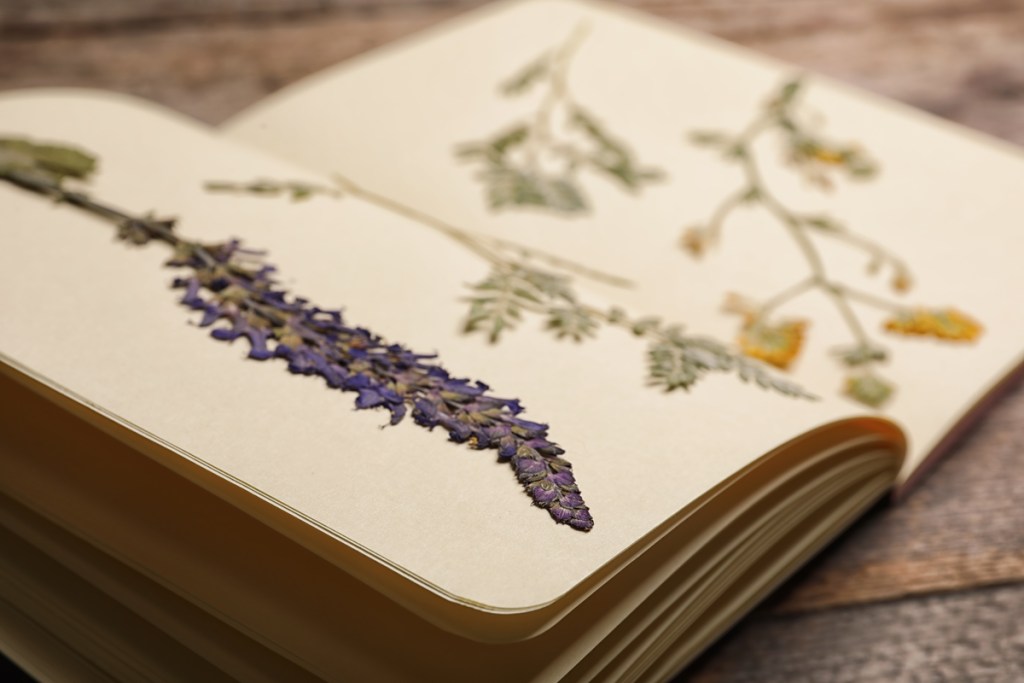
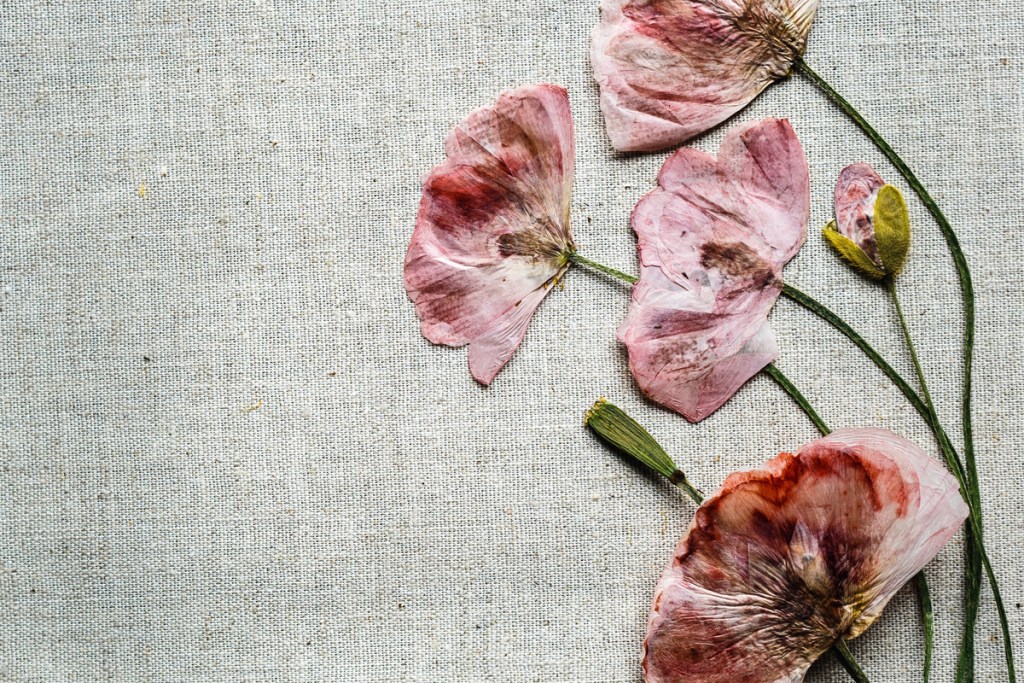
Pressing flowers works well for flowers without long stems or without stems at all. The flowers in this method do not retain their shape and are instead pressed flat. This is a great way to dry flowers for use in art projects, such as resin crafts. Simply lay the flower flat, arrange the petals how you would like them to stay, and cover with a sheet of wax paper or paper towels. Then, lay something heavy but evenly weighted over it, like a large book. This is the slowest method.
Microwaving flowers is the quickest method but does require extra supplies. In addition, this method keeps the flower’s shape but cannot be used for flowers with long stems — since long stems may not fit in your microwave! You’ll need a microwave-safe container and silica gel for this method. Take note, because silica gel is not food safe, the container you use can’t be used for food afterward.
Fill your container partly with silica gel, then gently place your flower in the bowl, with the blossom facing up to avoid crushing the petals, and finish filling the container with silica gel. Don’t cover the container. It should only take a few minutes in the microwave, but the exact time it takes will depend on the type of flower and type of microwave you have. Once the flowers are done, cover the container, leaving only a slight gap for ventilation, and let it sit for one day.
Storing dried flowers
If you have dried flowers that aren’t mixed into anything (tea, potpourri, or resin), you may not want to display them all the time. When they aren’t on display, they can be carefully stored in a cool, dark, dry space. Wrap your flowers gently in newspaper or paper of a similar material, and put them in a sturdy box to protect them from being crushed.
Now you’re ready to get into your garden and harvest, dry, and store your flowers! Remember to choose your flowers carefully for appearance and health and to always use a sharp blade. Keep drying flowers away from the sun, and store them carefully, as dried flowers are fragile and prone to crumbling. Whether you’re drying flowers for display, art, or eating — enjoy!