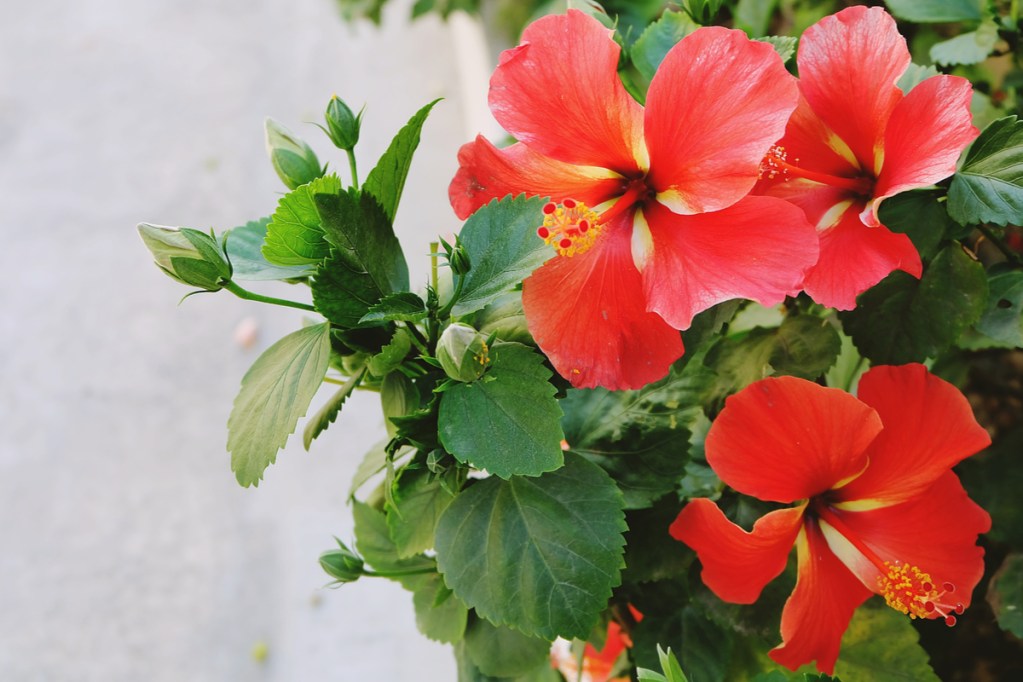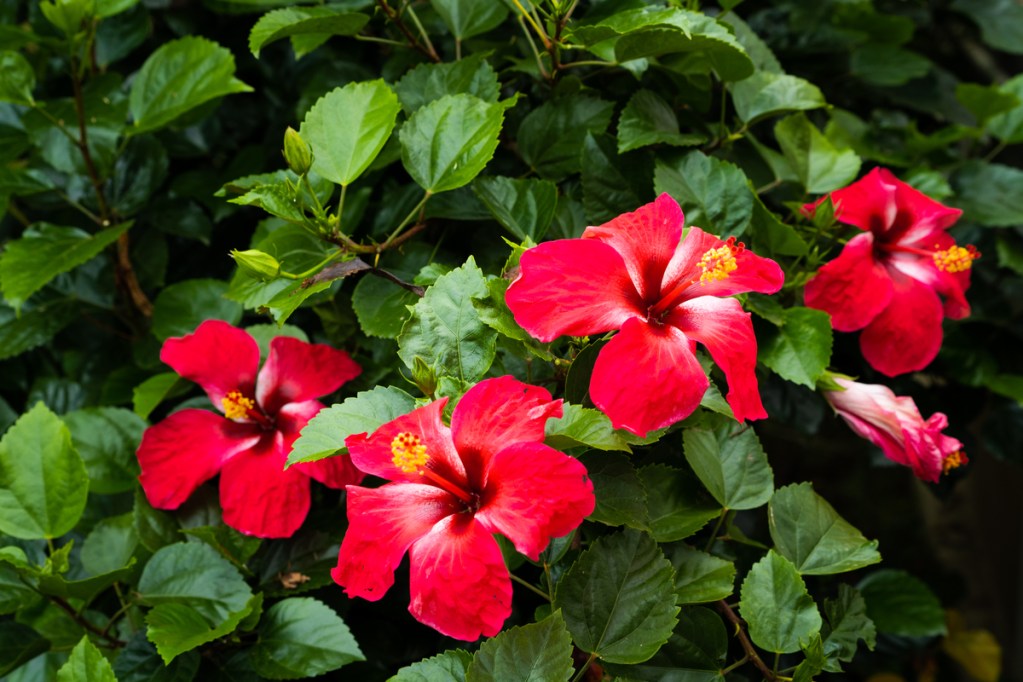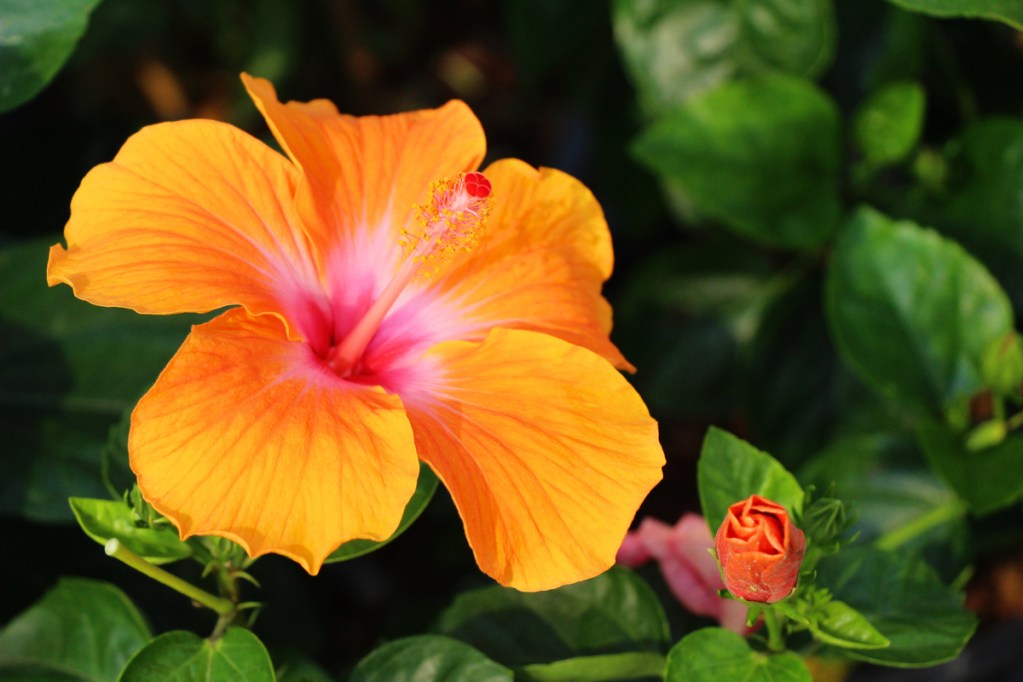
Hibiscus flowers are beautiful and useful. These elegant and stately flowers can be a charming addition to any yard or flower garden, but did you know you can also dry the petals and use them to make tea? If you’re a fan of edible flowers, you should definitely add a hibiscus plant to your garden. Hibiscus tea has a lovely, slightly tart flavor reminiscent of cherries or cranberries. Whether you prefer to taste your flowers or just look at them, this hibiscus care guide will ensure your hibiscus plants thrive.
Planting hibiscus flowers

Start planting your hibiscus in spring. Young shrubs and saplings are available in most nurseries in early spring, but more mature plants are available later in the year as well. You can plant mature hibiscus at any time of year or keep them in containers if you prefer. Be sure the soil in either the container or your garden is a well-draining soil that’s rich in organic matter and acidic. Test your soil’s pH before planting. If it’s not acidic, you can add compost, coffee grounds, or garden sulfur to the soil to increase the acidity.
Your planting site should be in full sun and several feet away from any structures or large plants. Hibiscus plants may start small, but they can grow to a few feet tall and wide, so spacing is important. Avoid planting your hibiscus at the bottom of a hill, or anywhere else where water might pool. Hibiscus plants don’t tolerate standing water. Instead, grow your hibiscus in a raised bed, mound, or the top of a slope so that water will drain away from the roots.
Hibiscus care

Hibiscus care is easy as long as the planting site is appropriate. The most important part of hibiscus care is water. Despite their distaste for standing water, hibiscus plants still need to be watered regularly. Plants that have an established root system can be watered once or twice a week or every other day during hot, dry weather. Recently planted hibiscus needs to be watered more frequently, either daily or every other day. Try to keep the soil moist but not soggy.
Pruning is another important element of hibiscus care. Remove damaged and diseased branches as soon as you notice them, but save larger pruning sessions for late winter or early spring. Cut branches that are likely to become damaged, such as those growing across another branch or too close to a structure, shrub, or tree. Clip longer branches, too, to control your hibiscus plant’s size and encourage it to grow into a wider, bushier state.
Fertilizer and mulch may not be necessary for your hibiscus, but they can be beneficial. Slow-release fertilizer or water-soluble fertilizer can give your hibiscus a boost for growing and blooming, while mulch helps the soil retain water.
Common hibiscus pests

Hibiscus plants can become the target of several common small pests. Aphids, whiteflies, mealybugs, scale, mites, and the aptly named hibiscus beetle can all infest your hibiscus plants. While most of the damage caused by these pests is cosmetic, some pests can spread diseases, and the holes and wounds left by the pests can leave the plant vulnerable to fungal infections.
Insecticides and pest repellents can keep pests away from your hibiscus plants, but if you plan on harvesting your hibiscus for tea, then you may want to reconsider. Any chemicals you put onto your plant can end up in your tea. If you want to keep your hibiscus flowers safe to eat, then be sure to choose sprays that are marked as safe for humans or control the pests by attracting ladybugs and other beneficial insects that eat small pests.
Harvesting and using hibiscus flowers

Hibiscus tea is delicious and easy to make. You make the tea using dried hibiscus petals, which are luckily easy to harvest. When the plant is in full bloom, choose flowers in good condition and clip, pick, or otherwise remove them. While you can harvest the petals individually, there isn’t much use in leaving the rest of the flower on the plant, and it’s easier to remove the whole flower than each petal individually.
Once you’ve harvested the flowers, remove their petals and discard the rest. You can compost the extra pieces if you prefer. Next, dry the petals. If you have a dehydrator, you can put the flower petals in it. If you don’t, simply spread the petals out on a tray, rack, or plate and set them in direct sunlight. When the petals are completely dry, you can place them in a container and store them in a dark, cool, dry place.
Hibiscus flowers are a stunning sight to see, and hibiscus care is easy as can be! Whether you’re a beginner or an expert gardener, a hibiscus plant might just be the perfect addition to your garden. Now that you know the basics of planting, caring for, and harvesting your hibiscus, you’re sure to have a garden bursting with bright and beautiful hibiscus flowers — plus a pantry full of dried hibiscus tea to enjoy.


