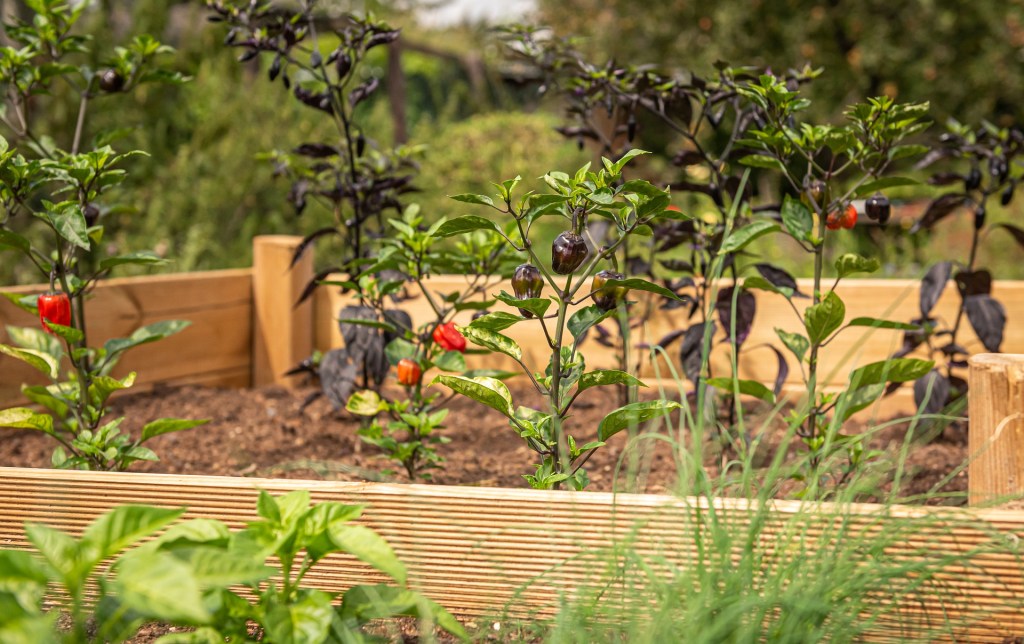
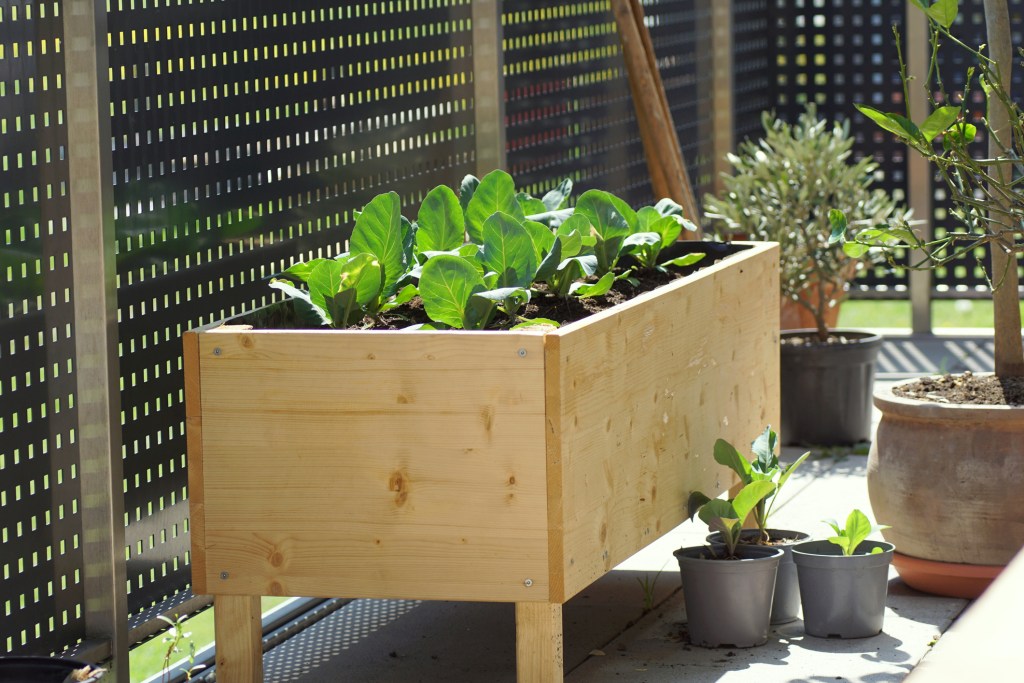
Raised garden beds offer a wide range of benefits to you and your plants, including protection from some pests, easier access, and space conservation. Gardening kits and pre-made beds can be a big help in getting your raised garden bed set up, but if you want a unique shape or size, or just prefer a more hands-on approach to gardening, then you might be interested in learning how to build your own. Here is everything you need to know about how to build a raised garden bed with legs.
What to consider before you begin
Before you begin building your raised garden bed with legs, there are a few things to consider. Weigh the pros and cons of raised garden beds to determine if this is the right gardening style for you. Raised garden beds are easier to access without kneeling and crouching, but they also dry out faster, meaning they require more frequent watering. Additionally, although building your own raised garden bed with legs is not difficult, it does still require an investment of time, energy, and resources.
You’ll also need to measure the area you plan on keeping your raised garden bed, so you know what size the final bed should be. The kinds of plants you want to grow in it will also impact the size and depth of your garden bed. Larger plants or plants with deeper root systems will need more space in order to grow properly.

What supplies do you need?
Here’s a list of supplies you’ll need for your DIY raised garden bed with legs.
- Weather-resistant wood (cedar or treated pine)
- 8 pieces for the box
- 8 pieces for the legs
- 4 to 6 pieces for the bottom
- Drill or hammer
- Saw
- Screws or nails
- Wood glue
- Landscape cloth
- Hand and eye protection
- Decorations
Since your garden bed will be outdoors, it is important that the materials are weather resistant. The size of the wood pieces depends on how large you want your garden to be. To make your box a square, all eight pieces should be the same size. To form a rectangle, four of them should be long, while the other four pieces should be short. All eight pieces should be the same width and height, only the length should differ.
The bottom pieces will sit inside the completed box, so it’s safer to wait until you construct the box to measure and cut these. They will form slats on the bottom, so they should be slightly shorter than the inside of the box. How many you need will be determined by how long your box is. Make sure there are 1 or 2 inches between them, so that water can drain out of the box.

Constructing the garden bed
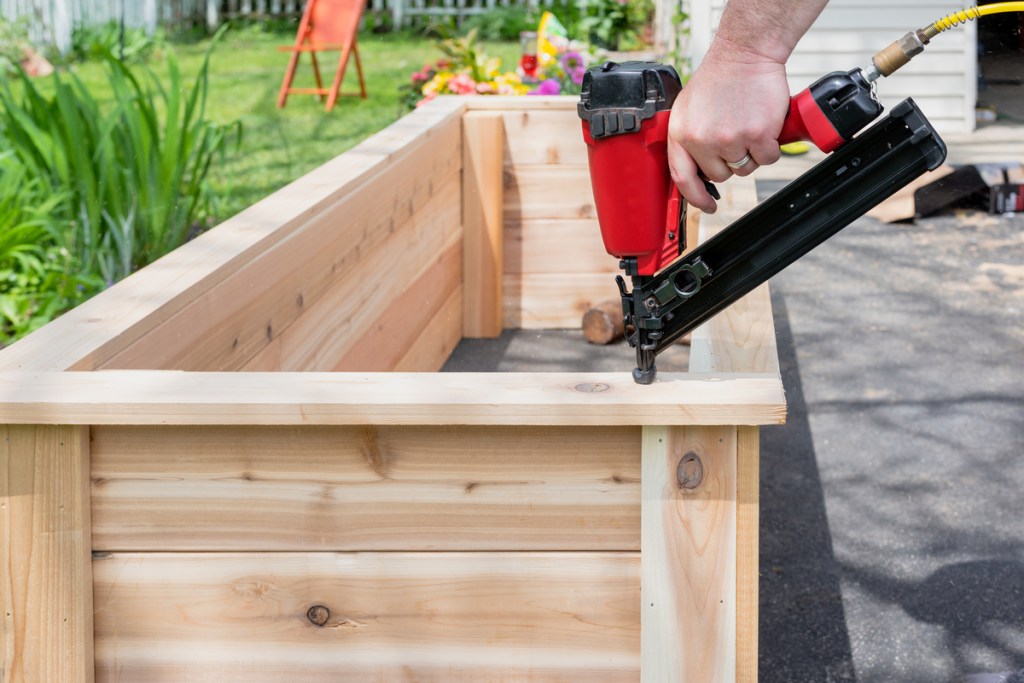
Lay out four of your box side pieces, two of each length, and then arrange them in a box shape. The shorter ends can go inside or outside the long ones, but make sure you arrange them the same way on both ends. Ensure the pieces line up evenly and then attach them with screws or nails. Two per corner should be enough, but test the stability of the connection to be sure. You can add the bottom slats now, but they may get in your way later. Repeat this step with the other four box side pieces, so you have two rectangles, but don’t attach them to each other yet.
Making and attaching the legs
Although you can use four narrow pieces (one in each corner for the legs) it is less stable. Instead, use eight flat pieces, two for each corner. These flat pieces should form a right angle on the outside of the box. For extra stability, use wood glue to attach the two flat pieces together to form a single piece in the shape of a right angle.
Then screw or nail the leg to the outside of the first box, so the top of the right angle and the top of the box are level. You can stand the legs up and screw them from the outside, or lay the box down and screw them from the inside. Four to six screws (two to three on each side) are usually enough.
Attach two legs to the first box and then add the second box directly below the first. Make sure you press the two boxes flush against each other, leaving no gaps. This is easier to do with the garden bed lying down, but you can do it standing up with some assistance.
Attach the second box to the legs just like the first box. Then rotate the frame and repeat the process for the remaining two legs. When you’re done, it should resemble a table without a top, and it should be able to stand on its own.

Installing the bottom
To make the bottom of a raised garden bed with legs, cut four to six thin boards so they are just slightly smaller than the box. The slats should run parallel to the short ends of the box and perpendicular to the long sides. Measure the slats carefully, so they are small enough to slide into the bottom of the box but long enough to touch both sides. It may take a few tries to get right. The boards should be flat, although it isn’t the end of the world if they are slightly uneven.
Secure the ends of the boards to the sides of the box, but remember, the slats should not fit tightly against each other. Once they are all secured, lay a piece of landscaping fabric or weed barrier over it. The cloth should be slightly larger than the bottom, so you can secure the edges to the sides of the box with no major gaps. Try to lay the cloth as flat as possible, so any gaps are clearly visible. You can secure the cloth to the sides and the slats with staples, nails, or screws.
That’s all there is to it. Now you can fill your raised garden bed with soil, plant your plants, and watch them grow! Fill the garden bed slowly, and watch for any leaks or cracks. A little bit of spilled soil is fine, but a steady stream may point to a tear in the fabric. Check for cracks in the wood, which will need immediate repair. Then, just enjoy your garden!

