
Start off the year right: How to prepare your garden for the new growing season

Tackle these tasks now to get your garden ready for the growing season

Jumping into the new year can be daunting, but it doesn’t have to be! If you aren’t sure where to start with your garden this year, we’re here to help. Just like the steps to winterize your garden in late fall, there are steps you can take to wake up your garden and prepare it for your first planting of the year. Here are four simple tasks to help you start your new growing season off right.

Difficulty

Easy

Duration

1 hour

What You Need

  • Pruning shears

  • Compost

  • Hand shovel

A faded, brown hydrangea in the snow

Clean out old plants

The first step to preparing your garden is to clean it. Here’s what to do:

Step 1: Remove loose debris.

Step 2: Assess what plants need to go.

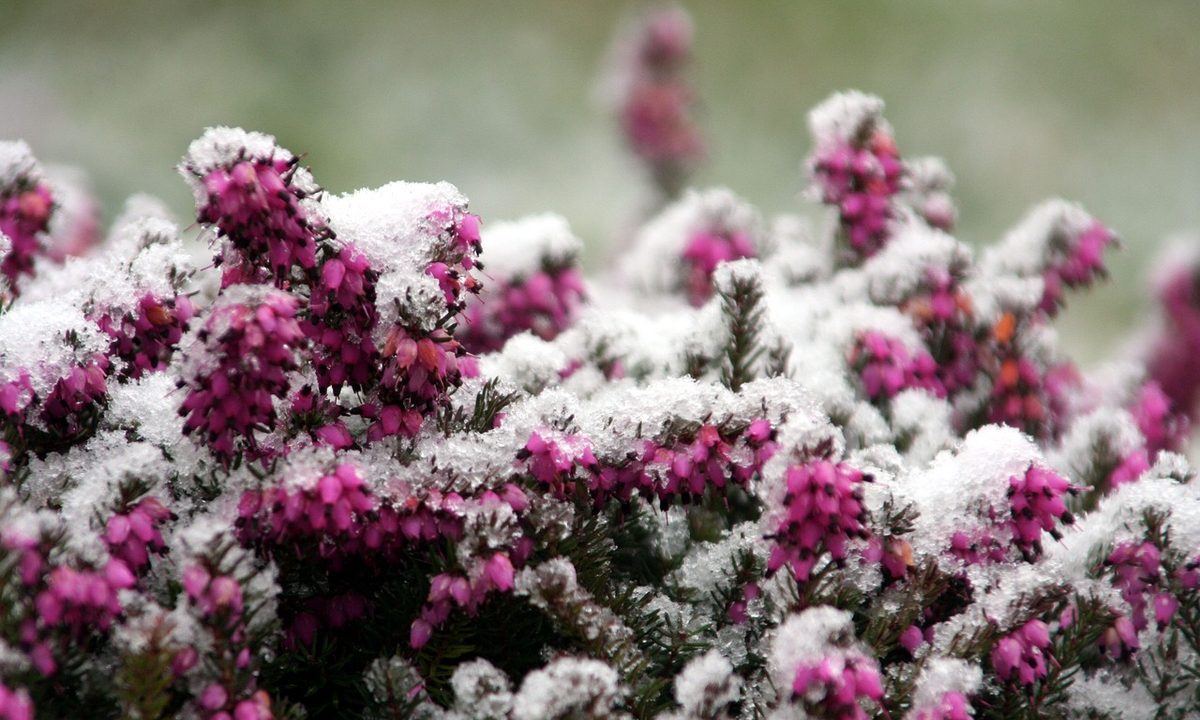
Look for plants that have already died or are close to dying. Remove any plants that sustained heavy damage over winter or are sick, as well as plants you simply don’t want in your garden anymore.

Some plants go dormant during winter, and dormancy can look like death! Check the roots if you’re unsure. Brittle, mushy roots are signs of dead plants, while firm, light-colored roots are signs that your plants are still alive.

Remember to check porch plants left outside during winter, too.

Step 3: Dig up plants that you need to remove.

You may be able to pull them up without digging. However, this can damage the roots of nearby plants. It’s safest to either dig them up carefully with a hand shovel or cut the plant off at ground level with garden shears and let the roots decay in the soil.

Step 4: Prune partially dead plants.

Some plants may have a living stem, but some may have dead branches. Cut the dead branches off with a clean, sharp pair of shears to keep the rest of the plant healthy.

Step 5: Avoid composting any material with fungi on it.
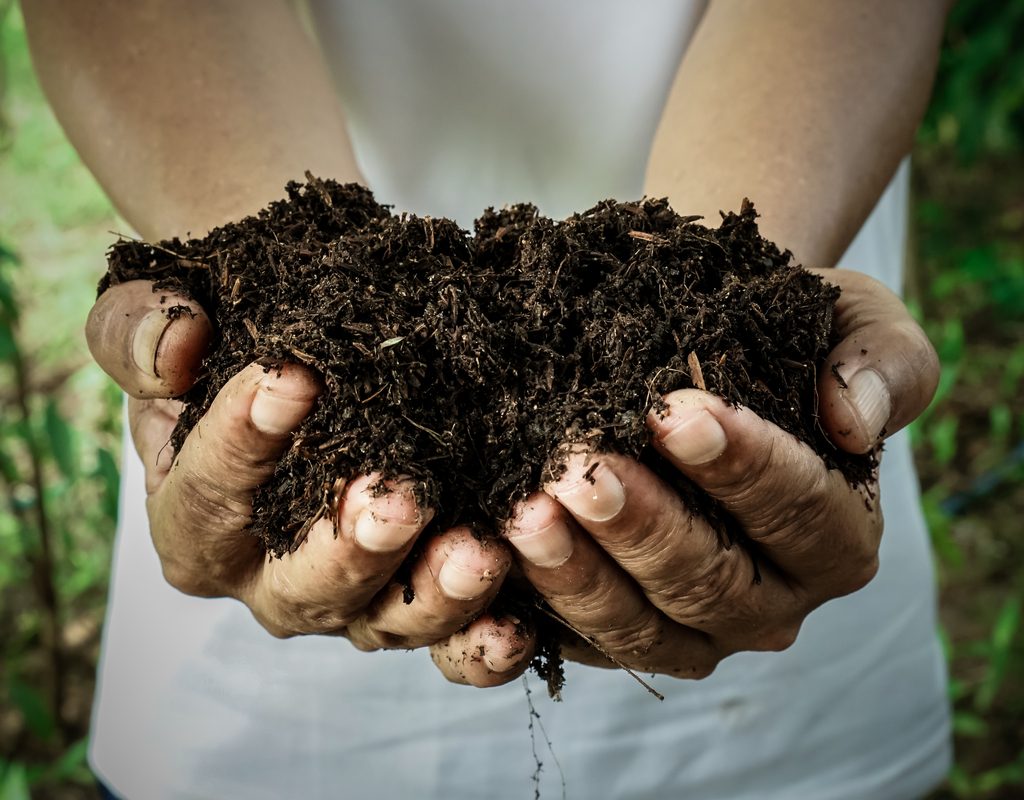
Hands holding compost

Revitalize the soil

Once the garden is cleared of old plants, you can revitalize the soil for new plants! You can do this by mixing compost into your soil or by planting a cover crop. Cover crops are plants that help the soil recover by replenishing the nutrients and reducing erosion.

Clover, alfalfa, and rye are all common choices. If you don’t want to wait for a cover crop to grow, then adding compost to your soil works as well.

Purple crocus flowers in the snow

Choose what plants to grow

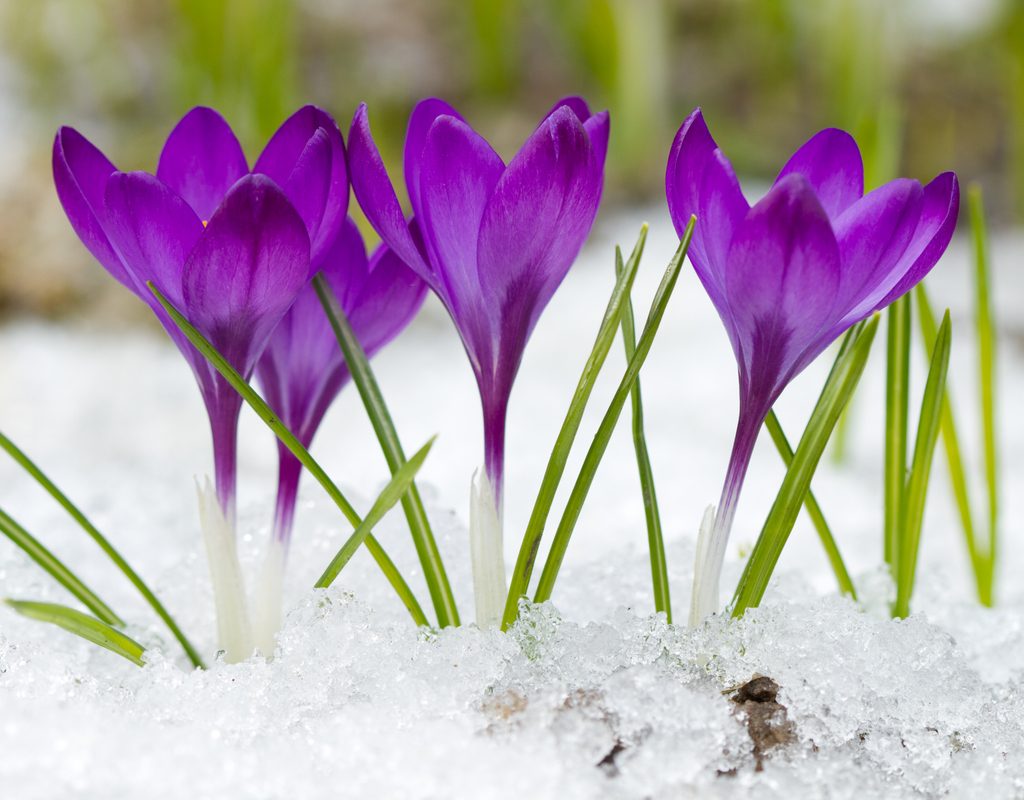
Depending on where you live, your ground may not be thawed enough to plant yet. However, planning ahead can save time and stress, so you aren’t rushing when it comes time to plant. Here’s what to consider when choosing your plants:

Step 1: Find out when your predicted last frost day is.

Many plants can only be planted after the last frost has passed, so it’s a good idea to know when that is.

Step 2: Decide when you want to start your garden.

Your plant options may vary depending on whether you plan to start your garden as soon as possible or want to wait until late spring or early summer.

Step 3: Start seeds indoors.

Some plants take a long time to grow or are sensitive to the cold. You can speed up the process and protect them by starting them indoors in January or February and transplanting them when the weather is warmer.

A red birdhouse covered in snow

Take care of general maintenance

Do you have any structures in your garden? Snow and ice can damage them, so it’s important to inspect them. You might find small, easily fixed things like chipped paint or loose fence beams, as well as larger things that may need replacing, such as broken glass decorations or falling stone walls. Depending on the layout of your garden, some of these things may need to be fixed before you start planting.

By completing these four simple tasks, you can make your spring planting smoother and less stressful. It isn’t always pleasant to be outdoors during this time of year, but even chipping away at these tasks over the course of a few weeks can be a big help.

Editors' Recommendations

Cayla Leonard
Cayla Leonard is a writer from North Carolina who is passionate about plants.  She enjoys reading and writing fiction and…
Your complete guide to planting and growing beautiful irises this summer
Everything you need to know about selecting and maintaining irises
Purple iris flowers

Irises are vibrant summer flowers that gardeners love for their perennial nature and rich colors. In addition to brightening up borders from spring to midsummer, they're incredibly hardy and can thrive even when you inadvertently neglect them. That said, understanding how to grow them will ensure the most prolific blooms, so that's why we've compiled this handy iris care guide for your reference.
What are irises?
Typically hardy in climate zones 3 to 9, irises belong to a diverse flowering plant genus with 200 to 300 species. The sword-like leaves come in fanned arrangements, and the stems can grow up to anywhere from 1 to 4 feet tall. The showy, lightly fragrant flowers come in everything from solid to bicolor varieties in every hue imaginable, although most traditional colors are blues and purples.

If you're shopping around for irises, common options include bearded irises, Siberian irises, and crested irises.

Read more
If you’re in need of a durable flowering shrub, then consider growing pittosporum! Here’s your care guide
How to plant and take care of pittosporum
Pittosporum shrub with variegated leaves and white flowers

Shrubs can offer many benefits to your garden. Whether you’re growing them as an ornamental addition for their beautiful flowers or looking to grow a privacy hedge, shrubs provide a wide array of options. If your garden is in need of a durable shrub with beautiful flowers, then pittosporum, also called cheesewood, is a great place to start.

Commonly found throughout Asia, Australia, and some parts of Africa, pittosporum is becoming more popular in American gardens. This simple care guide can help you successfully add it to your garden as well!
Planting pittosporum
If you’re planting your pittosporum from seed, you should plant it in the fall. However, older plants see better success when transplanted in the spring. Regardless of when you’re planting it, you should plant pittosporum in full sun to partial shade. Some varieties of cheesewood can even tolerate full shade, so don’t despair if you have a heavily shaded garden.

Read more
Stargazer lilies are excellent warm-weather flowers – how to grow them for stunning blooms all summer long
Indoor and outdoor care for stargazer lilies
A cluster of stargazer lily flowers

Of the many popular flowers found in summer flower gardens, lilies are perhaps one of the most versatile. There is a range of colors, patterns, and even shapes available, so you're sure to find a lily that fits your garden. One popular lily variety is the stargazer lily, which has large, striking flowers. The petals of its blooms are pink with white edges and darker pink spots along the center of the petals. These stunning flowers are excellent centerpieces in summer gardens as well as indoor spaces. Here’s how to grow your own.
Indoor care
Stargazer lilies, like other lily varieties, can grow indoors with proper care. Indoor care for stargazer lilies begins with choosing the correct container. It needs to be deep and have sufficient drainage holes. Avoid shallow pots or those without drainage holes, such as ceramic pots. Likewise, you must use well-draining soil to avoid overwatering. Stargazer lilies enjoy moist soil, but they don’t tolerate standing water. Soil that is rich in organic matter is ideal.

Place your stargazer lily in your sunniest window, or where it can get light from a grow light if you don’t have access to a good window. Water your stargazer lily one to two times per week so the soil stays moist but not soggy. In the spring, freshen up the soil with a slow-release fertilizer to keep your lily healthy and blooming.

Read more