Once spring has sprung, it’s time to brush the dust off your tools and head out to start working in your garden once again. Of course, spring is a time to plant your next round of flowers, fruits, or vegetables, but there are other tasks to complete as well. Whether you have indoor plants or outdoor ones, there are care and maintenance jobs to take care of. If you need some help sorting out your spring to-do list then you’re in the right place! Here are four essential tasks that you can add to your gardening routine.
Clean out old plants
There’s a good chance that not all of your plants survived winter, whether because they were annuals or because it simply got too cold for them. Before you can start planting new things, you’ll have to get rid of the old. This frees up room for your new plants, but it also keeps your garden healthy. Dead plants are a great breeding ground for pests, diseases, and fungal infections.
Unless the plants in question were nitrogen-fixing plants (like legumes), dig up as much of the plant as possible, including the roots. Any roots that you can’t get rid of can be cut or chopped into smaller pieces using a hori knife or a spade. If the plants were nitrogen-fixing plants, then cut the plants down to ground level and cut the roots into small pieces. Nitrogen-fixing plants store nitrogen from the air in nodes attached to their roots, and the nitrogen is added back to the soil when they decompose.
Plant matter that’s still relatively fresh can be added to compost. Any plants that show pest damage or fungal growths should be thrown away to avoid reintroducing the pests or fungi into the garden. Whether you compost it or throw it away, don’t leave dead plants sitting in or around your garden.
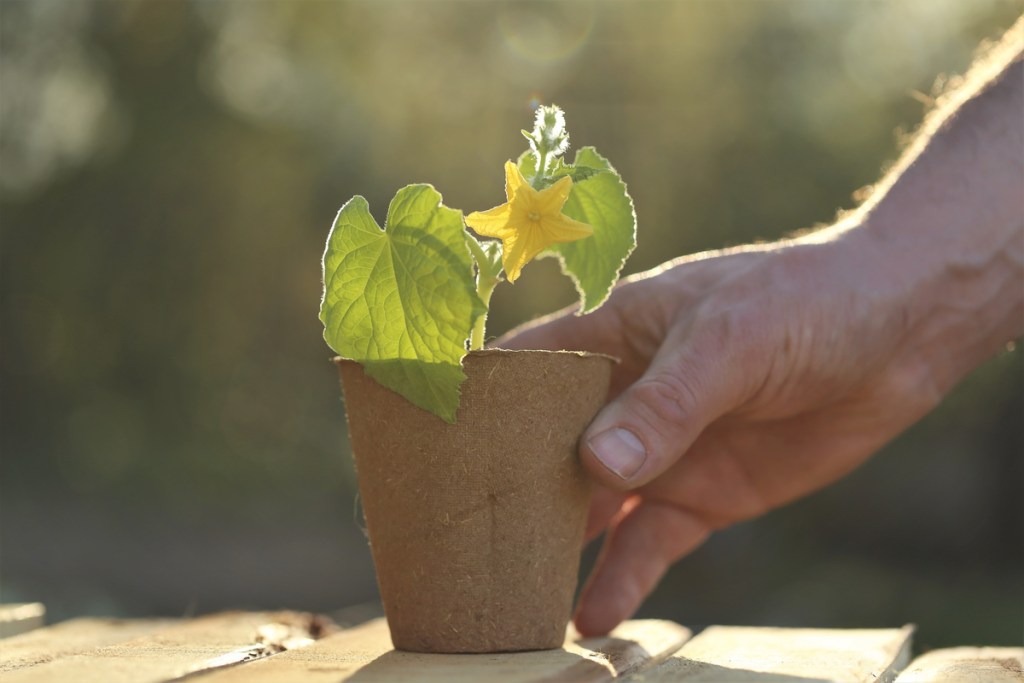
Harden off your seedlings
If you’ve started seeds indoors over winter, and you intend to transplant them into your garden, then it’s time to start hardening them. Since they’ll be less protected in your garden than in your home, seedlings can easily become stressed if they are transplanted without being hardened first. Stressed seedlings are significantly more likely to weaken and die, and are generally more vulnerable to pests and diseases.
Start hardening your seedlings after the last frost has passed, when the temperature during the day is reliably 50 degrees Fahrenheit or above. Hardening seedlings takes between one and two weeks and it’s a simple process. Start by taking your plants outside for an hour or two. Leave them somewhere sheltered, like a porch or covered patio. The next day, leave them a little longer. Leave them outside for longer periods and in decreasingly sheltered locations. By the end, you should be able to leave them overnight in your garden without any issues.
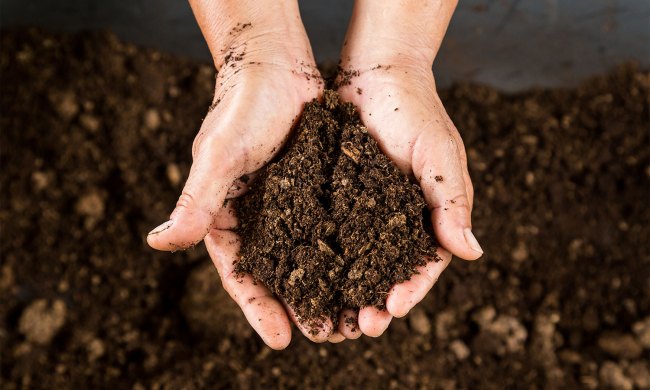
Refresh your soil
If you’ve been gardening in the same location for a few seasons, then your soil is likely getting worn out. As plants grow, they absorb nutrients from the soil. Although some plants will add nutrients back, many don’t. To keep growing successfully in the same spot, you’ll need to reintroduce some nutrients. If you aren’t sure if your soil needs a boost, then you can test it with an at-home soil test kit, which can be found online or at most gardening supply stores.
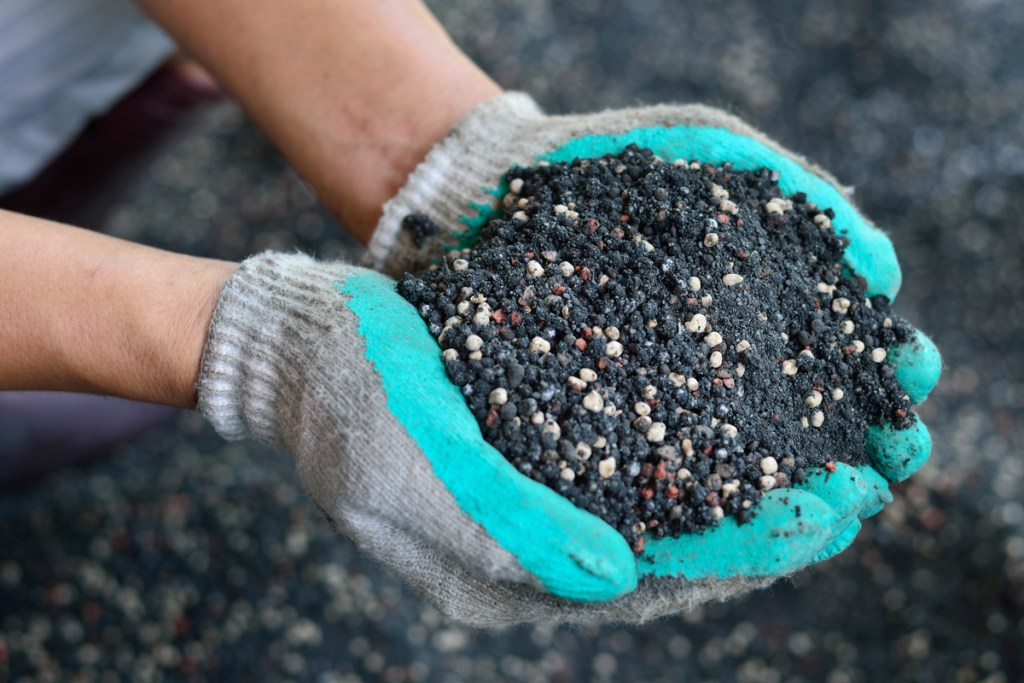
Compost is one way to add nutrients back into your soil, as is leaf mulch or leaf mold. These can all be made easily at home, making them convenient for many gardeners. However, there are plenty of other options as well. Fertilizers, especially slow-release fertilizers, are an easy way to boost your soil.
Lime can be added to neutralize acidic soils, while pine needles, peat moss, and sulfur make the soil more acidic. Perlite and vermiculite absorb water, which improves drainage while keeping excess water available. You can mix your soil amendments at home, but pre-made mixes are also available at many garden supply stores.
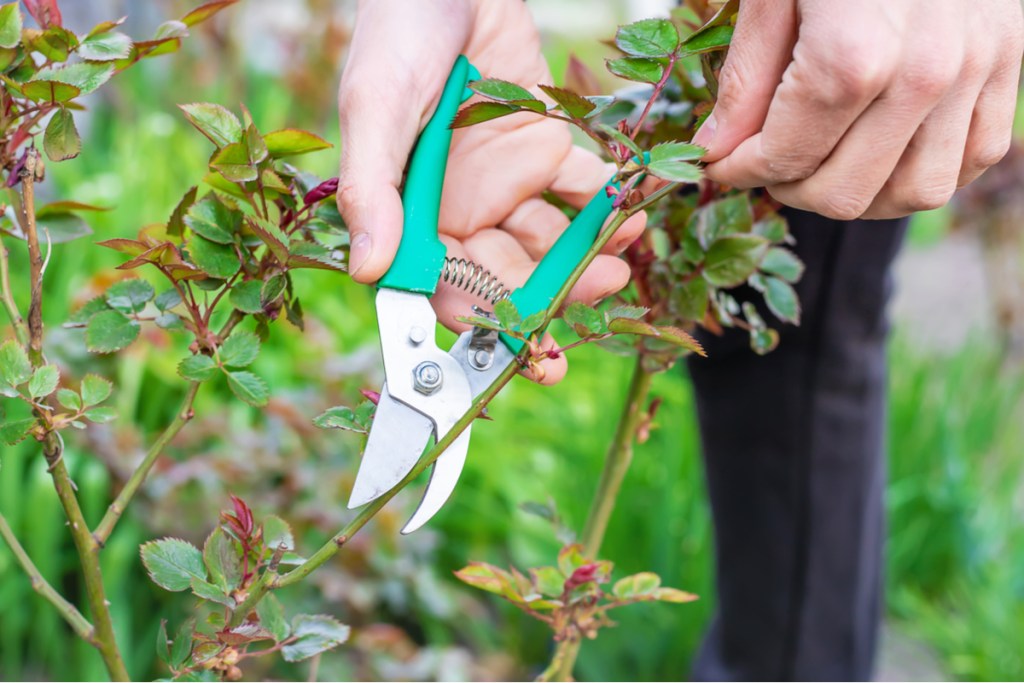
Prune shrubs, bushes, and trees
Spring pruning helps rejuvenate shrubs and trees and encourages new growth for most plants. Shrubs that bloom in spring, like lilac and forsythia, shouldn’t be pruned until after they bloom. For the rest of your plants, you can begin pruning in early spring.
Start at the bottom of the plant and work your way up and towards the outer edges. Cut away any branches that are dead, damaged, or diseased. Look for any branches that cross each other, and prune one away. Crossed branches will rub against each other in the wind, causing scrapes or cuts that can easily become infected.
After that, you can prune for shape and size. Trim the tops of the branches to keep your shrub or tree the size you want it to be. For pruning, use a sharp, clean pair of garden shears. Bypass shears are better than anvil shears, as they do less damage to the plant.
Whether it’s your first garden or your 50th, this spring checklist can help you keep your garden healthy and thriving. Taking good care of your garden in spring and being meticulous with your maintenance can save you a lot of trouble down the line. No matter what your spring routine looks like, we hope you have a great start to this year’s garden!