
Spring is one of the most exciting times to be a houseplant parent. Indoor plants generally go dormant in the winter, and you can’t do much with your plants except occasionally water them. Come spring, you can have more fun with houseplant maintenance and watch your greenery thrive. Whether you’re looking forward to repotting your plants or giving them fertilizer, here are six tips for taking care of your indoor plants during the spring.
Dust your leaves
Over winter, your leaves may accumulate dust on their surface. As we get more sunshine over the spring and summer, you’ll want to clean your foliage. Dust can make it harder for your plant to properly photosynthesize and create energy. It can easily accumulate on fleshy, glossy species such as snake plants and rubber plants. All you need is water and a towel to gently wipe away the debris. For tougher buildups, adding a mild cleanser such as dish soap can help. Leaf shine products aren’t necessary and can sometimes clog your plants’ pores. This is also an opportune time to check for any bugs on your foliage. If you notice a pest outbreak, spray down your leaves with water and wipe them with neem oil to keep the creepy crawlers away.
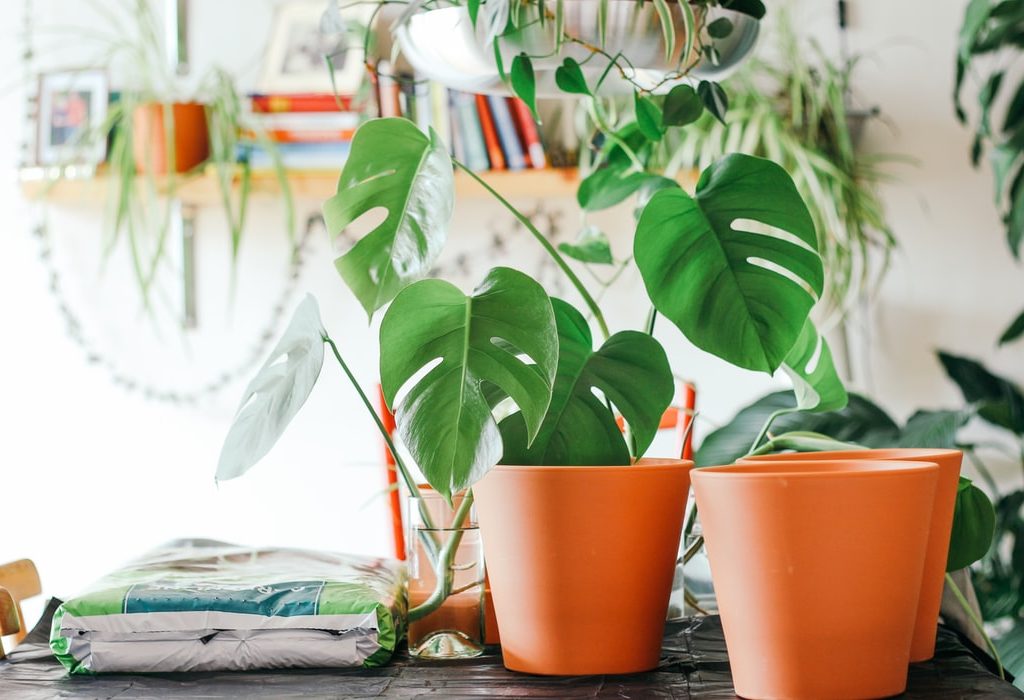
Repot your plants
It’s repotting season! When the temperatures get warmer, moving your plants to a new home won’t cause them to undergo as much shock. Bring your plant to a new planter that’s only slightly bigger than your current pot — one about two inches larger should be sufficient. Most of the time, plants don’t need to be repotted. Many species actually prefer to be root-bound. If you like your current container, you can always take out your plant for a little root trimming. If you don’t like your current pot, consider using a bigger cachepot. You can also take this time to freshen up your plant’s actual medium by placing it in a new soil mixture. Add nutrient-rich organic material with drainage.
Add fertilizer to your plants
Plants go dormant in the winter, but they flourish again in the spring. As they get bigger, feed them plant food with extra nutrients so that they’ll grow even stronger. Ease your plant into fertilizer uptake. It’s better to start with less since too much plant food can burn your foliage. Follow the directions on the bottle or package of the fertilizer that you use — you may sometimes need to dilute your plant food. Plenty of different fertilizers exist out there, from slow-release pellets to liquid ones. Many plants can take a weekly fertilizing schedule, but some only need to be fed once during the growing season. Spring is also an ideal time to put organic material such as compost into your soil.
Prune your plants
Winter may not be kind on all indoor plants. The cold and drafty conditions may cause leaves to drop. Some plants may even suffer the occasional bout of root rot if the soil gets too wet. Even if your plants reside in a relatively warm area of your house, they might be exposed to drying heaters that cause foliage to dry up and go brown. Come spring, round up all of your plants and give them a proper sprucing for both aesthetic and practical purposes. Remove fallen leaves and cut away desiccated foliage — these may attract fungus gnats! On the plus side, pruning leaves can encourage your plants to grow back fuller and lusher. Cut back your foliage in moderation, of course, but don’t shy away from removing dead and dying leaves.
Bring your plants outside
During the winter, you might bring your outdoor plants, such as succulents, indoors to prevent frost. Plants will appreciate getting extra sunlight and the outside air once the temperatures go up. If you bring tropical foliage plants outside, make sure that they receive partial shade as well. Since tropical plants usually grow beneath trees in forests, they might get leaf burn in full sun.
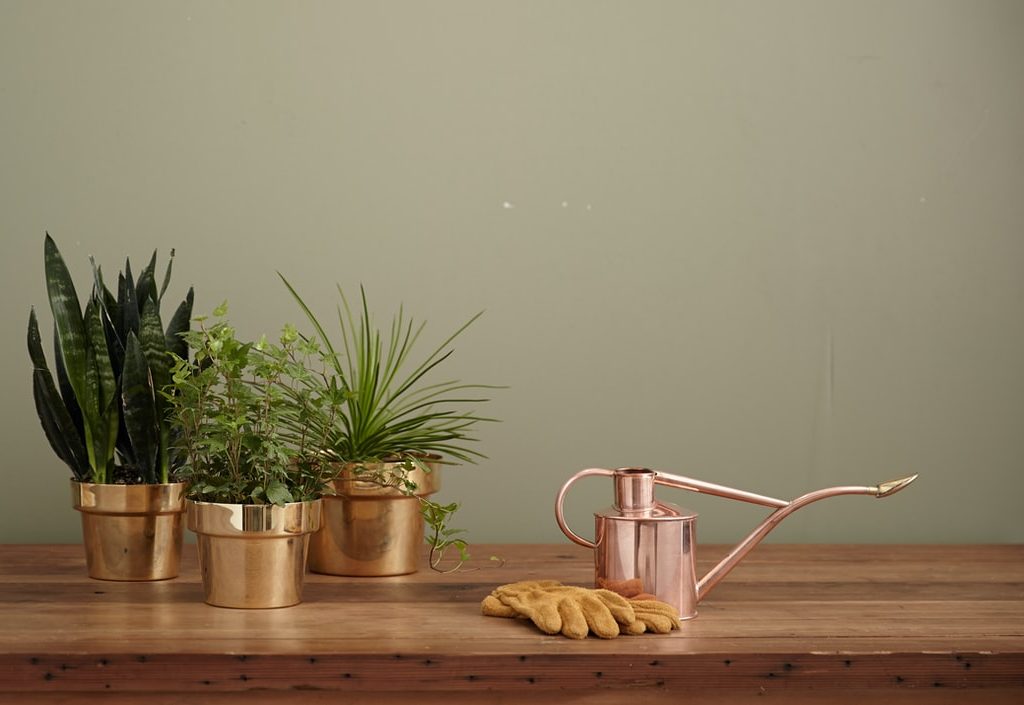
Water your plants more often
Plants do not need to be watered as much in the winter, but you can give them extra hydration in the spring. Water will evaporate from the warmer temperatures, so it’s OK to increase your plants’ water intake. If you cut back your watering to twice a month, a weekly cadence could work for your plants now that they exist in warmer, brighter conditions. Instead of sticking to a rigid schedule, pick a day in the week to check in on your plants. Always feel out the soil before getting out your watering can. If the top one or two inches of your soil is dry and the planter feels light, your plant will likely appreciate a drink.
Winter may call for a hands-off approach when it comes to caring for indoor foliage. But come spring, you can now pay extra attention to your houseplants to help them thrive during the growing season. When the weather warms up, it’s safe to dust, repot, fertilize, prune, move, and water your indoor plants without risking too much shock. Just remember to ease your way into more plant maintenance — a little love will go a long way!


