
Are your tulip bulbs not sprouting after winter? This is what the problem might be and how to fix it

What to do if your tulip bulbs aren't sprouting

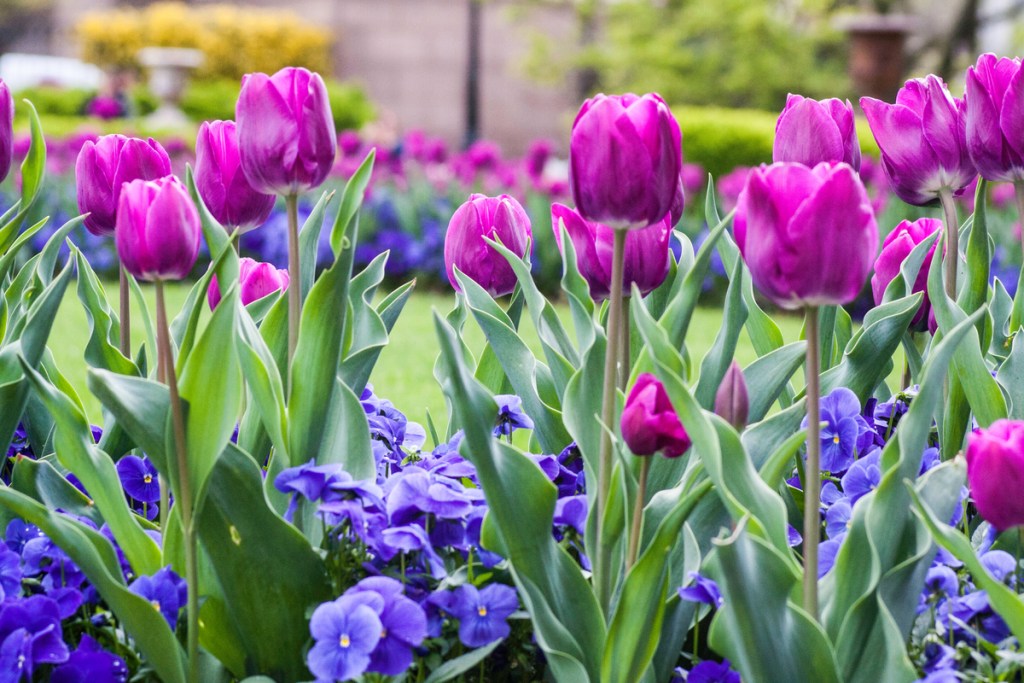
Flowers that grow from bulbs, like tulips, daffodils, and crocuses, are usually among the first flowers to bloom in spring. If you’ve had a rough winter, and your tulip bulbs haven’t sprouted, you may be left asking yourself, "Why are my tulip bulbs not coming up?" Don’t panic! There are a few possible reasons they may not have come up, and some of them are easy to fix. Keep reading to learn all about what could delay your tulip bulbs, how to help them, and what to do to prevent more problems in the future.

Difficulty

Easy

Duration

1 hour

What You Need

  • Well-draining soil

  • Compost or fertilizer

  • Mulch

  • Newspaper or a plastic tarp

Tulips from the Smithsonian garden
Image used with permission by copyright holder

Why aren't your tulips sprouting?

First, it’s important to know if your tulip bulbs are actually late. If you’re wondering when do tulips bloom, the answer is March or April. However, you should begin seeing growth before that, as early as January in some regions. If you’re seeing growth, but no blooms yet, it’s likely an issue of planting location. Too much shade, poor drainage, or a lack of nutrients in the soil can lead to slow growth.

If you haven’t seen any growth, there may be an issue with the bulbs themselves. Cold damage caused by a severe winter may have weakened the bulbs, or a late-season frost may have kept them from coming out of dormancy. If this is your bulbs’ first spring, they may also be planted too deep, leaving the sprouts unable to breach the surface.

Yellow tulips with orange stripes
Image used with permission by copyright holder

Encouraging tulips to sprout

Here's how to correct the problem and encourage tulip bulbs to sprout:

Step 1: Dig them up to check for frost damage.

Be gentle in case they are not damaged, and to avoid damaging other nearby plants. Look for blackened or rotting bulbs.

Step 2: Remove damaged or rotting bulbs.

Step 3: Place the remaining tulips in a warm, sunny location.

This will help them come out of dormancy and begin their spring growth.

Step 4: Repot them at a depth of 8 inches with well-draining soil.

Step 5: Add compost or fertilizer.

Canasta tulips
Image used with permission by copyright holder

Preventing future problems

Follow these steps to prevent future problems:

Step 1: Make sure your tulip bulbs are planted 8 inches deep.

Step 2: Move potted tulips indoors during winter.

If you can’t bring them indoors, then tuck them into a sheltered corner where they will be protected from the wind and snow.

Step 3: Add a layer of mulch over the soil.

Step 4: Wrap or cover the container during winter to protect the roots.

A newspaper or a plastic tarp works best. Avoid using fabric, as it could absorb water and freeze.

Step 5: Reduce watering in late fall and winter to ensure they go into dormancy at the right time.

Tulips, daffodils, crocuses, and other bulb flowers are remarkably cold-tolerant plants, easy to care for, and beautiful in spring. Luckily, it’s typically easy to determine why a tulip hasn’t sprouted or bloomed. While bulbs heavily damaged by frost may not bloom at all, most other problems can be corrected. Once your tulips' needs are met, you should start to see new growth and beautiful blooms!

Editors' Recommendations

Topics
Cayla Leonard
Cayla Leonard is a writer from North Carolina who is passionate about plants.  She enjoys reading and writing fiction and…
If your yard gets a lot of afternoon light, these are the afternoon sun plants for you
How to choose and grow plants that will thrive with afternoon sun
Sunlit garden path and flowers

There are many challenges regarding the sun when it comes to gardening. There's too much, then there's too little. For example, some fruit trees thrive in shady backyards — except most trees do require full sunlight. This is why pruning is necessary. And then there are those conditions where too much sun can affect our plants.

Afternoon sun is challenging. Direct sunlight between midday and sunset is the most intense exposure. Although some plants are labeled for "full sun," extended exposure in that hot afternoon sun may be too much — not all these are suitable as afternoon sun plants. This is especially so if the sunlight is further intensified by a wall or fence that traps and reflects the sun’s heat during the day, then continues to radiate heat after sundown. These tough areas require tough plants.

Read more
Gooseneck loosestrife might be the perfect plant for your pollinator garden – here’s what to know
Tips on taking care of your gooseneck loosestrife
Gooseneck loosestrife flowers with a fly

Pollinators come in many sizes and shapes, from beautiful butterflies to fuzzy bees, and even less loveable varieties like wasps and beetles. Pollinators play an important role in our ecosystem, letting fruit grow and seeds develop, and many gardeners enjoy having a pollinator garden to attract and support them.

There are many terrific options you can choose from when planning your pollinator garden, but gooseneck loosestrife is one you may not be familiar with. Aside from its delightfully goofy name, this flower is pretty and pollinators love it. Here’s what you need to know about growing it.
What is gooseneck loosestrife?

Read more
Bermuda grass: How to keep it from taking over your lawn
Tips on keeping unwanted Bermuda grass under control
Manicured Bermuda lawn

Bermuda grass, also known as Cynodon dactylon, is a common type of lawn grass. Its toughness, adaptability, and creeping growth habit attract either appreciation or disdain from the homeowners, gardeners, landscapers, and others who plant it or are invaded by it. If Bermuda grass is spreading into your lawn from the surrounding area or you've just moved into a new home with a Bermuda grass lawn you'd like to replace, then here are our tips for controlling it.

Read more