When it comes to long weekends, one of the first things on everyone’s mind is, “What chores can I get done?” This February, take the time to do a couple of garden projects and ready yourself for the coming growing season! It’s still cold out, the ground’s still frozen, but seeds can be sown indoors and houseplants can be prepped to thrive. Here are a few projects you can take on this Presidents’ Day weekend to get both you and your plants off to a great start for the spring.
Starting your spring seeds early
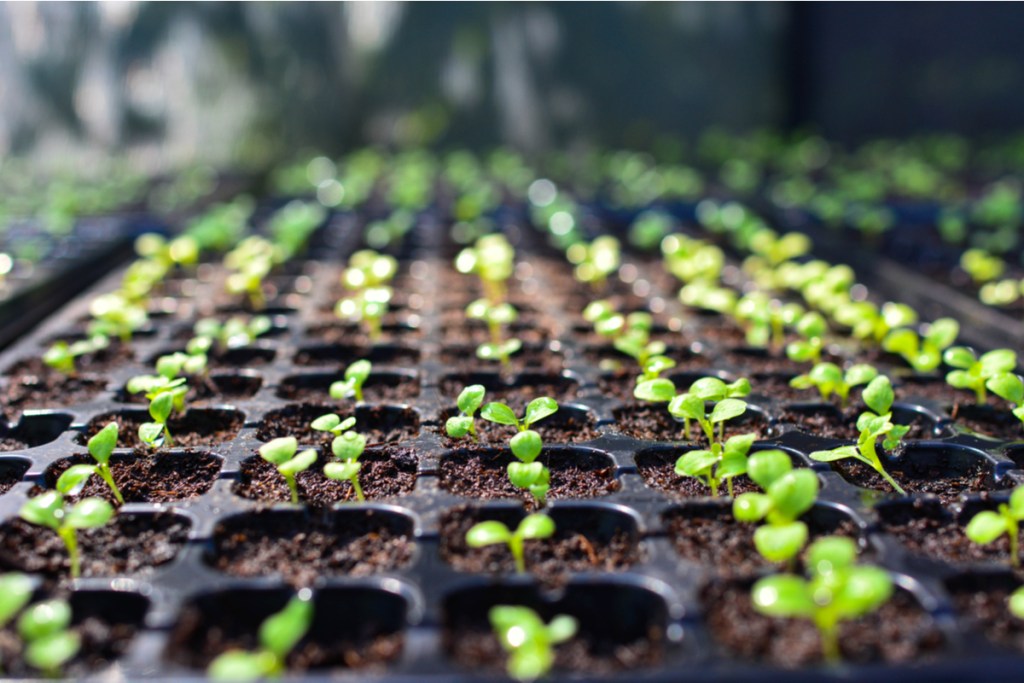
By starting your early spring seeds indoors, you can get a leg up on your growing and have an earlier (or even successive!) harvest. For February, you want to make sure you’re only starting seeds that grow during the beginning parts of the season — which is to say, you won’t be starting your fall crop of pumpkins just yet.
What you decide to grow will depend both on the growing zone you’re in and what kinds of foods you like! Not everything can be grown everywhere. Some of the most popular ones include broccoli, cabbage, cauliflower, lettuce, peppers, and tomatoes. These are some of the essential plants to a lot of homemade meals, and each has different growing times and starting periods. Make sure you’re familiar with each plant’s care and needs before prepping them for the season.
What you’ll need (aside from seeds)
Starting seeds indoors will be less of a hassle if you have a few materials on hand for the process. Basic seed starting supplies include:
- Containers that are three to four inches deep
- Grow lights that are adjustable for different heights
- Half-strength fertilizers to kickstart growth
- Something to help wick up moisture, like capillary mats or pebble trays
Make sure you have everything you need before you start sowing seeds, that way you can set up your station as easily as possible! And they don’t have to be expensive or complicated, either. Some people will repurpose things like egg cartons for starting their seeds. As long as you have the basics met, your seedlings will be ready to transplant outdoors in no time.
Readying your tools for the season
Perhaps the most overlooked thing that happens at the start of each growing season is to clean and prepare your tools. After all, you can’t get the work done that needs doing with a rusty shovel. A lot of the cleaning and prep would have been done at the end of the season, where you make sure all the soil is removed and the tools are nice and dry before they’re put away; however, there are a couple things you can do before the growing season starts to make sure they’re in the best shape possible:
- Sharpen the tools. This includes the blades of the shovels and spades you’ll be using. Sharpening them will help make sure they’re strong enough to work with the soil.
- Thoroughly clean them. Because they’ve been stored all winter, you want to make sure they’re sterilized and cleaned for use with soil. You don’t want to accidentally introduce any infections or bacteria that could harm your plants.
You also want to make sure you have all the tools you need. If any have irreparable rust damage, you should note them on a list to get them replaced before you start working with the soil as things warm up.
What if you’re a new gardener?
Having your tools ready prior to the growing season is especially important if you’re new to gardening! You want to make sure you have everything you need to get your new gardens started and established, including ones that can help keep them healthy all season long. Some basic tools include protective gloves, pruning shears, a hori-hori knife, a hand trowel, and a spade. You can also opt to purchase some weed guard, which you’ll lay down on the garden beds to kill weeds and prevent rapid weed growth in the future.
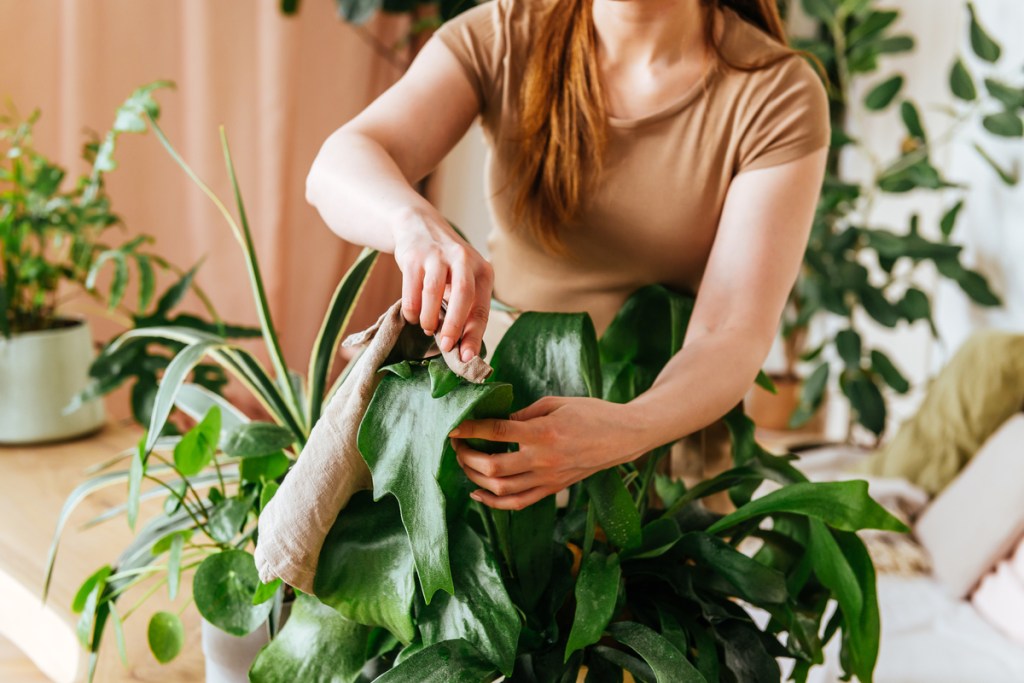
Tending to your houseplants
February gardening doesn’t just have to be about the outdoor plants, either! When this time of year rolls around, most houseplants will start to notice that the days are getting longer again. Around this time, when you start to see some new growth, you can feed them with half-strength liquid fertilizer. You should hold off on regular feedings until the growing season officially starts.
Other things you can do to help ready your houseplants for the longer days and increased light include:
- Checking soil moisture more frequently
- Inspect for pests
- Move light-sensitive plants a bit away from the windows
- Prune leggy growth
- Rotating them so that they grow evenly
By giving your houseplants a little extra attention this time of year, you’ll be setting them up to have healthy, strong growth at the beginning of the season. Right before spring is one of the best times to prune because it takes care of the weaker foliage and will allow the plant to redirect its energy toward new growth and happy leaves.
And as usual, there’s always more to do! February is a great time to care for your trees and shrubs, too. Whatever you choose to do, make sure it’s suited for you and your garden. If you’re buying new tools, focus only on what you need; you don’t have to buy every new thing on the market to be a good gardener. Just prepare as best you can to start yourself off on the right foot.