Cacti might have a reputation for being tough and hardy, but that doesn’t mean that they can’t get sick. They actually have specific needs in order to thrive, such as sparse watering, well-draining cactus soil, and of course, bright light. Their love of dry soil is actually a major problem for some gardeners, especially those who haven't grown a cactus before.
Overwatering a cactus is easy, but if you can see signs of life, you might still be able to save it. While not every cactus can be brought back, many can be saved. The process is fairly simple, but it does take patience. Here's what you need to know about how to save an overwatered cactus, as well as how to water succulents and cacti to prevent this problem in the first place!

Why are cacti prone to overwatering?
When compared to your typical water-loving, tropical plant, cacti are prone to overwatering, especially if you grow them indoors where their soil can't dry out quickly. In their natural desert habitats, cacti have acclimated to drought conditions by storing water in their stems and leaves.
As such, cacti roots are relatively shallow and spread outward instead of downward to take in as much water as possible in dry climates. Overwatering cactus houseplants can lead to waterlogged soil and root rot. When cactus roots die from overwatering, the plant above the soil surface becomes soft and starts turning yellow or brown.

Check the roots of your cactus
The first step is to assess how much overwatering damage you’re working with.
Step 1: Look for brown spots on the cactus or a pungent smell coming from the soil. These are signs of rot and good indicators that you need to start repairing the damage.
Step 2: Roll a thick newspaper around your plant to protect your hands from the cactus' spines. Wearing thick gardening gloves is also important, especially if your cactus has larger spines.
Step 3: Remove the cactus from its pot. Be gentle to avoid damaging the cactus. Overwatering can cause a cactus to become softer and squishier, making it easier to damage.
Step 4: Tip it over and inspect the roots. White roots are healthy, while brown roots indicate rotting. The more white roots you see, the better your plant's odds are.

Remove rotting stems and roots
Black or brown spots and mushy stems are telltale signs of an overwatered cactus due to a fungal infection in the soil. If you notice these physical symptoms, it’s time to act. Here's what to do.
Step 1: Cut the damaged sections out with a sharp, clean knife. The knife needs to be clean to avoid spreading any bacteria to your cactus. If the damage is extensive, you may need to do the reverse, which is to cut the living parts away from the rot and essentially propagate your cactus.
Step 2: Wear gloves to protect your hands.
Step 3: Leave the cactus or the cactus cuttings to dry anywhere from a few days to a week.
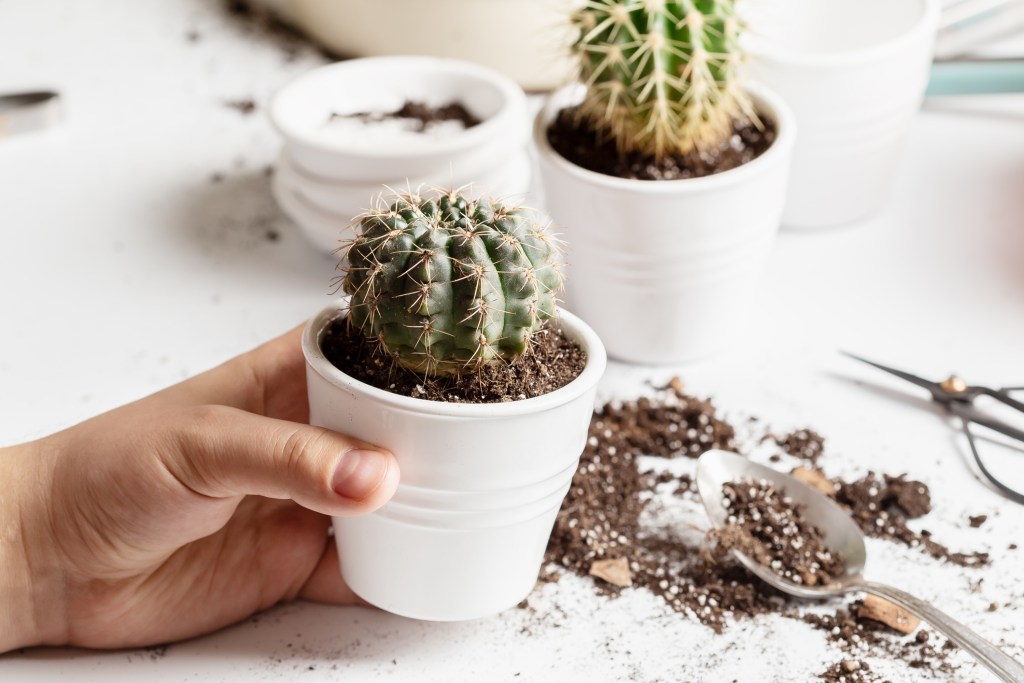
Repot your cactus into fresh cactus soil
Repot the dry cactus or cactus cuttings.
Step 1: Throw out the old soil instead of reusing it. The old soil could still carry the bacteria or fungi that caused the rot, so it's important not to reuse it. If absolutely necessary, you could try sterilizing the old soil. However, it is safer to use fresh soil.
Step 2: Use a clay pot with drainage holes. Clay is a more porous material than plastic, so it is typically more forgiving of excess water. Having a drainage hole or holes in the bottom of your pot is crucial so that it doesn't pool at the bottom and rot your roots again.
Step 3: Add cactus soil to the pot(s), position your cactus roots or cactus cuttings, and fill the space around them with more soil.
Step 4: Apply rooting powder to your cuttings to help them develop roots faster.
Step 5: Water the cactus or cuttings thoroughly. Although it can be nerve-wracking to water your plant after rescuing it from overwatering, it still needs water to live. Letting your plant dry out before replanting it prevents this step from causing additional harm.
Avoid watering until your soil completely dries out
After you carefully rehome your cactus, prevention is key when it comes to maintaining a happy plant.
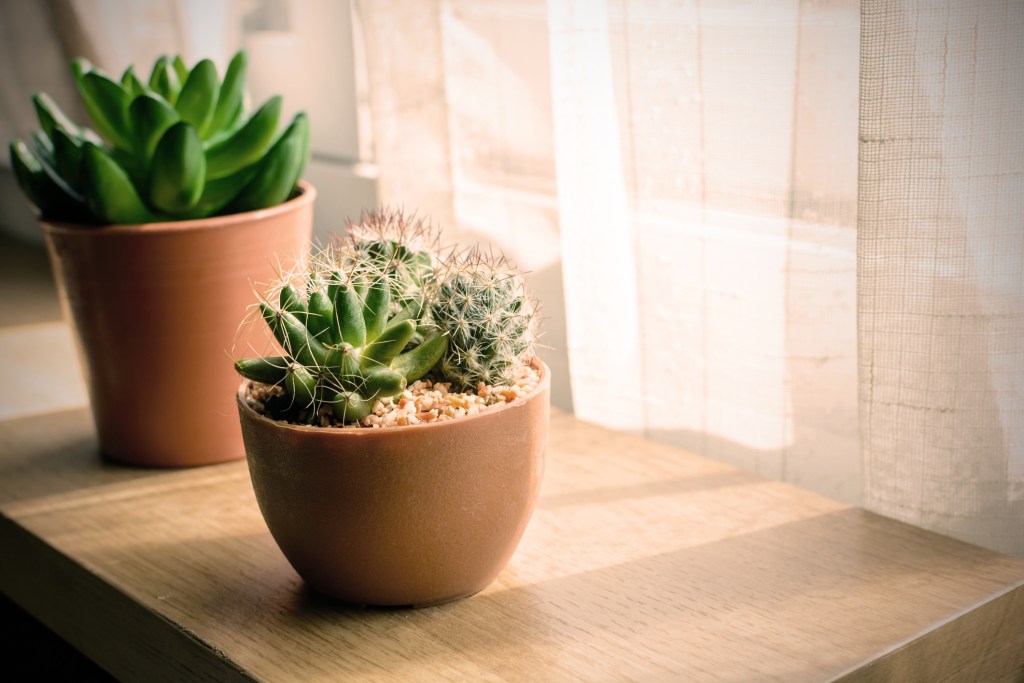
Step 1: Place your cactus somewhere warm with bright, direct light.
Step 2: Avoid watering your cactus when the soil is still damp.
Step 3: Reduce watering to once a month or less during winter. Growth slows down during cold weather, so your plant will use less water. Some cacti can go the entire cold weather season without being watered!
Step 4: Dump out any water that pools on the surface instead of allowing it to sink into the soil.
Step 5: Err on the side of underwatering if you're unsure.
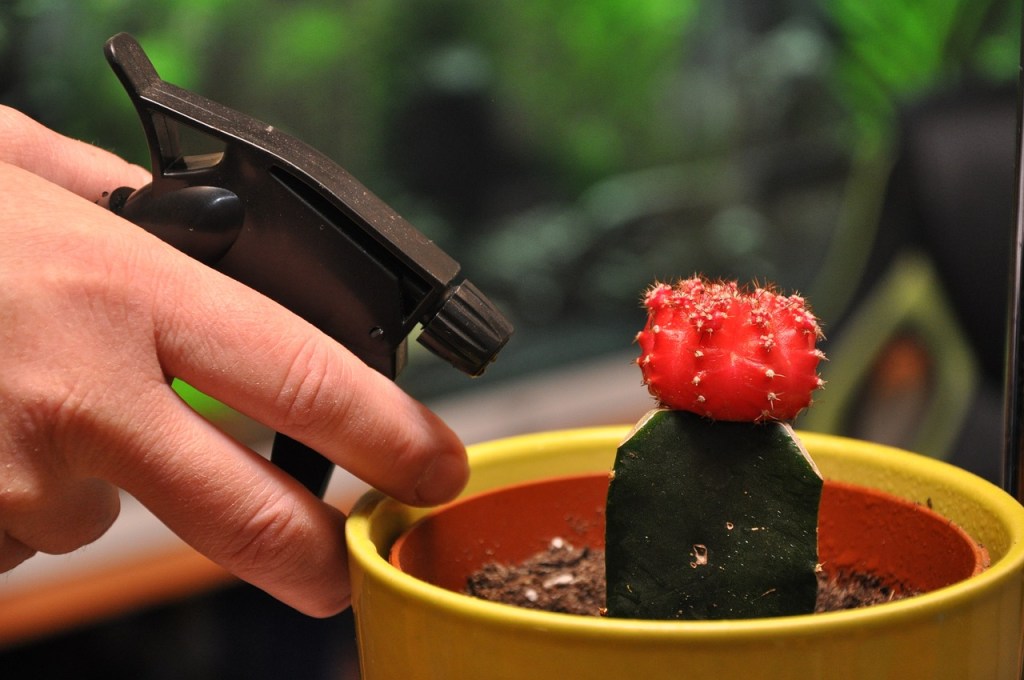
Does misting help or hurt cacti?
Misting might sound like a great way to keep your cactus hydrated without overwatering it, but it actually does more harm than good. While some tropical cacti can tolerate misting, most cactus species do not enjoy it. Misting typically does not contribute to overwatering, but it can lead to fungal infections. Stem rot and blossom rot can both occur when a cactus is misted, especially if the misting occurs regularly.
When looking at how to water a cactus, some do enjoy misting. Tropical species with smooth leaves may enjoy an occasional misting, but avoid misting a cactus from arid regions or that have fuzzy or textured leaves. Textured leaves can hold onto to water for longer, increasing the risk of fungal infections.
There’s usually a learning curve when it comes to properly watering a cactus. If you’re a chronic over-waterer and find yourself with a squishy and browning cactus, don’t despair: You can rescue your plant if it has any viable green tissue. After removing all of your damaged roots and stems, you can enjoy your plant once more as it returns to health!