
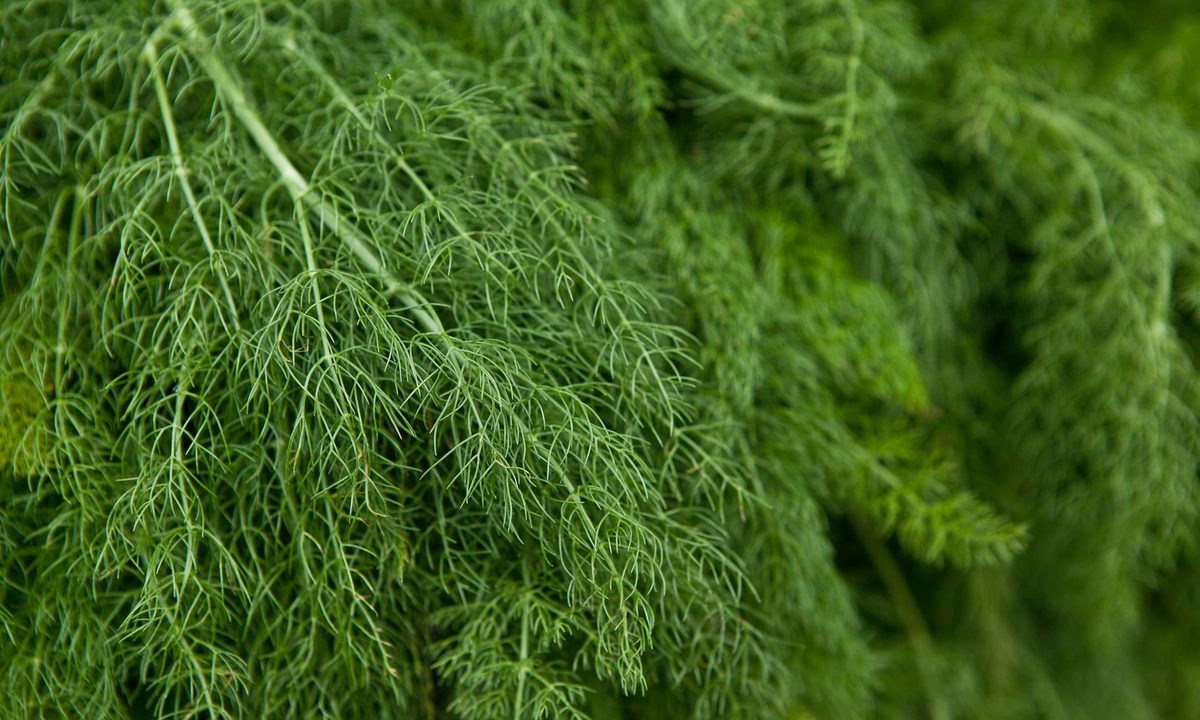
Featuring delicate leaves, dill, or Anethum graveolens, is an annual herb that grows as quickly as it fades. It’s also a self-seeding plant that’s easy to plant and replant so you always have it to flavor your favorite dishes and to go about pickling. Dill is also an excellent companion plant in the garden when placed next to other plants. If you’ve always wondered how to grow dill throughout the growing season for a prolific, ongoing harvest, keep reading.

Uses for dill
Dill makes for an excellent garnish on savory meals, such as soups, stews, and salads. Its tangy flavor is reminiscent of licorice and anise, except coming with a brighter grassy note as well. Many recipes will call for both fresh dill and dill seeds, so you can use the plant at all stages in its life cycle. Dill is also great for pickling — there’s a reason why we have dill pickles! Nutritionally, it’s rich in antioxidants, Vitamin A, magnesium, and Vitamin C.
Dill makes for an excellent companion plant, attracting beneficial insects, such as ladybugs and wasps, which take care of pesky pests, such as aphids. Asparagus, cucumbers, and cabbage are especially great for growing right next to dill. Just make sure not to grow dill next to fennel or carrot plants, which can cross-pollinate with it.

How to plant dill
Although it can sometimes be viewed as a short-lived annual, dill is relatively easy to grow and maintain. Here's what you need to do:
Step 1: Plant dill outdoors starting in mid-spring.
April or May are good months to choose, however, you can grow dill indoors year-round. You can stagger planting times for a continuous harvest.
Step 2: Plant dill in full sun to partial shade.
Step 3: Use a standard potting mix or regular garden soil.
You can add coco coir or seed-starter mix if your soil has poor water retention, but dill isn't picky about soil type.
Step 4: Scatter dill seeds over the top of the soil.
You don't need to press them in. You can sprinkle some soil over them or leave them bare.
Step 5: Thin the seedlings so each has a couple of inches of room starting at two to three weeks after planting.
Step 6: Avoid disturbing the roots of your dill.
Don't dig near them, and try to avoid transplanting or repotting them if possible.
Step 7: Keep the soil consistently moist.
Step 8: Apply a 5-10-5 fertilizer once, in spring, for an added boost.

How to harvest dill
Dill is easy to harvest. Here's how:
Step 1: Begin harvesting dill about six to eight weeks after planting, or when it has four to five leaves.
Step 2: Harvest dill just before the flowers bloom for the most robust flavor.
Step 3: Use a pair of sharp, clean scissors to snip off the leaves to harvest them.
Step 4: Extend your harvest season by clipping the flowers off before they bloom.
Blooming, also known as bolting, can happen at any time but is most common in warm weather. Bolting often changes the flavor of plants, but this is not the case for dill. However, bolting dill will not grow new leaves.
Step 5: Let the flowers bloom and dry on the plant to harvest the seeds.
Step 6: Place a bag over the dried flowers before cutting them off the stem.
Step 7: Turn the bag over, so that the flower and seeds fall into the bag.
Short-lived as it may be, dill is a versatile and nutrient-packed herb that’s relatively simple to grow and harvest. Whether you’re using it for seasoning or pickling, you’ll find this annual easy to maintain. When your dill plant starts flowering, collect the seeds — proceed to use them for cooking and for creating a whole new harvest!


