
Pilea peperomioides, also called the Chinese money plant or UFO plant, is a trendy and gorgeous plant. While some popular gardening trends focus on rare or difficult to find plants, this lovely plant is surprisingly easy to find! Not only that, it's easy to grow and care for. With its charming UFO-shaped leaves and elusive but cute flowers, the Pilea peperomioides makes a great addition to any indoor garden. If you've recently picked up a Chinese money plant and aren't sure how to care for it, then you're in the right place. We've assembled the best care tips to keep your Chinese money plant happy and healthy — and even help it bloom!

What is the Pilea peperomioides?
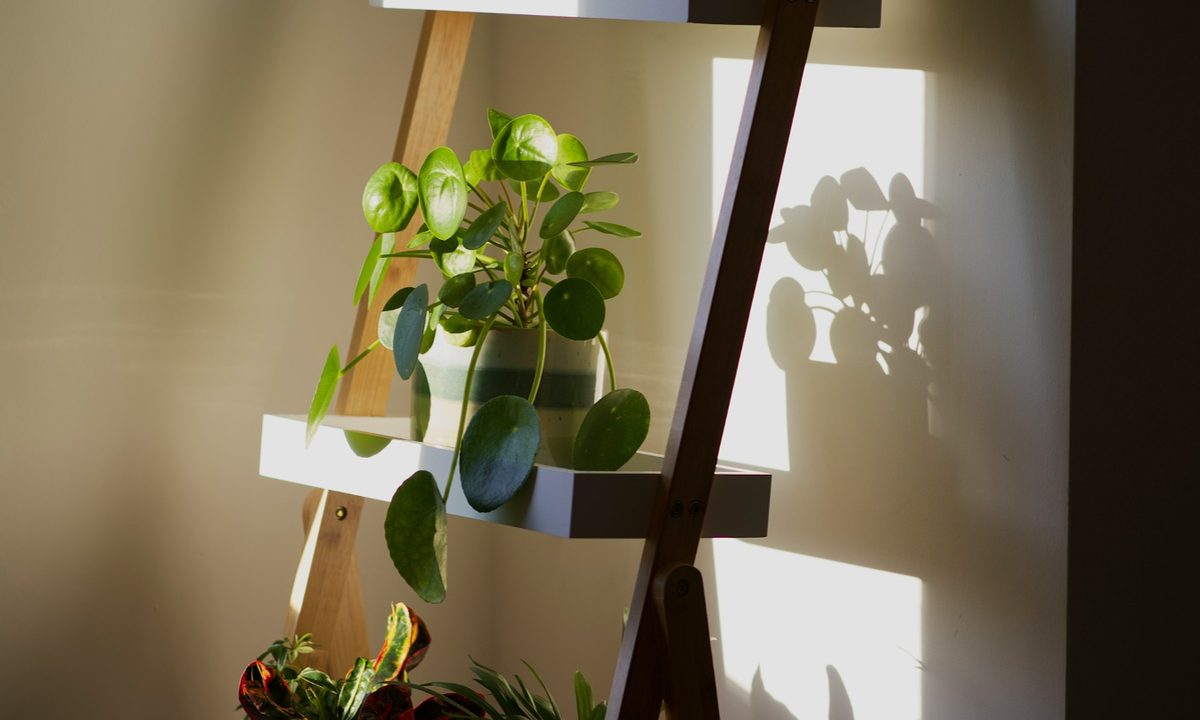
This is a unique-looking plant that’s often described as adorable, which is what caused its initial popularity boom and what keeps it near the top of so many plant wishlists. Native to southern China, the Pilea peperomioides goes by many other names, including the friendship plant, Chinese money plant, UFO plant, coin plant, and pancake plant.
Its leaves are almost a perfect circle, which explains three of its nicknames. The leaves are thick, glossy, and a bit waxy, lending it an almost artificial look. A Pilea plant can grow up to 12 inches tall and wide, and reaching these measurements rather quickly if all of its needs are met.
This beginner-friendly plant will also start to sprout "baby plants" when it’s happy and healthy. These "pups" can be removed and repotted to give away to friends and family.

General care tips for a Chinese money plant
You’ve probably seen the photos on Instagram of a Pilea plant that’s grown so large it looks like a small tree. If that’s your goal, you’re going to want to provide your plant with precisely what it wants so it can grow to its fullest potential. Or maybe you just want to keep your plant healthy and happy. The care is the same either way.
Temperature needs: There's no need to worry too much about the temperature for these plants; they grow fantastically in average home temperatures between 65 and 75 degrees. However, avoid placing them near vents, drafty doors or cold spots, as these areas can fluctuate rapidly and damage the plants.
Humidity needs: These plants aren’t picky about the humidity levels of their surroundings and will thrive perfectly fine in the average home. Just be sure to give your plant a shower now and then to clean the dust off its leaves.

Pilea light needs
Pileas like medium to bright light, but they don’t want direct sunlight; this can burn the plant and even kill it. Here's how to make sure that your plant is getting the right amount of light:
Step 1: Place your Chinese money plant next to a window with a sheer covering, or place it about 5 to 6 feet away from a window where it can get plenty of afternoon sun.
Step 2: Rotate your plant regularly.
The Pilea plant bends and follows the sun quickly. Rotating it allows the plant to keep growing straight and tall. While this is primarily an aesthetic care tip, it’s also better for the plant to grow straight so that it’s less likely to topple over in its pot.

How to water and fertilize the Chinese money plant
Many plants give you obvious signs that they’re ready to be watered. The Pilea peperomioides is one of those plants. You’ll want to avoid letting the plant get dry enough to react, but don’t panic if you see the leaves drooping; as long as you catch the wilting signs that morning and give the plant a big drink, they will perk back up.
Step 1: Use a moisture meter to check the plant's soil every few days.
In doing so, you’ll get an accurate reading of the soil condition and avoid overwatering your plant.
Step 2: Water your Pilea plant only when the soil is dry.
Step 3: Dump out the excess water and return the plant to its tray.
Step 4: Feed the plant a balanced liquid fertilizer about once a month during the growing season (spring, summer, and fall).
The Pilea plant doesn't require fertilizer in the winter.

Is the Pilea peperomioides toxic?
The Pilea peperomioides is a non-toxic plant that’s safe to grow around cats, dogs, and humans. However, cats can find these bouncy leaves fun to play with. While the plant won’t harm your cat if they take a nibble, your cat could easily kill your plant, so you'll probably want to put your plant in a location they can’t reach.

Encouraging your Pilea plant to bloom
Pilea plants bloom infrequently, but that doesn't mean you have to give up on your dreams of seeing your plant flower! Follow these tips to encourage your Pilea plant to bloom.
Step 1: Start looking for flowers when your Pilea plant is around three years old.
Step 2: Make sure your plant's needs are being met.
If your Pilea plant isn't getting enough water, light, or nutrients, it won't bloom.
Step 3: Move your UFO plant to a cooler room during winter.
Most homes are too warm for plants to register winter when it arrives. This can throw off a plant's internal clock, which leads to delayed blooming or skipped dormancy periods.
Step 4: Keep trying!
Consistency is key. Your Pilea plant might not bloom in the first year after following these steps, but staying consistent with its care will ensure it does bloom eventually.

How to propagate a Pilea plant
Propagating a Pilea plant is very similar to propagating an aloe, bromeliad, or jade plant. Here's how to go about it — we promise that you'll have a rooted pup in no time by following these steps.
Step 1: Check the base of your plant for "pups," or small offshoots.
Step 2: Take a sharp blade and remove the pup as close to the mother plant as possible.
Step 3: Pot the pup up in a houseplant potting mix. For added aeration, mix in perlite or vermiculite.
Adding rooting hormone to the exposed nodes is helpful but not necessary. Some people may also choose to leave their pups in water for a few days before potting them up in soil.
Step 4: Leave your potted pup by a bright window and water it regularly. Before you know it, you'll have a rooted plant that's ready for you to share with fellow foliage enthusiasts!

Can you grow a Chinese money plant in water?
Yes, you can grow a pilea plant in wanter! Transferring your pilea from soil to water can be tricky, so this method works best when you start with a cutting or a pup. If you want to try growing your rooted pilea in water, gently remove all the soil from the roots first, and rinse them clean. You don't want the water getting dirty, as this can lead to fungal growth or bacterial infections.
To grow your pilea cutting or pup in water, here's what to do:
Step 1: Remove the cutting or pup with a sharp, clean knife or scissors, and remove the leaves from the bottom half of the cutting.
The bottom half will be submerged in the water, so any leaves that would be underwater will need to be removed.
Step 2: Select a cup or vase that will support the cutting or pup, keeping it upright.
Avoid cups, bowls or vases that are too large or too shallow to support the cutting. If the cutting or pup falls over and the leaves are submerged, they could rot.
Step 3: Add a dab of rooting hormone to the bottom of the cutting or pup.
This is optional, but can be helpful.
Step 4: Fill the container with room temperature water.
Step 5: Replace the water every month with fresh, room temperature water.
Step 6: Clean the container and the plant's roots every month, when you replace the water.
Avoid harsh chemicals that might linger and harm your plant. Cleaning the container with plain, hot water and a gentle dish soap gets rid of mineral build ups and any algae that might be forming. The roots only need a gentle rinsing to keep them clean and healthy.
Step 7: Feed your pilea with a balanced liquid fertilizer once a month.
Your plant needs nutrients to grow, and without soil those nutrients have to come from the water. Only use a small amount to avoid fertilizer burns. Unlike a potted plant or a garden plant, where excess fertilizer can drain away from the roots when the plant is watered, the excess fertilizer in a hydroponic garden has nowhere to go.
Now you can bring this adorable plant home and care for it without fear! After properly nourishing your plant to optimal health, you can even encourage it to bloom and share it through propagation.


