
Pruning is often a neglected but vital chore when it comes to maintaining a lush herb garden. Watching your herbs push out new leaves can be an exciting part of the gardening process, but cutting them back will actually encourage them to grow even more vigorously — not to mention, you’ll get pretty delicious garnish after pruning! If you’re wondering why you should prune and how you should prune, we’ve compiled everything you need to know about managing herb growth so you have the healthiest and most productive plants possible.
Why do you need to prune herbs?
Pruning is beneficial to herb plants for many reasons. First, it helps you clean up your plant, as pruning is a great way to get rid of old, diseased, or dried-up foliage. Aesthetically, it’s a way to maintain the shape and appearance of your plant. And while it may seem counterintuitive at first, pruning also prevents an herb plant from becoming thin and leggy, helping stimulate growth. Although your plant will have less foliage after you cut it down, you ultimately encourage thicker and bushier growth when it fills back up — an unpruned plant may become too top-heavy and topple over. As some herbs, such as rosemary and thyme, age, their stems also become woodier, so cutting back the plant will help control woody growth that sheds lower leaves. And the best reason of all? You’ll have fresh veggies for garnish after you prune your herbs!
When should you prune your herbs?
Prune herbs when they’re young and haven’t flowered yet. Flowering indicates that the plant is at the end of its life cycle and going back to producing seeds. Additionally, the herb may become less flavorful as it reaches this point. To encourage your plant to grow and maintain its flavor profile, cut off flower buds before they bloom. You can, however, keep a few flowers if you want to collect seeds for later.
Towards the end of the growing season, you’ll want to be prudent about pruning. Avoid cutting back perennial herbs a month or two before the first frost, or else the vulnerable new growth may not recover and grow back. Holding off on pruning at the end of the growing season also helps your herbs conserve energy for the winter.
How should you prune your herbs?
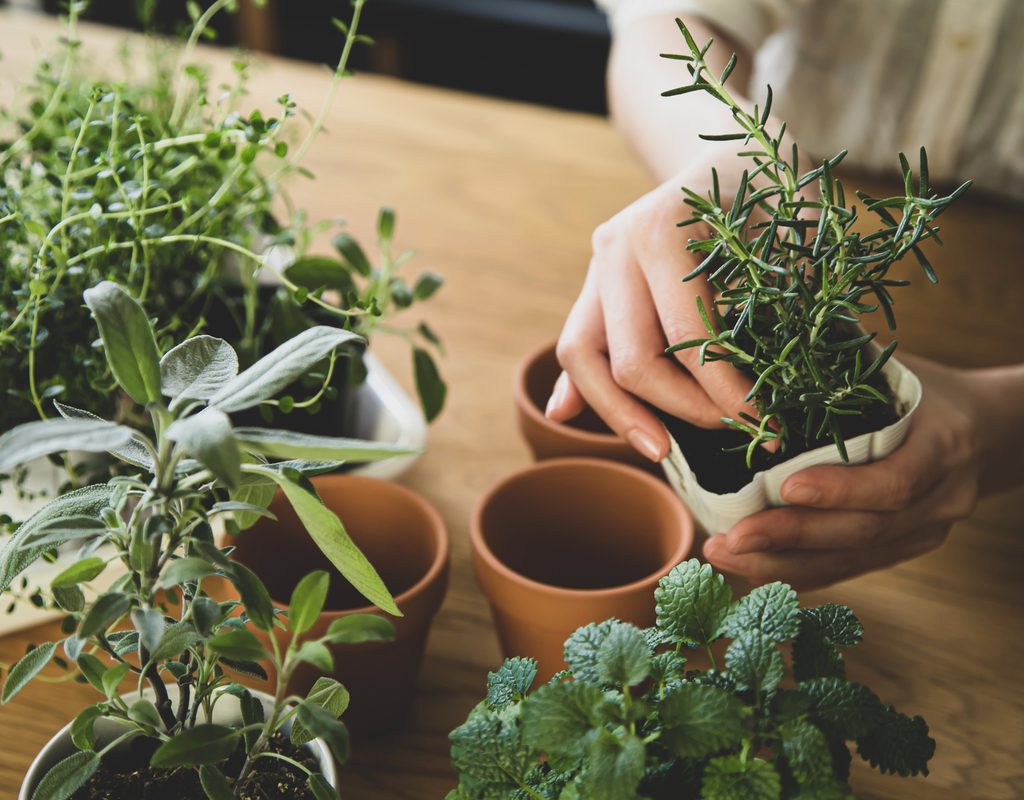
When pruning, use a clean shearing knife or a pair of scissors to cut back your plant, as you don’t want to spread around any diseases that could harm your herb. Pinching your plant back with your fingers also works, but make sure that your hands are clean before you do so. If you’re working with woody stems, it might be necessary to use extra sharp pruning shears.
No matter what tool you use to cut your herbs, it’s crucial to make a clean cut through; a jagged cut can make your plant susceptible to disease. Before pruning for harvest, first target unwanted flowers and dead leaves. Then, cut down fresh leaves. Use your harvested herbs for cooking, or, if you have an ornamental plant, throw the excess leaves into your yard waste or compost bin.

Pruning perennial versus annual herbs
When you collect leaves from perennials, a good rule of thumb for cutting them back is to cut down one-third to one-half of your herb. (As a refresher, perennials refer to plants that come back each spring in your growing zone while annuals die after one growing season.) Target an area right above the next growth node, where you see a leaf emerging from a stem. With herbs such as rosemary, lavender, and thyme, cut your plant every week throughout the summer to prevent woody growth, stopping two months before the first frost. With annuals like basil, cut off flowers and flower buds to maintain the longevity of your plant. Once winter comes, annuals likely won’t survive a light frost and come back from roots during the spring.
Pruning your herbs may feel like you’re parting ways with growth that you’ve worked so hard to encourage. However, after some time, your herb will bounce back and appear even more robust than ever. With a clean pair of scissors (or even clean hands), you can cut back your plant to encourage bountiful growth throughout the spring and summer.


