
How to select the right base for your air plant terrarium

air plants
Image used with permission by copyright holder

If you want to incorporate greenery and plants into your home, air plant terrariums are a great way to add something more to your decor. Air plants, often referred to as tillandsia, are epiphytes that attach to other plants or a material layer to support themselves. These plants are simple and low-maintenance living plants that can spruce up your indoor space. They’re more than a trendy plant; their versatility allows them to be styled in many different ways, including in terrariums. But selecting the suitable base for your terrarium can be challenging, given it needs to not only meet your style expectations but proper functionality for your plants to survive. Therefore, let’s explore how you select the best base for your air plant terrarium.

hanging air plant
luca85 / Shutterstock

Benefits of air plant terrariums in the home

When utilizing air plant terrariums as a decor choice, there can be countless benefits. Firstly, these types of plants are aesthetically pleasing to the eye and can make any space in the home look and feel more fresh and lively. Furthermore, air plant terrariums can also add a pop of color, especially to rooms with a neutral color scheme.

There are more than just design benefits to these air plant terrariums. One of the most important reasons to bring air plants into the home is that they also often purify the air you breathe. Many scientists have reported that tillandsia and a variety of other plants are capable of removing mild airborne contaminants and chemicals from their environment. Being surrounded by greenery can also help you feel more relaxed, calm, and possibly more productive.

Elements to consider when choosing a base

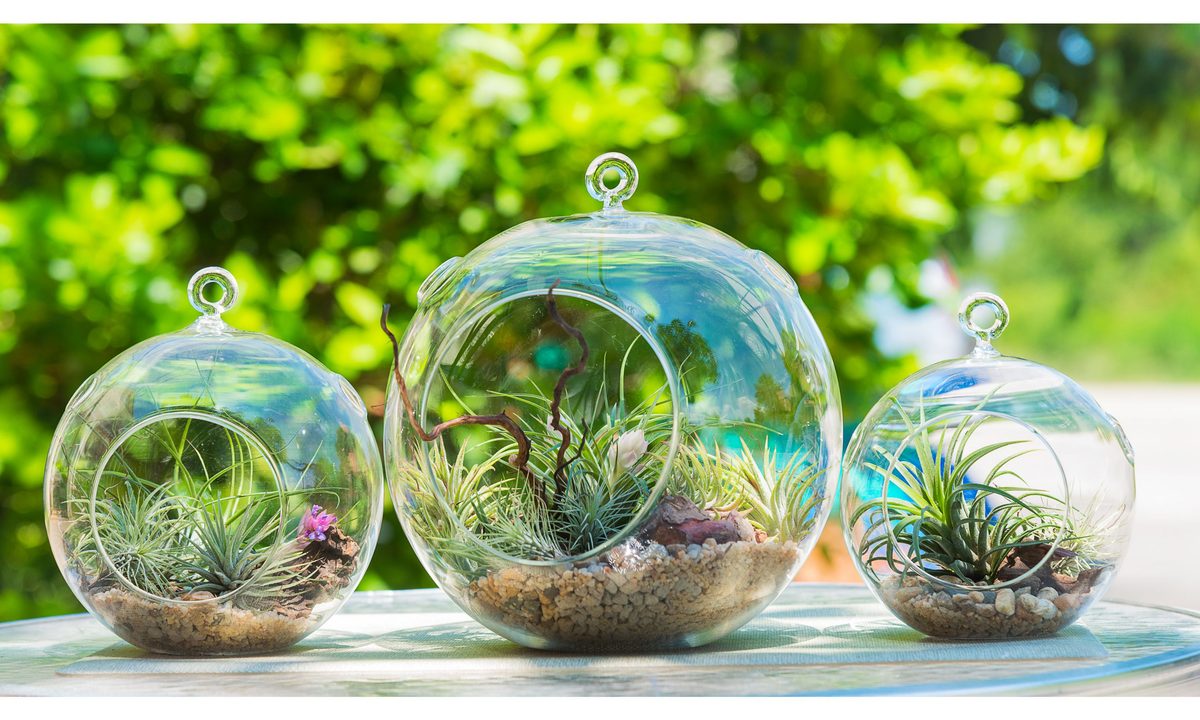
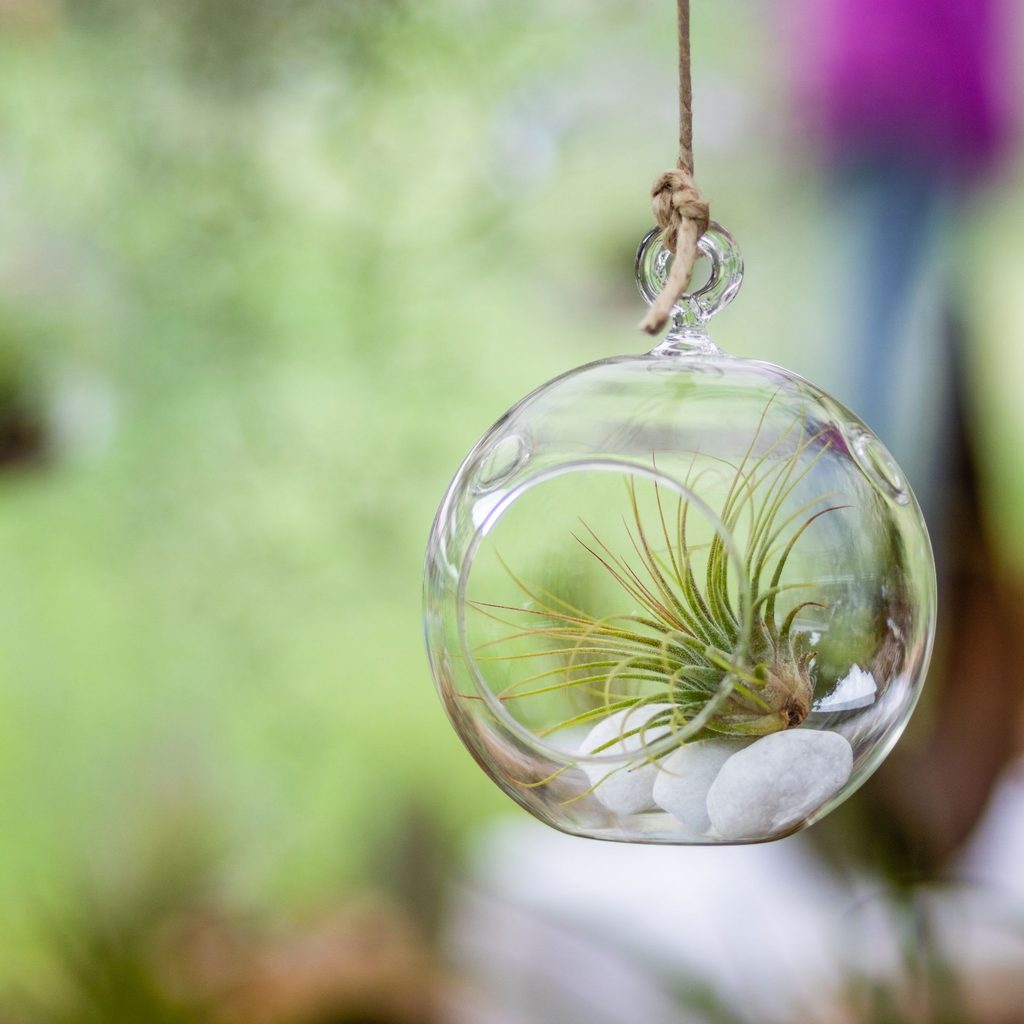
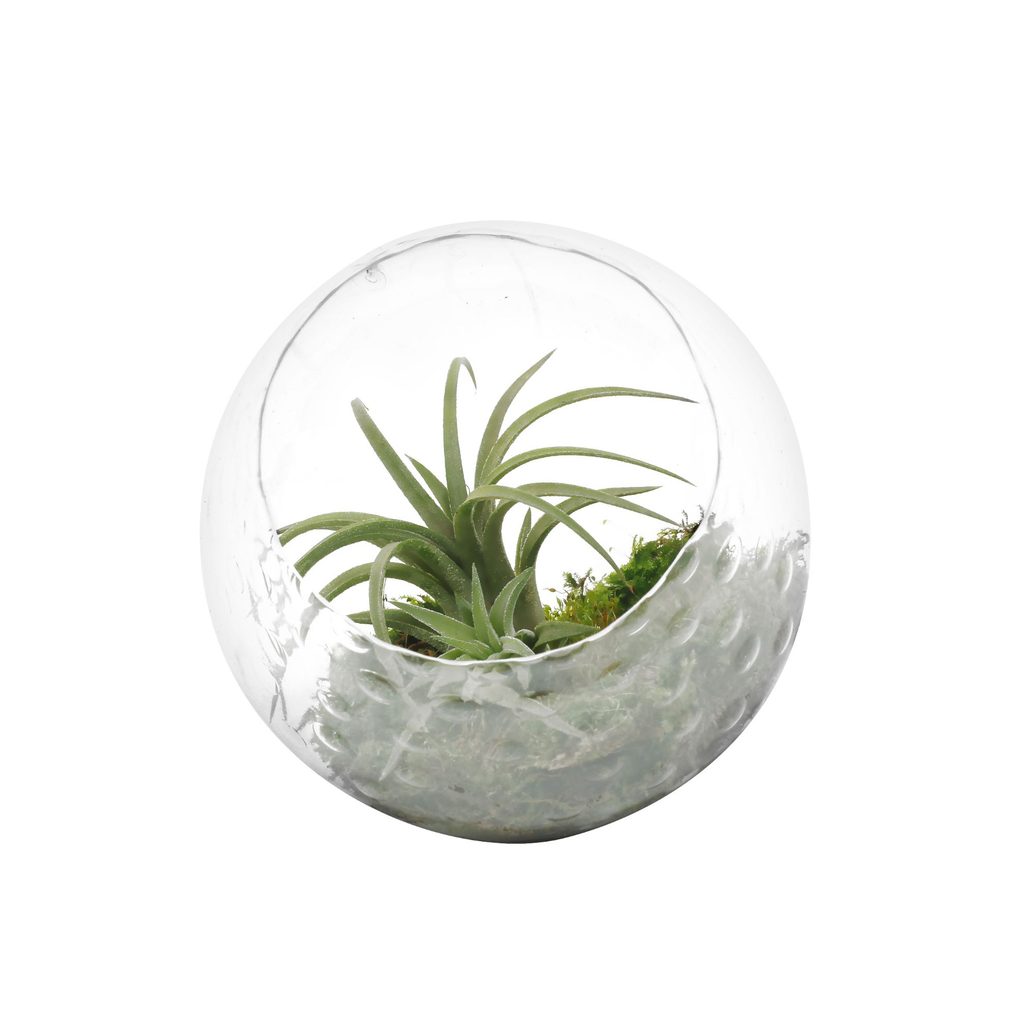
Before choosing the base that’ll work best for your air plant terrariums, there are several elements to consider, as choosing the right terrarium is important for the health of your air plants. While there are plenty of unique containers to choose from, ensure that the container is made of a transparent material so you can look in at your plant display.

Additionally, terrarium containers should include an opening large enough for the gardener to access the plants while also letting the plants have proper airflow. Tillandsias are different from other common terrarium-based plants because they don’t require soil.

Also keep in mind how you want to display the terrarium — whether it will be sitting on a tabletop or hanging in a window. The last thing you’d want is for a hanging terrarium to fall because the base weighed too much.

Below are some of the best terrarium base options for tillandsias:

  • Moss – Moss is ideal for hanging terrariums since it isn’t as heavy. It’s also less likely to shift around in the vessel if the hanging terrarium sways slightly.
  • Small bark or driftwood – Utilizing small pieces of bark or driftwood is ideal for a rustic look while being a more lightweight option as well. Look for bark or driftwood from non-invasion sources rather than from outside to protect your plant from the potential of pests.
  • Sand – Using sand is an excellent option for tabletop terrariums, given its weight. Sand also retains moisture longer than other options while giving your tillandsias a subtle beachy feel to them.
  • Small pebbles – Another good option for a tabletop terrarium is small pebbles, as it allows a rocky yet stable surface for the air plants to sit on securely.
glass open air plant
Image used with permission by copyright holder

When choosing your base material for your air plants, you’ll want to ensure a proper environment for your plants. Given that air plants don’t require as much moisture as other terrarium-thriving plants, you still want to provide an optimal environment for them to survive. Choosing the suitable base does not have to be challenging or tricky, so long as you follow our simple guide.

Amanda Scheldt
Amanda is a self employed content writer with a diverse and multifaceted niche background. After over a decade in the…
Have more aloe plant than you know what to do with? How to propagate its pups
Propagate your aloe plant easily and successfully
A few small aloe vera plants

Aloe plants are one of the most popular indoor succulents, and for good reason! They're hardy and easy to grow, useful for treating minor skin irritation and cuts, and they have a lovely and interesting shape. Plus, it’s one of the easiest plants to propagate — and who wouldn’t want to create more aloe vera for its soothing gel that can be used to treat burns and skin irritations? If you want to learn how to propagate aloe vera, it’s not that hard. Ahead, here's what you need to know to successfully propagate aloe vera.
The easiest way to propagate aloe vera

The easiest way to propagate aloe vera is by division — that’s to say, taking an offshoot growing at the base of your aloe vera plant. You can simply pluck off a pup or use a clean knife to carefully remove it from the mother plant. The best time to remove the offshoot is when the leaves are fleshy and have formed a distinct rosette shape. It also helps if the pup already has roots connected to the mother plant. When propagating the pup, keep as much of the established root system as possible. Place your offshoot into a fresh cactus mix and allow the roots to settle after watering deeply. If you have an aloe with multiple pups, you can remove your entire plant from its planter for a better view of the roots.
How do you propagate aloe vera without roots?
It’s possible to propagate aloe vera without roots — in fact, you can even grow it from cuttings, which we’ll cover more extensively below. Propagating aloe vera pups without roots is very feasible, but you have to be careful with watering. If you find yourself with rootless aloes, you can place them onto your potting mix as usual and use stones or stakes to keep them upwards. Avoid watering them until about two weeks or whenever they have roots.
Other ways to propagate your aloe vera plant

Read more
How to dry gourds: Your complete guide
Dry your own gourds at home for gorgeous fall decor
A basket with fall leaves and small gourds

Gourds, especially pumpkins and squash, make excellent decorations due to their thick shell-like skins. You can carve them into lanterns, turn them into instruments, or simply paint them to match whatever occasion you choose. Unless you’re carving them, though, it’s best to dry them first. Drying helps preserve the gourd and stop it from decaying. Want to learn how to dry gourds at home? It’s surprisingly simple, even for people without much experience. To help you get started, here’s our easy walkthrough explaining how to dry gourds at home.
Choosing the best gourds for drying

The gourd you choose to dry should be fully mature, so their skins are properly hard. Before they mature, gourds have softer skins, which can interfere with the drying process. Smaller gourds will dry faster than larger ones overall, and while larger gourds can dry at home, they are more time consuming.

Read more
How to install a zen garden in your backyard
Relax in your backyard with a zen garden
A zen garden with large rocks in it

The appeal of gardening for some people is the general calm and relaxation that occurs when caring for and enjoying a space you've worked hard to create. Zen gardens have a similar effect, but they're explicitly designed to create a space of zen. All the elements of a zen garden work together to invite you in and promote peace as you sit and enjoy the view.

It can be easy to add these elements to your already existing garden design. However, if you aren't sure where to begin, we're here to help. Whether you want to add zen garden elements to your existing garden or are planning an entirely new garden, this guide will explain everything you need to know about how to make a zen garden in your backyard.
What is a zen garden?

Read more