
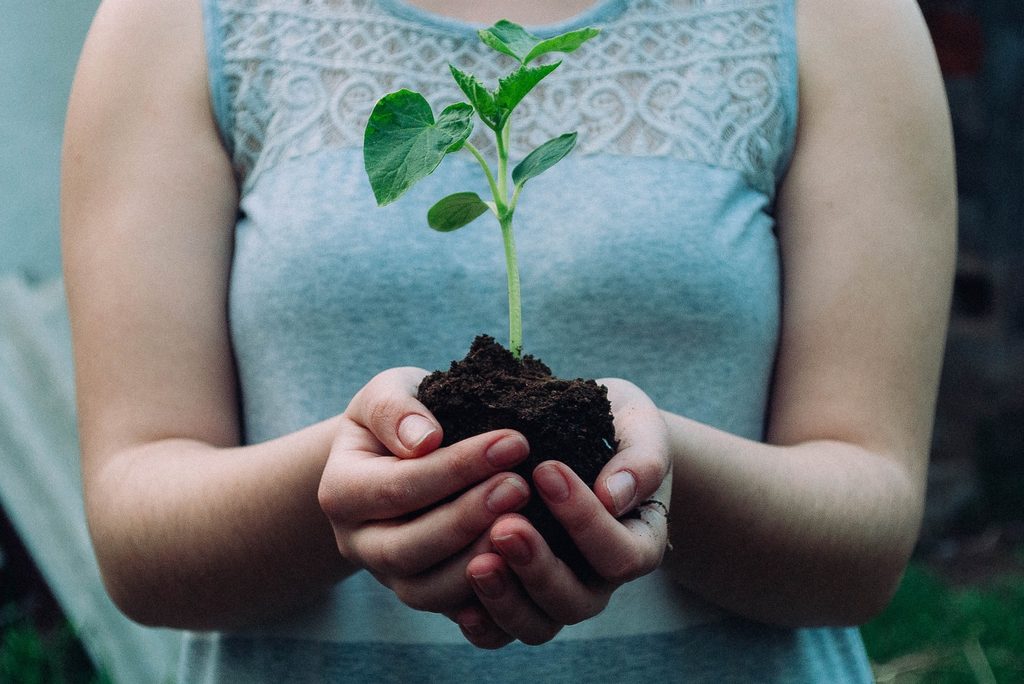
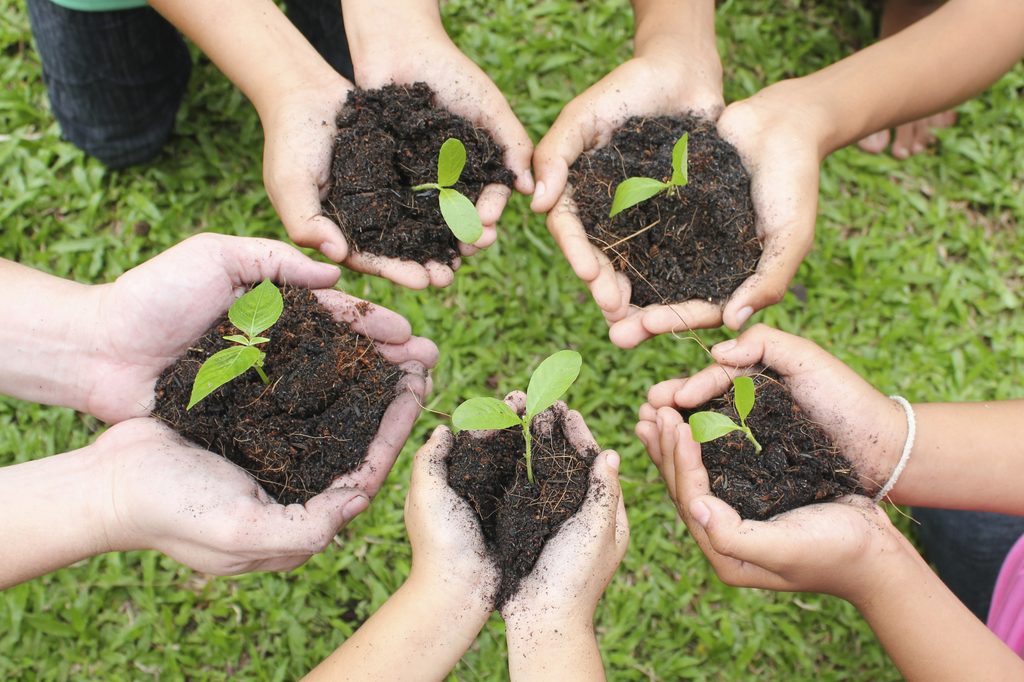
Container gardens are a great way to get into gardening if you’re low on space or time or just aren’t sure if you’d enjoy having a full-sized outdoor garden. Many plants can grow in containers, and there are so many fun and creative container options you can choose from.
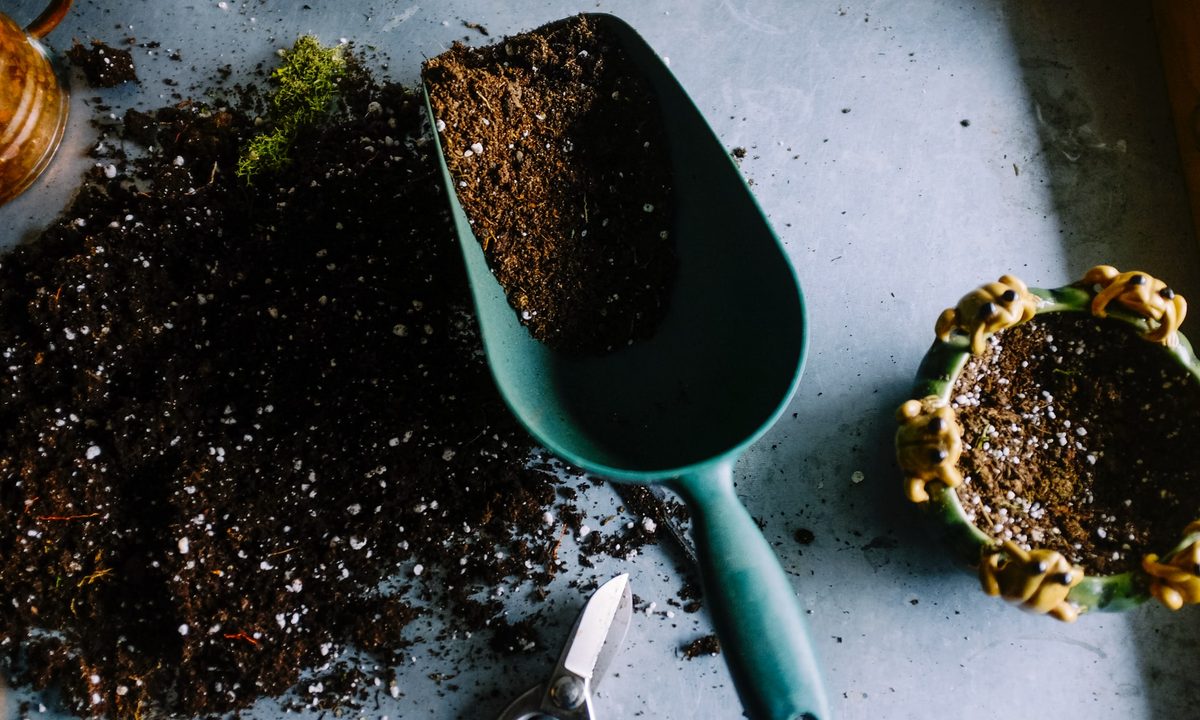
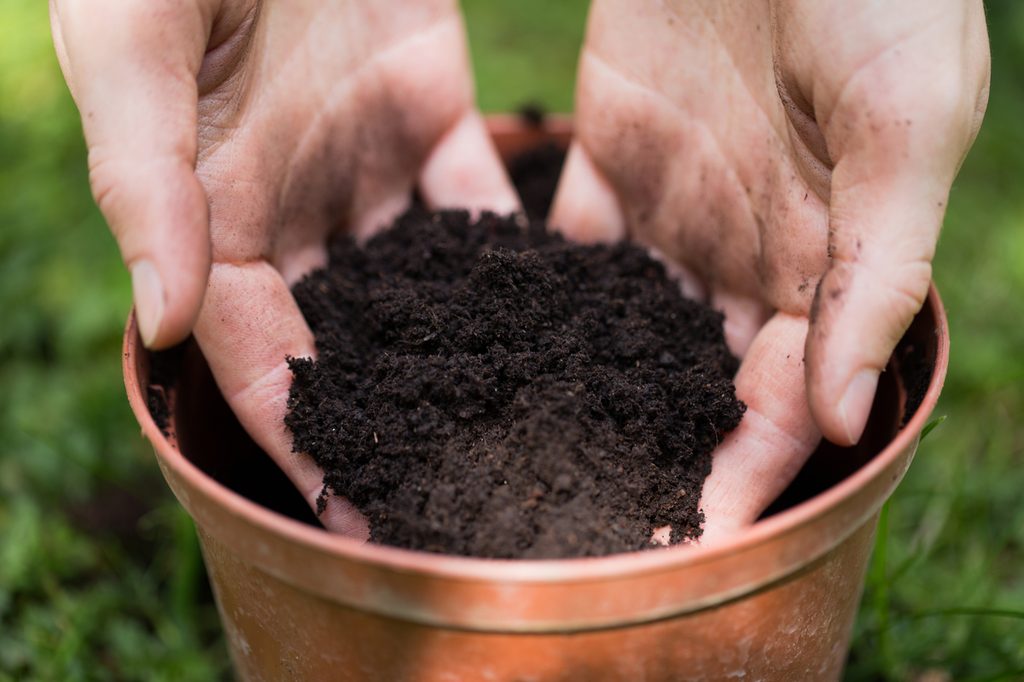
No matter what plant you’re growing or what container you choose, there is one thing that all container gardens have in common: potting soil. If you’ve ever bought a bag of potting soil for a project that ended up delayed, you may be staring at that bag wondering, “Can potting soil go bad?” Here’s what you need to know.
Can potting soil go bad?
Potting soil can go bad, although not in exactly the same way that food goes bad. Instead, potting soil loses effectiveness. Over time, soil additives such as compost, peat moss, or fertilizers break down further, and nutrients are lost in the process. You can think of it like this: The initial potting soil is a full meal, and the potting soil afterward is a plate of saltine crackers. Not toxic, but it certainly won’t keep your plants full. This process is quite slow, so there’s no need to rush out to buy new potting soil if you’ve only had your potting soil for a few weeks or even months.
If you properly store your potting soil, it can stay usable for over a year. However, there are factors that can speed the process up. If you’ve opened your bag of potting soil, for example, the soil is exposed to pests and elements that speed up the loss of nutrients. Additionally, if your potting soil is left in damp conditions, it can become moldy, which is a much worse way of going bad.
How can you tell if your potting soil has gone bad?
The first thing to do is determine how long the potting soil has been in storage and check the bag for signs of damage. If the bag is undamaged and has been in storage for less than a year, then your potting soil is good to go. If it is undamaged and has been in storage for between one to two years, your potting soil may be losing nutrients, but it should still be usable.
If the bag of potting soil has been damaged, check it for signs of pests. No one wants to start scooping out potting soil only to grab a frog or a bunch of worms! If there are no pests, the potting soil may still be good if it has been in storage for less than a year. However, you should sterilize it first in case there are pest eggs or fungal spores in the soil. You can sterilize it with heat by spreading the potting soil on a baking tray and heating it in the oven.
Can you revitalize old potting soil?
Yes! If your potting soil isn’t moldy, it’s fairly easy to revitalize. First, sterilize the potting soil if the bag was opened or there are signs of pest damage. Sterilization can also kill some fungal spores, but if your potting soil is already heavily molded it is better to simply replace it. Once the soil has been thoroughly heated, place it in a container. To revitalize the soil, you’ll need to add soil additives to replace the lost nutrients, and it’s easier to do this if the soil is in a bucket or other container.
If you have compost, that is a perfect addition. Add an equal amount of compost to the amount of potting soil you have. The ratio doesn’t need to be exact, so don’t stress too much over measurements. Peat moss and perlite are the other two most common potting soil additives, and they can be added in the same ratio as the compost. Just ensure you’re working off the initial amount of potting soil, not the combined amount of potting soil and compost.
Can you stop potting soil from going bad?
Some things can be prevented, others can’t. Proper storage goes a long way to keeping pests and fungal spores out of your soil, but it can’t stop time. Your potting soil will slowly lose nutrients over time, no matter what. However, nutrients can be replaced, so your main concern should be pests and fungi.
To keep these problems at bay, store your potting soil in a dry, dark place. If the soil is in a plastic bag, be sure to lay it flat, otherwise it could fall or slide over time, leading to rips. If you are storing it in a place with an unfinished floor, providing a layer between the ground and the bags is a good idea. A shelf or wooden pallet is perfect to keep any moisture or critters in the ground out of your soil.
So now you know if potting soil can go bad, how to tell if yours is still good, and what you can do about it. Mixing up your own potting soil blend is easy, so there’s no need to stress unless your potting soil is moldy. If you’re still concerned, there are plenty of beginner-friendly plants that aren’t too picky about soil. Why not start with one of those and see how it goes?


