
Celery is excellent for many things. It’s crunchy and hydrating. It’s also good in soups, stuffing, sandwiches, and peanut butter. Celery is one of the few vegetables that thrive in shade, too. The only issue is that it doesn’t last nearly long enough on its own. The solution? Blanch and freeze it.
Why you should blanch celery
Blanching your vegetables, and especially your celery, helps them stay fresh in the freezer. When frozen, blanched celery keeps its texture, taste, and nutritional value longer than unblanched celery. Celery has a high water content, which makes it prone to freezer burn. Blanching your celery helps to stave off freezer burn, keeping your celery delightfully cold while avoiding any of the unpleasant side effects of freezing.
Unblanched, refrigerated celery only lasts a few weeks. Celery that is properly blanched and then frozen can last 12 to 18 months, lengthening the life span significantly. That’s at least 13 times longer, which means 13 times the amount of meals and snacks you can make with it.
How do you blanch celery for freezing?
Blanching celery is an easy and fairly quick process. The first step is to wash your celery thoroughly but gently. You can use cold tap water and your hands. Avoid using any soaps or cleaning chemicals, as these can be absorbed into the celery. Remove any stems or leaves and the white parts at the ends. The green, ribbed, middle section of the stalk should be what is left.
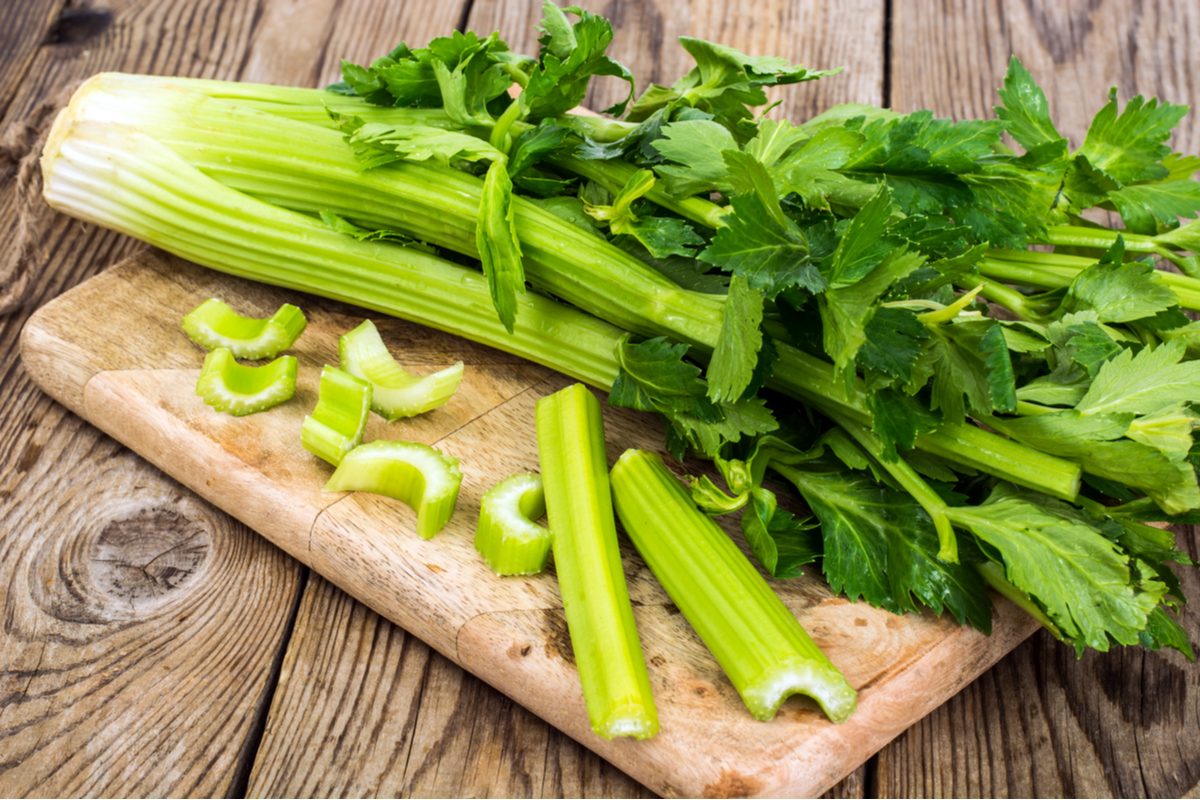
If you have a size preference for your celery bits when cooking, go ahead and cut your celery into chunks of that size. If you don’t have a preference, or if you might be using this celery in multiple ways, cut your celery into fairly large chunks. Large pieces can be cut down into smaller pieces later, when you’re ready to use them.
Your largest pieces should be half an inch to an inch, but size doesn’t have a major impact on the blanching process. Bring a large pot of water to a rolling boil and add your celery. Once they’re done, add your celery to an ice water bath, then dry them off.
Next, you have two options. You can put your celery straight into resealable containers, preportioned for meals or all in one bag, or you can prefreeze your celery first. Prefreezing helps to keep your celery chunks from sticking to each other, but it isn’t strictly necessary.
To prefreeze your celery, cover a tray, baking sheet, or other flat, freezable surface with your preferred nonstick baking or parchment paper. Arrange your celery pieces on the paper so that they aren’t touching each other, then freeze them.
Pack your celery pieces into containers of your choice and put them back into the freezer, and you’re done! Your celery is now blanched, frozen, and stored for all your cooking needs. When you’re ready to use it, it can go directly into your pot or pan without needing to be thawed, although you may want to thaw it if you intend to eat it raw.
How long should you blanch celery for?
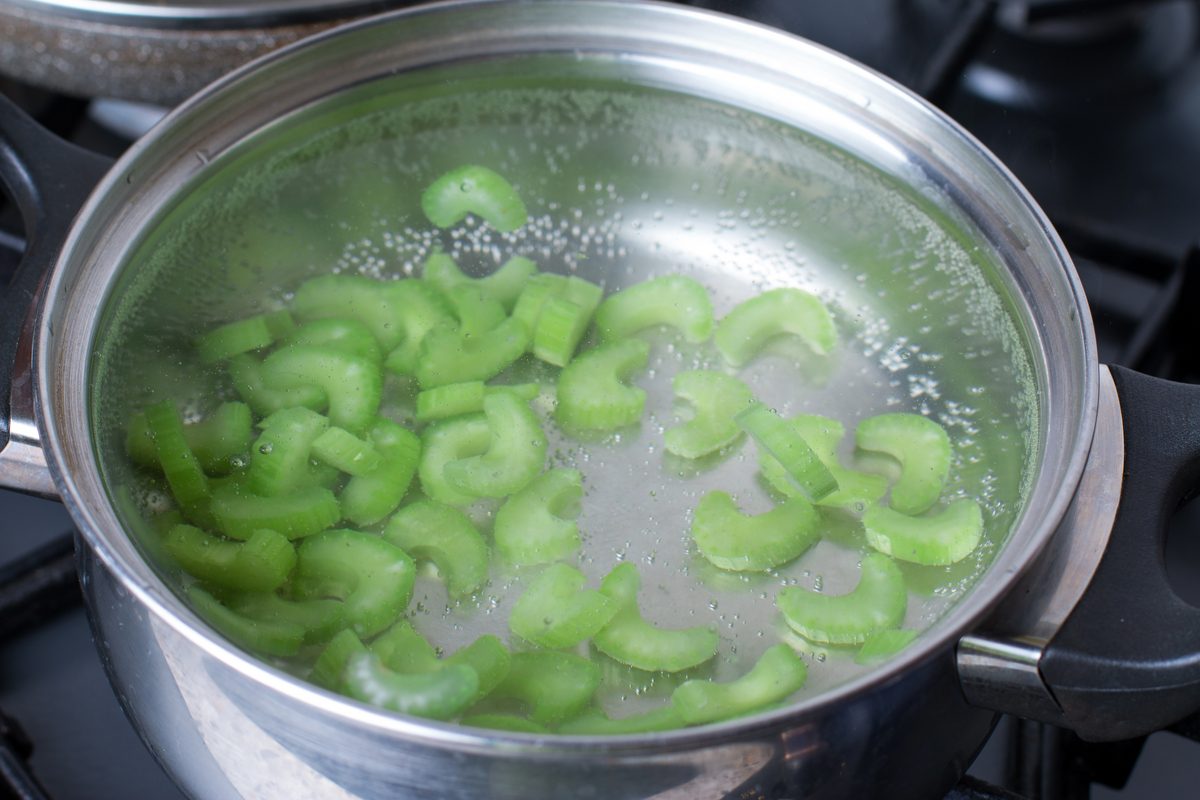
Blanching celery takes only a few minutes. The celery chunks should boil for three minutes, and they should be left in the ice bath for five minutes. The time it takes to fully blanch all of your celery depends on how many stalks you’re blanching at a time, but if you have less than 20 stalks, it should take less than half an hour to blanch all of your stalks. It helps if you have a large pot to boil them in. If you have smaller pots, you can either boil water in multiple pots at once, with caution, or you can boil your celery in multiple batches instead of all at once.
If you prefreeze your celery, only leave it in the freezer for one or two hours. This is a long enough time to freeze the pieces, but not long enough for freezer burn to develop.
Celery is easy to grow and versatile to eat, but it doesn’t always keep well. With its high water content and thin skin, celery spoils quickly when refrigerated and is prone to freezer burn when frozen. Blanching your celery is quick, easy, and lengthens your celery’s lifespan to incredible proportions. Now that you know this simple trick to preserving it, you never have to worry about sad celery again!


