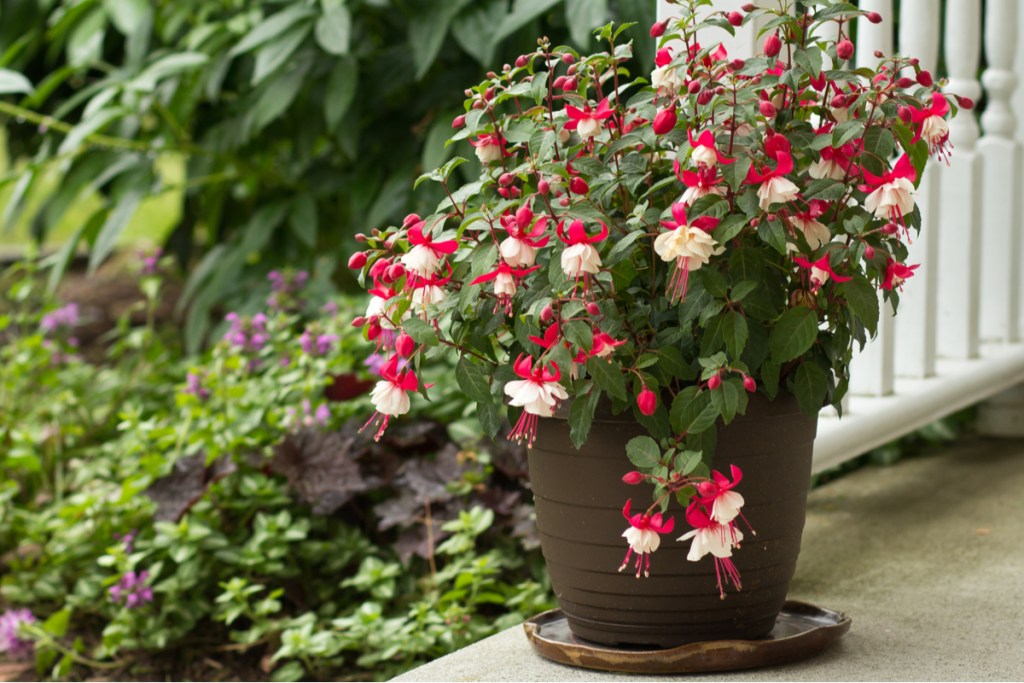
Fuchsias are great plants that fit well with a variety of gardens, both indoors and out. The bright pink flowers that bloom on the small shrubs and trees that make up this genus are both beautiful and unique. If you’ve already fallen in love with fuchsias as a whole, then you’ll no doubt be interested in how to propagate them to create more fuchsia plants. If you’ve never propagated a plant before, then you’re in for a treat. Fuchsias are easy to propagate, and the new fuchsia plants make great gifts.
When should you propagate fuchsias?
You can propagate your fuchsias during any season except winter. During winter, fuchsias go dormant, meaning they don’t grow and conserve as much energy as possible. A cutting taken during winter would, unfortunately, dry out before it began to root. However, fuchsias are typically cut back at the beginning of spring to bring them out of dormancy. These cuttings are more likely to root successfully, although they may root more slowly. Otherwise, you can take a cutting at any point during spring, summer, or early fall. If you’re propagating in the fall, be sure to take your cutting before the plant goes into dormancy, or else you’ll have to wait until spring.
How to take a cutting from your fuchsia
Begin by finding a suitable stem. It should be a healthy one, so check it carefully for signs of disease or pest damage. Try to find a springy stem, one that is still fairly young and hasn’t become woody yet. Woody stems can still root, but do so much slower and with a lower success rate. Your cutting should be between two and five inches long and have several leaves, so you can limit your focus to the ends of stems rather than the entire plant.
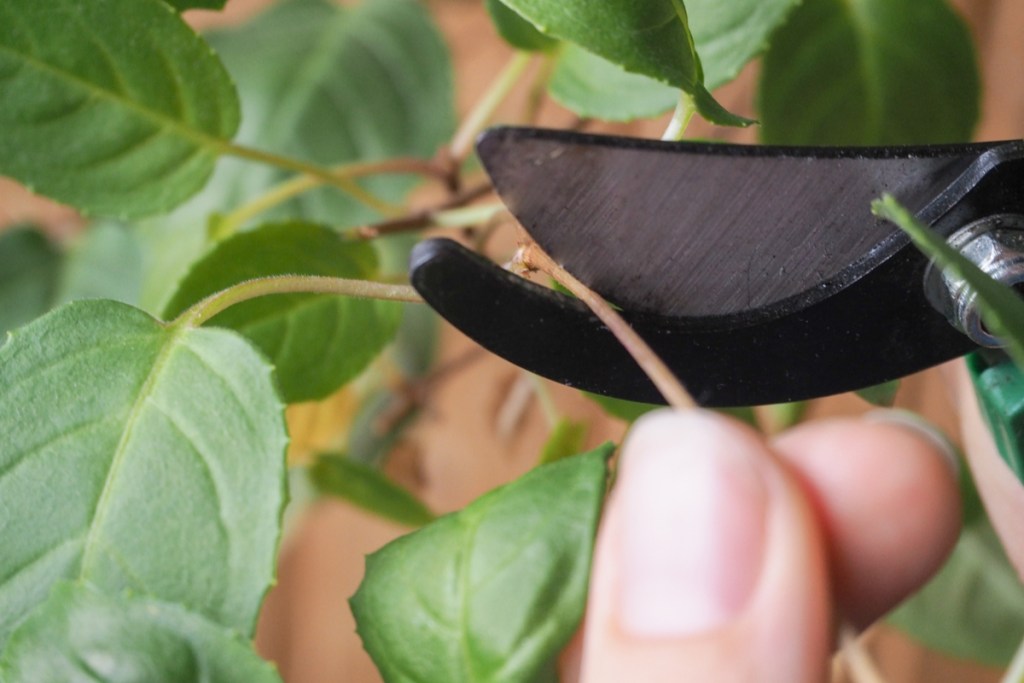
Once you’ve found the stem or stems you plan on cutting, it’s time to actually make the cut. You can do this with a tool, such as a knife, garden shears, or scissors, or your hand. Either way, make sure your tool or hand is clean to avoid potentially infecting the plant with bacteria. If you use a tool, make sure it is sharp, so you can get an even cut without damaging the plant.
If you’re cutting with a tool, make one quick, even cut at the base of where you want your cutting to be. If you’re using your hand, pinch the cutting off of the rest of the plant with one sharp twisting or snapping motion. Try to separate your cutting just after a leaf or leaf node, as it will speed up the rooting process.
Rooting your cutting in soil or water
Your fuchsia cutting can be rooted in soil or in water, and both methods have their pros and cons. Rooting cuttings in water is typically faster by a week or two, but you then need to transfer the cutting into soil. On the other hand, rooting cuttings in soil takes a little longer, but they’ll only need to be transplanted once they’ve grown too big for the container.
For both methods, you’ll need to prepare the cuttings first. Strip the leaves off of the bottom few inches of the stem, leaving the leaves on the top half the stem alone. You can apply some rooting hormone to the stem, but fuchsias will typically root fine without it.
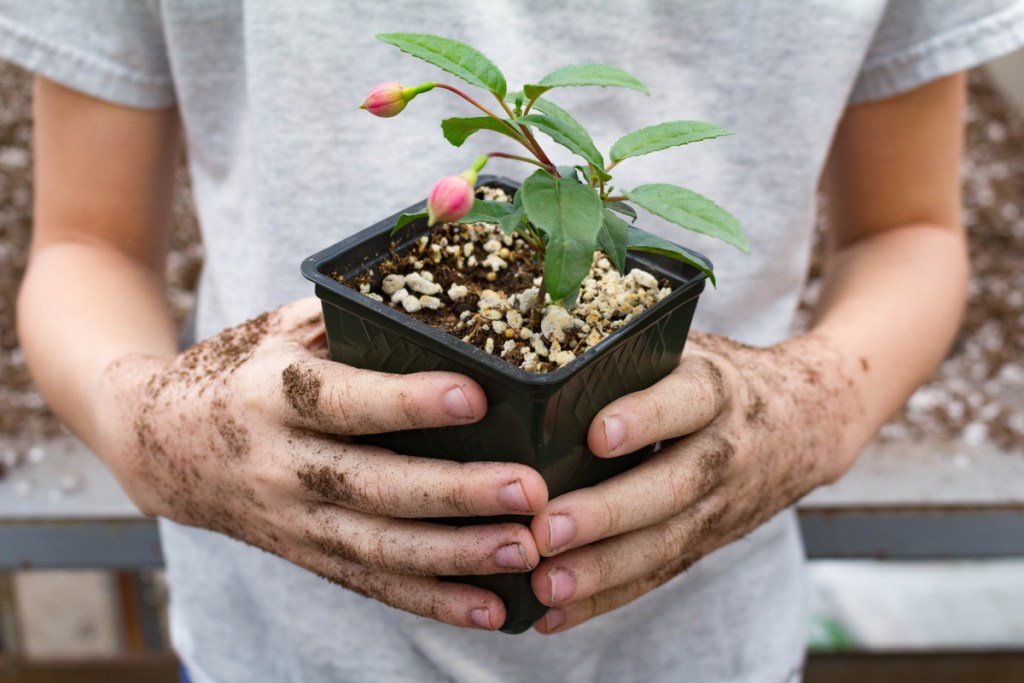
Next, prepare the container for rooting. If you plan on rooting your cutting in water, use a glass or clear plastic jar or cup. Use plain, room temperature water, and fill the jar so that the leafless section of the stem will be underwater, but the remaining leaves will not. If you’re rooting it in soil, you can use any small flower pot. Make sure your growing medium is moist, then add your cutting, with the side you stripped of leaves underground and the leaves aboveground.
How to care for your cutting
Your cutting should have roots in just a few weeks, after which you can care for it as you would any young fuchsia plant. Until then, there are a few things you can do to keep your cutting alive and thriving.
For cuttings in water, make sure to change the water once a week. Try to use water that’s close to the same temperature and is from the same source, so that your cutting doesn’t go into shock from the sudden change. If your cutting is in soil, be sure to keep the soil moist. For both types of cuttings, avoid getting the leaves wet, and keep your cuttings somewhere warm with bright, indirect light.
By following these simple steps, you can turn one fuchsia into several and expand your garden. Plant your new little fuchsias outside, keep them in pots, or give them as gifts to your loved ones so they can experience the joy of fuchsias too. Once you’ve tried propagating your fuchsia, why not see what other plants in your garden are easy to propagate?