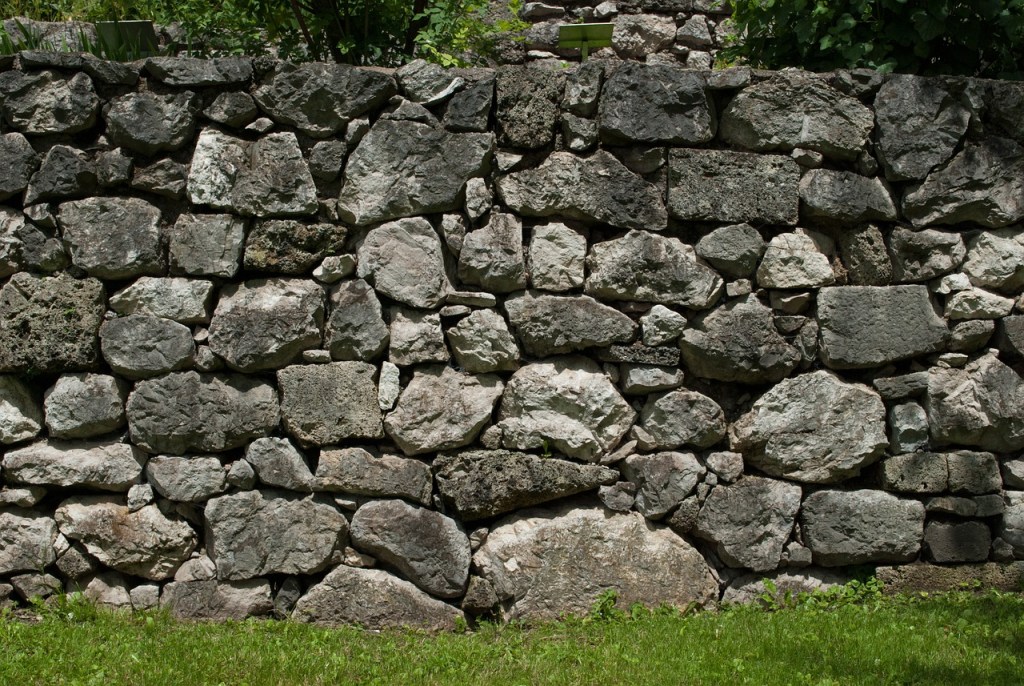
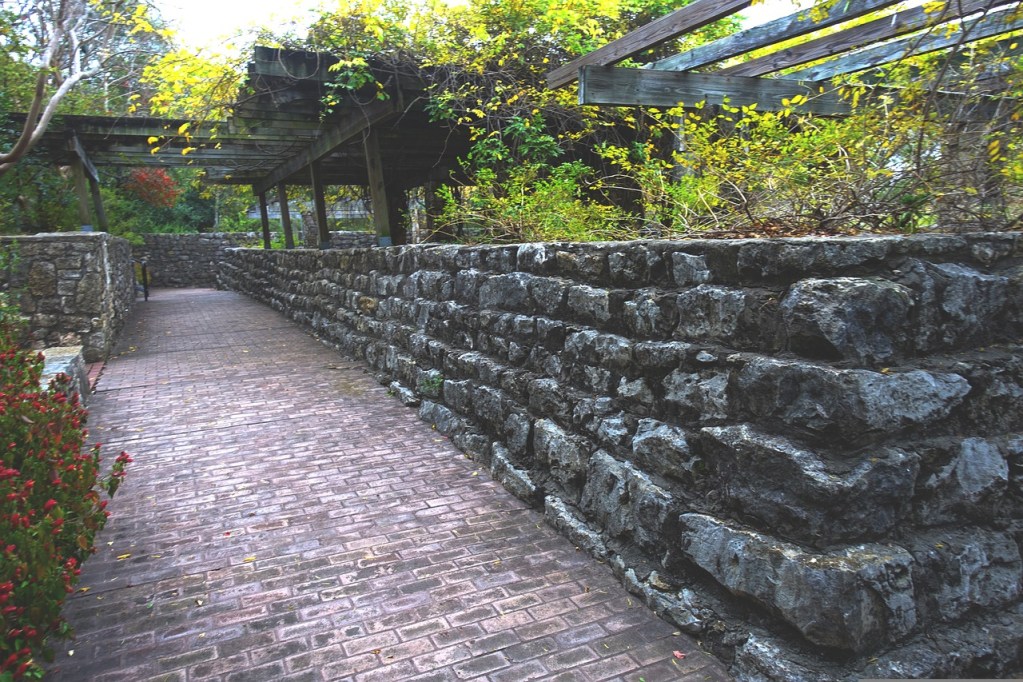
Retaining walls are ideal solutions to hold up sections of your yard. They can consist of wood, masonry, poured concrete, or concrete blocks. Aside from their practical uses, they can also add an aesthetic element to the design of your yard or garden. Retaining walls can be DIY, but they are hard work, and it’s critical to get the construction right, or you’ll be making repairs down the road.
No matter how well a wall is built, you’ll likely have to do repairs at some point in the wall’s life. Solid construction is excellent, but nature has a way of slowly breaking down human-made structures. If your retaining wall is starting to show some wear and tear, here is what you need to know to fix it.

How to fix too much weight behind the wall
When planning to build a retaining wall, it’s imperative to get clear about how much weight will be behind the wall — ensuring the wall is built to hold up as much as it needs to is vital to its longevity. However, sometimes things happen, and too much weight behind the wall can cause severe damage. This usually occurs when the builder doesn’t calculate the amount of weight the wall will need to hold. Be sure you know what will be going on top of the soil behind the wall. Will you be parking a car there?
Is a small shed going to be built? Are you putting some patio furniture there for a sitting area (don’t forget to add these patio plants)? Is it just going to hold ground and nothing more?
A wall suffering from too much weight can lean or buckle. If you’re noticing your wall is beginning to bend, or it’s at a more exaggerated angle than it used to be, it’s time to fix some of the overweight issues your wall is struggling with.
Step 1: Redistribute some of the pressure by transferring the weight to the base of the wall where it meets the ground.
This means extending the base of the wall or pouring a thicker concrete base, which provides the rest of the wall a sturdier place to rest.
Step 2: Install tiebacks or anchors to bring extra strength to the wall.

How to fix the foundation of a wall
You don’t need an engineering degree to know that the foundation of a structure is possibly the most critical part to get right. The quality of the base determines just how long the wall lasts and will likely be the first thing to start breaking as time goes on. First, you need to make sure the soil is compacted enough and then build a deep and thick enough base layer.
A buckling wall is a sure sign that the foundation of your wall is compromised. Here's how to fix it.
Step 1: Extend the wall’s footing to reduce the pressure that’s on the wall.
Using poured concrete instead of blocks is a more substantial solution, but simply going broader and deeper with the foundation can help tremendously.
Step 2: Regrade the land behind the wall to reduce the amount of pressure on it.
Regrading can be done using several tools, although most opt for a motor grader. You can buy your own, but some landscaping or hardware stores have equipment available for rent.

How to fix poor drainage damage
One of the most prevalent issues with retaining walls is the lack of drainage. When water can’t drain away from the wall and builds up behind it, you’re far more likely to notice a compromised wall structure. Wet soil is incredibly heavy, which can quickly cause a lot of damage to a wall that hasn’t been built to sustain that amount of weight. It’s important to add the appropriate amount of drainage to the wall’s construction to ensure you avoid these headaches.
However, if the wall is cracking or leaning in some areas, or you notice the soil around the wall is staying wet longer than in other places, it might be time to add drainage to save your wall from further damage.
Step 1: Regrade the land so that water flows away from the wall.
This is often the best long-term solution, as it alleviate pressure on the wall from both the soil and the water.
Step 2: Add weep holes to the wall.
Weep holes are holes drilled into the wall, so that the water can drain through them instead of pooling behind them.
When a retaining wall begins to show signs of damage, it can be a stressful thing. Often we think retaining wall repairs will be expensive, and we let it go too long to avoid the cost. However, this leads to more damage and a higher cost of fixing it. The wall might not be a big fix; and in the end, repairing the retaining wall right away saves you time and money.


