
How to build a backyard greenhouse for under $500

If you are chomping at the bit to get outside and enjoy all spring has to offer, have you ever thought about building your own greenhouse? It may seem like an overwhelming prospect, but you can build a small greenhouse outside pretty easily — and you won’t have to spend all of your stimulus check to construct it! We’ve broken down the steps and costs; so all you need is the time, effort, and a few good days of weather, and you’ll be the proud owner of a greenhouse in no time.

outdoor greenhouse
KaliAntye/Shutterstock

Design

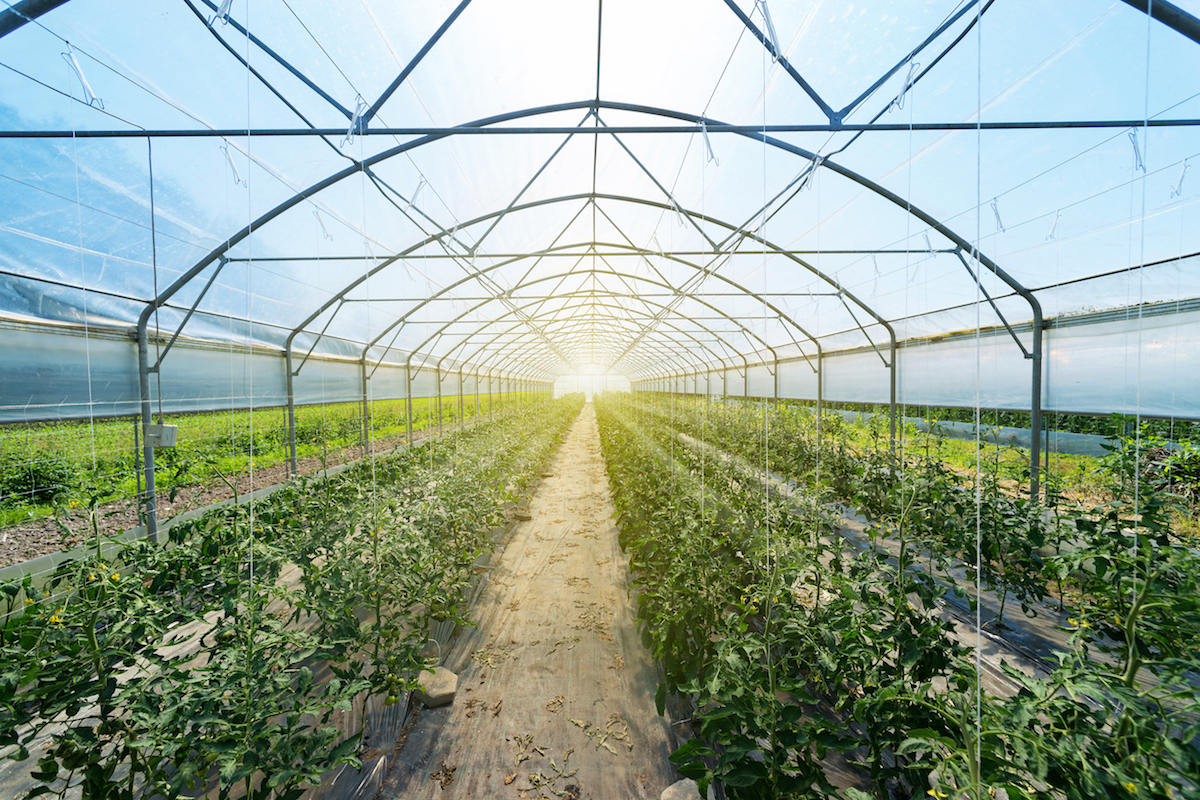
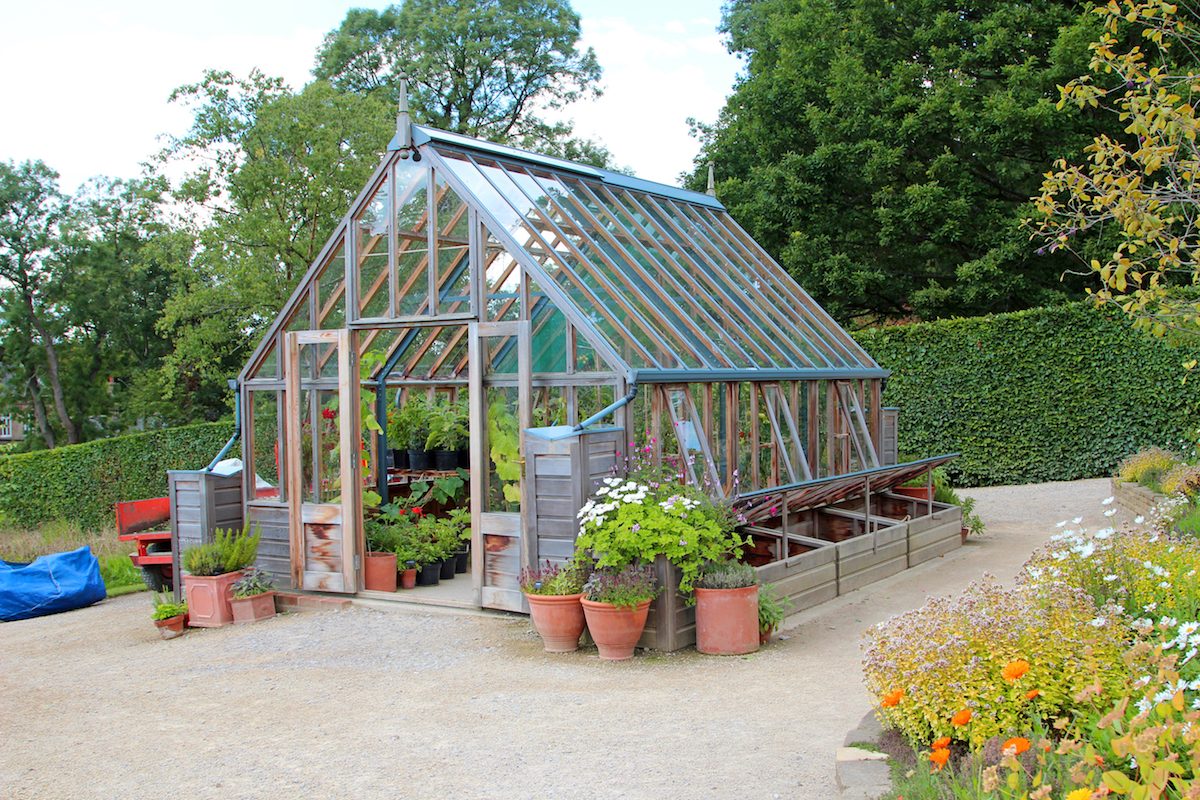
This design will be for a 12×24-foot greenhouse with a 6-foot, 8-inch ceiling; in total, it’s just a little under 300 square feet. When you’re looking for the best spot on your land to build, you’ll want to find a place that runs east to west. This is so the southern sun hits on the long side of the greenhouse, which will get direct sunlight most of the day but also offers some shade. Selecting a spot near a large tree is always a good option. You’ll also want to pick a level spot (or one you can level easily), and is upslope of drainage areas.
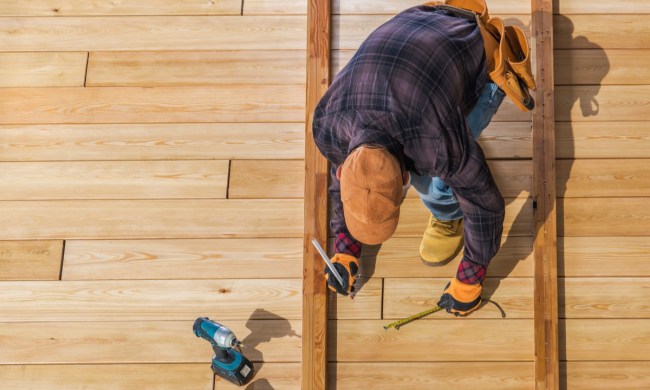
greenhouse
Image used with permission by copyright holder

Build

After the land has been tilled and the soil’s pH is ideal for growing, you can begin building the greenhouse. The option we’re discussing here allows you to build a greenhouse at a reasonable price — coming in around $500. You will need six 2x6x12 pieces of wood, putting two together to make a single length of 24 feet to form a rectangle. Screw in each side using 3-inch screws to connect the boards so the hoops will be exactly 12 inches apart. You will also need 26 pieces of 2-foot rebar for the hoop anchors.

For the doors, buy five 2x4x8s and two 50-pound bags of concrete so the doors are 3-feet wide and 8-inches tall. Mark 1 foot, 6 inches in each direction of the bottom frames, which is where the door frame studs will go. Dig a 1-foot, 6-inch hole flush with the place marked for studs. Place the doors into the post holes.

woman working in greenhouse
Rawpixel.com/Shutterstock

Finishing touches

Next, you’ll want to lay down the soil. This needs to be done before the hoops go in. Once the soil is in place, buy 13 20-foot pieces of ¾-inch schedule 40 PVC (your local plumbing supply store should have this). Place one end over the rebar and stick it an inch into the soil. Grab the other end and bring it over to the opposing rebar stake and plant it firmly into the ground. Repeat until all the hoops are in.

For the plastic, you will need a 20×44-foot roll, three bundles of wood lathe, and a box of wide-head galvanized roofing nails (and a couple of friends to help). Spread the film over the greenhouse and secure one side tightly with the lathe strips to the top of the bottom frame. Do this for every side. Finally, place your doors on, step back, and enjoy your masterpiece.

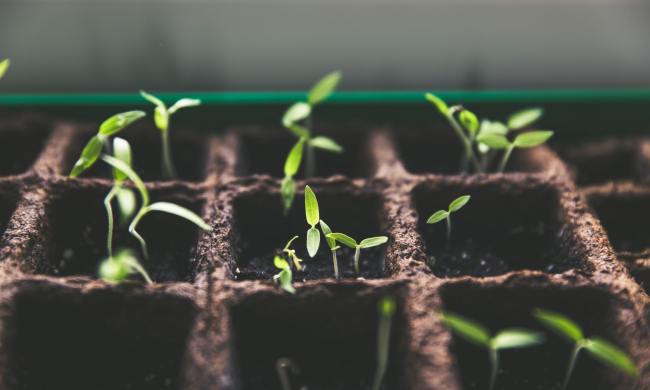
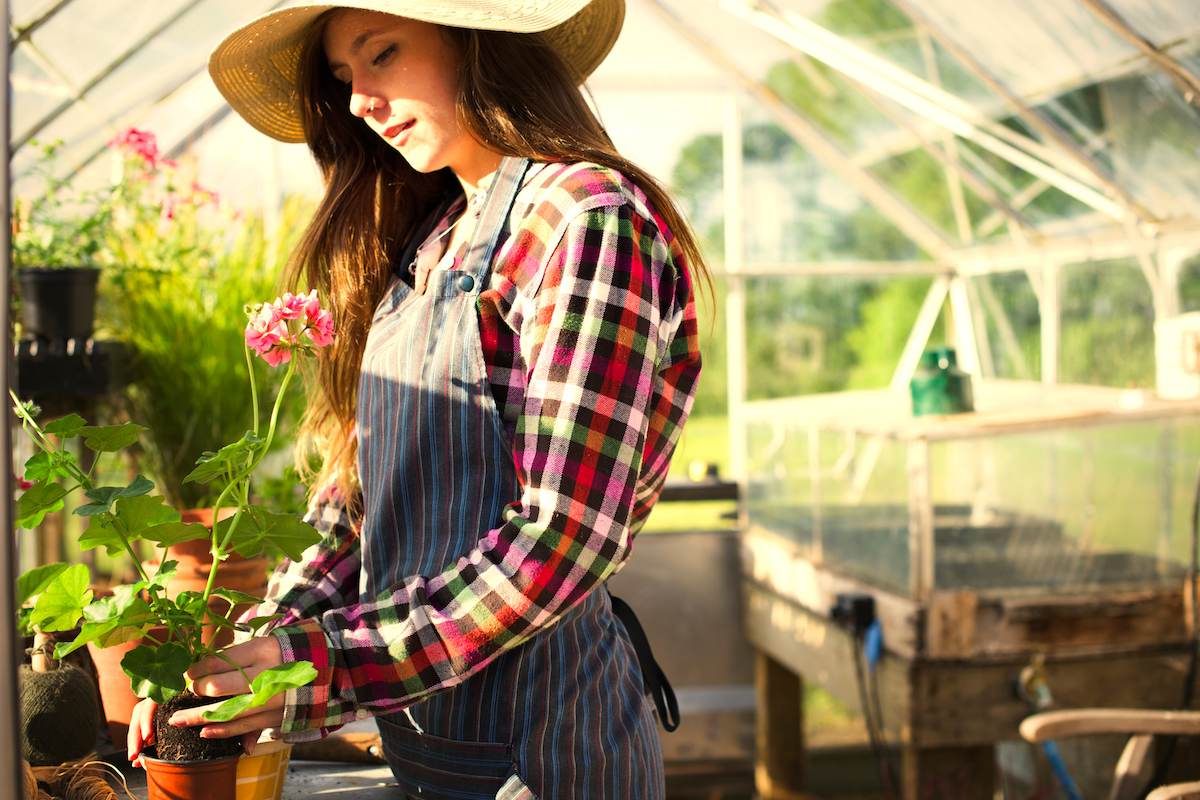
Now comes the fun part of researching and finding exactly what you want to plant. There are so many varieties of flowers, fruits, and vegetables you can buy to place inside your greenhouse. Of course, if you don’t have room for a greenhouse this big, you can just half the size, which will lower its cost. There are also free DIY guides online depending on what shape you desire and materials you have access to, which can also help keep the cost down. It’s well worth the investment.

Editors' Recommendations

Julie Scagell
I am a freelance writer based in Minneapolis, MN. My passions include my dogs, talking about my dogs, and taking pictures of…
A complete guide to cleaning your greenhouse for beginners
greenhouse

When you first installed your greenhouse, it probably looked like a glittery glass castle for your lovely plants to grow and live in. However, weather, soil spills, and birds have made their mark on your greenhouse over time and now it's probably looking cloudy and nasty. So how do you clean a greenhouse?
Why worry about a clean greenhouse?
You may be wondering if you even need to worry about cleaning your greenhouse. If you don't mind the dirty look, maybe you could leave it as it is? Unfortunately, it's much better for your greenhouse and your plants if you give the greenhouse a deep clean at least once a year. It'll make it easier to use when it is clean and organized, and the walls of the greenhouse need to be clear so they can let in as much light as possible. Additionally, a clean greenhouse is less likely to spread pests and diseases to your precious plants. And lastly, things last longer when you care for them and greenhouses aren't cheap.

When should you clean a greenhouse?
There's no right time to clean a greenhouse; whenever you can is better than not at all. However, we suggest cleaning it when there isn't so much to do in the garden and it isn't so hot out. Usually, the fall is when the garden chores slow down and it starts to cool out, making cleaning the greenhouse much easier on you.
What is the best way to clean a greenhouse?
You can use whatever cleaning method works for you, but here is our step-by-step process that we recommend.
Step one: Empty the space
Of course, we know you can only empty a greenhouse so much if you have tender plants that need to stay warm. But as much as you can, take out the tools, buckets, and bags of soil. It will be much easier on you if you don't have to fuss with items in your way as you clean the walls and floors. This also allows you to go through what you have and declutter if necessary.
Step two: Rough dusting
Over the season, spiders and bugs and maybe even some mice have tried to make homes in your greenhouse. This has probably led to a few cobwebs and dust piles around the corners. You'll want to remove these large areas of debris before you start the deep cleaning. Use a broom to knock down the cobwebs and sweep up the floor; you've probably spilled some soil during the summer!
Step three: Clean the walls
The panels of your greenhouse will now need to be deep cleaned. You can use a bucket of warm water and a sponge to wipe them down, but we also recommend bringing a long-handled brush to make life easier. This way, you can dip the brush into the bucket of soapy water and scrub down the walls with the long-handled brush. You'll be able to reach every inch of the walls without killing your back.

Read more
When and how to transplant tomato plants for the best results
baby tomato plants

There's a time in every gardener's life when they try to grow their own veggie plants from seed. This is a gratifying process, and there are many benefits to growing your own seed starts. One of those benefits is bigger and healthier plants. By growing your own baby tomato plants, you can ensure that the plants are well cared for, never given anything you don't want them to have, and transplanted in just the right way at just the right time for optimal plant health. So how do you transplant tomato plants to ensure they're happy and healthy and live to produce lots of yummy tomatoes for your home?

How do you transplant a grown tomato plant?
If you've never transplanted tomatoes before, the idea can be intimidating. You have all these tiny plants that you've cared for over the last several weeks, and now it's time to pluck them out of their nursery pots and plop them into the outside soil where they're exposed to sun, weather, and critters. Luckily, you've cared for them so well that they're healthy and robust plants that will be able to handle anything nature throws at them.
Step one: Harden the plants
Hardening the plants is a term gardeners use when talking about the process of acclimating a greenhouse-grown plant to outside conditions. Typically it refers to sunlight, but it could also refer to wind and other weather that could harm the plant. About a week before you're ready to transplant, you'll want to harden your baby tomato plants by exposing them to sunlight at increasing increments each day. For example, day one should be about 30 minutes, then 45, then 50, and so on until the day of transplanting. If you don't do this, you'll risk your plant being burnt and killed when you transplant it outside.
Step two: Don't water the plants
Before you start pulling little plants out of their pots, you mustn't water the plants a few days before transplanting. Wet soil can make the transplanting process much harder on you and the plant. Dry soil falls away easier and is less likely to break off roots as you move the plants to their new home.
Step three: Prepare the new soil
The new location for your tomato plants will need to be prepped before you get all those babies out of their homes. Whether you are planting into the ground, a raised bed, or a pot, you'll want to amend the soil to guarantee that the plant has many nutrients to soak up. It also is easier if you dampen the soil right before transplanting. Damp soil is much more manageable and more easily manipulated around the plant.
Step four: Plant deeply
As you gently pull out the baby tomato plants, you'll want to shake off the old soil to expose the roots. This will ensure the plant has access to the new soil and nutrients you're about to provide it with. 

Read more
Renovating your backyard? How to decide what size deck is right for you
right size deck for you man building

The backyard deck is one of life’s simple pleasures — but building one is anything but. There are a dizzying array of options, which all vary based on how you want to use your deck, your property, your budget, and other factors. Perhaps the first question to face is one of size, and with decks, bigger is not always better. These decisions will be driven by the size of your property and the purposes you want the deck to serve. We’re here to help you find the right deck size for you and your unique specifications.

Key questions to consider
Before you start to think about the size of your deck, there are several other parts of the project to consider. These can substantially affect your options, including the size of the deck. These questions include:

Read more