Pool skimmer installation: How to install a new skimmer to keep your pool clean and ready to use

Follow these steps to install a skimmer to make cleanup easy

installing pool skimmer above ground
Image used with permission by copyright holder

If you’re new to pool ownership, you may not know how to install a skimmer on an above-ground pool. Perhaps the company that installed your pool in the first place also installed the skimmer and you've decided you need a new one. Maybe your old one got too cold and cracked over the cold winter months. Maybe you're just tired of picking leaves and bugs out of the pool every time you turn around. Whatever your reason, you’ve decided it's time to get a new skimmer to make cleanup easier.

Recommended Videos

Difficulty

Moderate

Duration

1 hour

What You Need

  • Drill

  • Sandpaper and paint (if needed)

  • Marker or pen

  • Caulk

  • Knife or scissors

  • Clamps and hoses (if needed to connect the skimmer's plumbing to the pool pump)

There are a few different models of pool skimmers. Always consult the instruction manual first, but the general installation instructions are the same across manufacturers.

Below, we’ll show you the quickest and easiest way to install your new pool skimmer.
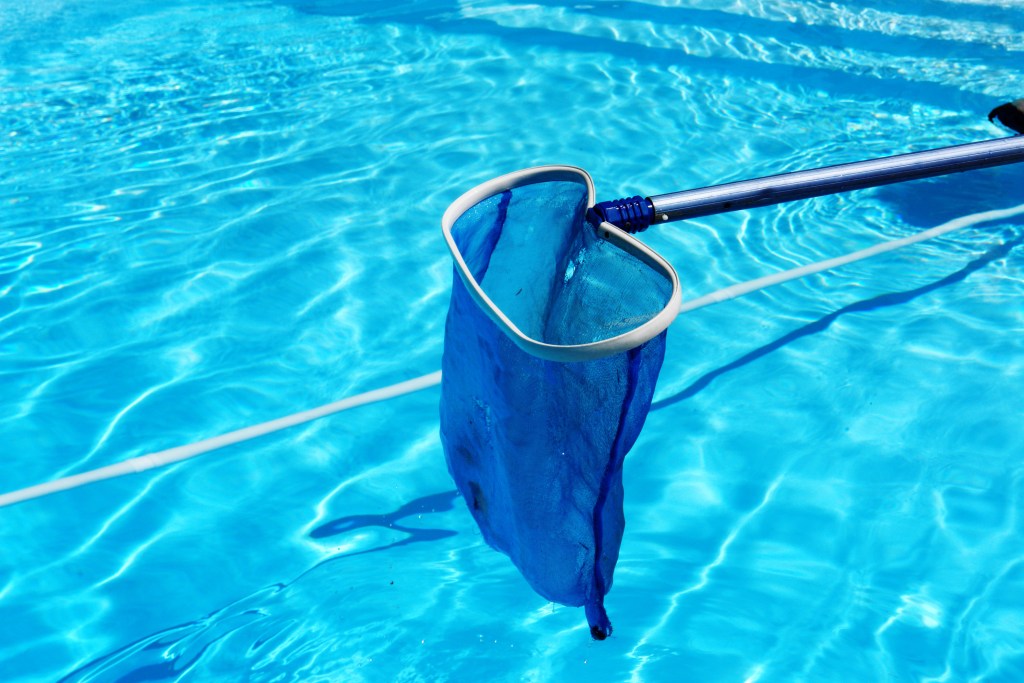
Cleaning swimming pool with blue skimmer
Menna / Shutterstock

Remove the old skimmer

Of course, before you can install your new skimmer and replace the liner (if that’s what you also intend), you have to remove the old one.

Step 1: Remove the old skimmer gaskets.

Step 2: Use a drill to remove the screws around the old skimmer. This is as good a time as any to replace the screws as well.

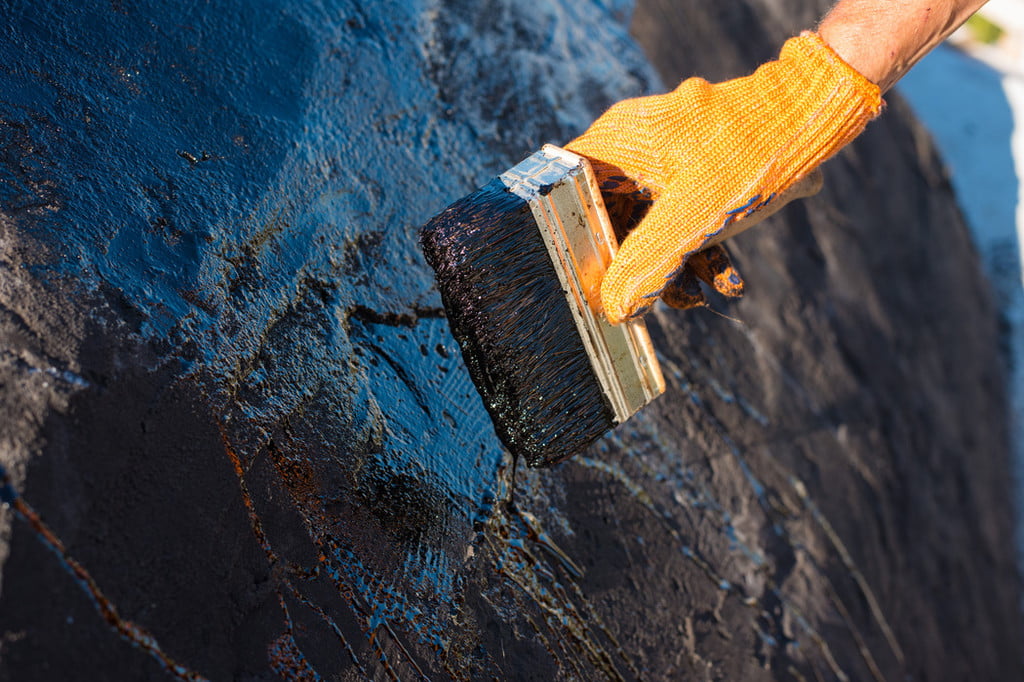
Step 3: Clean the sides of the pool wall of any debris, and remove any signs of calcium or rust. If the wall is very rusty, you may need to sand and then paint over the area with rust-proof paint.
4248 the best pool leak sealers sealer
Image used with permission by copyright holder

Begin the new skimmer installation

Once the rust-proof paint has dried is, it’s time to position the skimmer.

Step 1: Ensure that the skimmer can reach all areas of the pool when extended. Be sure you get it right because moving it to a different location after installing it can be a challenge.

Step 2: Drain the pool a bit so that you can easily install the skimmer without touching the water.

above ground pool
Image used with permission by copyright holder

Install the faceplate

Once you’ve chosen the right location and drained the water to an appropriate level, you need to install the skimmer’s faceplate.

Step 1: Choose a spot for the faceplate, ideally as close to the skimmer's opening as possible, and use a marker or pen to mark the holes in the wall for placement.

Step 2: Use the marks as guides to drill holes into the side of the pool.

Step 3: Add caulk to the faceplate and press it firmly to the pool’s side.
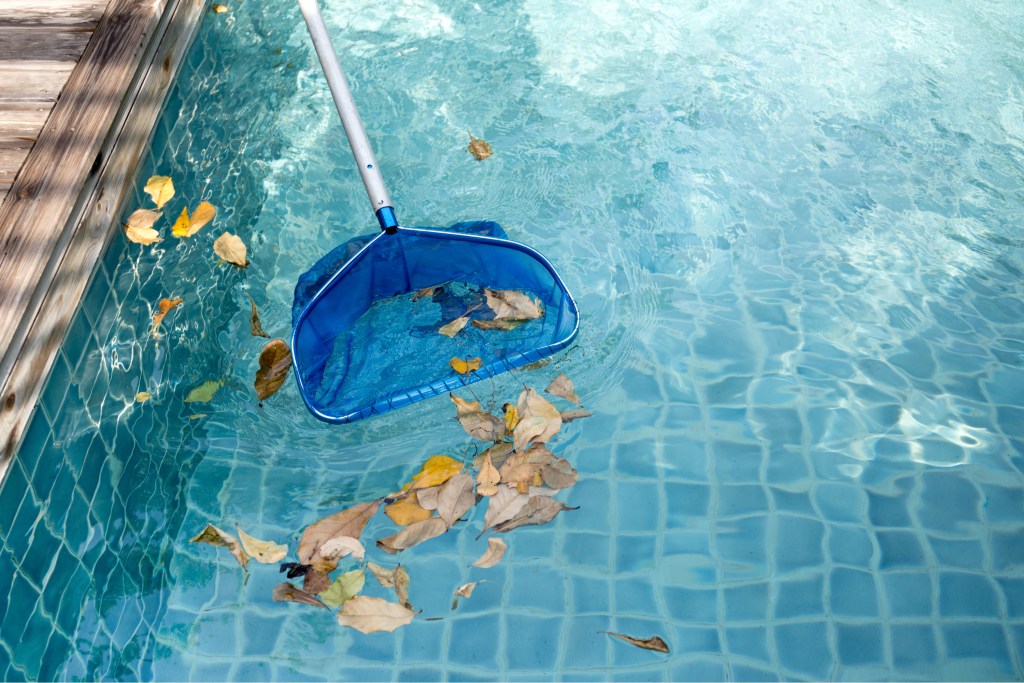
Filtering leaves out of pool
Image used with permission by copyright holder

Add the skimmer

Once you’ve installed the plate, it’s time to add the skimmer itself.

Step 1: Put a layer of caulk on the edge of the pool gaskets and place these into the pool’s side.

Step 2: Place the skimmer on top of the gaskets.

Step 3: Push the screws for the skimmer into the faceplate until they hit the gaskets on the pool’s side.

Step 4: Tighten the nuts and bolts on the opposite side of the faceplate. Be sure not to overly tighten them, however, as doing so could break the faceplate.

Blue frame swimming pool
Image used with permission by copyright holder

Finish up

You're almost there! Just a few more steps and your new skimmer will be installed and ready to use.

Step 1: Use scissors or a sharp knife to carefully cut an opening in the pool’s liner at the top of the skimmer faceplate.

Step 2: Follow the skimmer's instructions to install the plumbing and connect it to the pool pump. You may also need to join the pump with clamps and hoses.

Step 3: Refill the pool to its former level.

Step 4: Set up the pool pump and restart it.

Step 5: Skim the water to make sure all the tubes and pipes are clear, and then leave the skimmer in the water until needed again.

With a little bit of patience and a little elbow grease, you'll soon have a new skimmer to make your pool maintenance routine much easier. And remember: sometimes it’s wise to install a second skimmer on an above-ground pool, especially if you have a lot of trees in the area that will drop leaves into the water. Having more than one skimmer can definitely help to keep your pool clean and ready for you when you're ready to take a dip.

Will Blesch
Former Digital Trends Contributor
Will Blesch is a copywriter, content writer, and someone passionate about anything that lets him discover more about this…
How to install a fence around your yard without breaking the bank
backyard fencing

Fencing is a staple of a good backyard, but unfortunately, it can be expensive. Add in the fact that even avid DIYer's should avoid putting one up, and it's hard to get around the high cost of fencing. However, there are a few ways you can reduce the extensive investment of fencing and specific materials to avoid if you're on a tight budget.

Below, we'll go through each step you should take to ensure you know exactly what you're getting, where it's going, how much it will cost, and if it's legal to do so. It's crucial for a big project like fencing to have everything sorted out before you start digging, so let's dive in.

Read more
How to install an above-ground pool liner safely
Woman in pool

Having a pool at home is one of the best things during hot summers. The kids can spend hours playing outside and getting all their energy out, and you can relax on a floatie with an ice-cold drink. However, pool maintenance isn't so glamorous, and it can be intimidating to take on a task such as replacing the pool liner. Below, we talk about what you need to know about pool liners, what to consider when buying one, how to install it, and what elements to watch out for to keep your liner healthy.

Why you need an above-ground liner
Pool liners for above-ground pools are essential. The pool wouldn't be able to hold water if it didn't have one. Pool liners also help maintain the pool's structural integrity. Above-ground pools don't have the earth around their sides to help support them that in-ground pools do. That's why having a sturdy and properly installed liner is critical to your above-ground pool's health and longevity. Liners also ensure the pool doesn't leak.
What to consider when buying
There are three types of pool liners to choose from, and often which one is best for you will be determined by the kind of pool you have and the aesthetic you're going for. The first type is called an overlap liner. These are easy to install and are pretty affordable. They fit almost all above-ground pools as well and come in a decent range of patterns and colors. The second type is beaded liners. These are the easiest of the three to replace, and they're also the easiest to find in stores. Lastly, unibeaded liners are more of an investment and can be more challenging for novice pool owners to install. Be sure you find a liner that fits with your pool's needs, your experience level, and suits the aesthetic you're going for.
How to install an above ground liner
It's best to take on the task of installing a new liner with a friend. Two sets of hands will make the process much easier and will make it much less likely that you end up with a crooked liner or having to start over.

Read more
Everything you should consider before painting your pool
painting a pool

Some tasks can be quickly taken on in an afternoon, while others weigh on your shoulders. Sometimes this weight is because of the size of the project, while other times, it's because you're not sure what to do. Today we're going to help you tackle a project you might be putting off. We'll talk about why you might want to paint your pool, what you should consider before starting, and how to get started.
Why you might need to paint your pool
One of the main reasons pool owners want to paint their pool is that the original paint is no longer viable. It might be chipping, or the color has faded to an ugly sunburnt shade. Another reason might be simply because of aesthetics. Perhaps your style has changed, or it's a new home and you don't like the style the last homeowners chose. Either way, it's time to repaint the pool. Lastly, you might need to repaint your pool because the integrity of the pool requires repair, so you'll need to patch the paint anyway.

What to consider before painting your pool
Before jumping right in, there are a few things you should consider before repainting your pool. This is a big project, and to set yourself up for success, you'll want to have everything planned out to ensure it runs as smoothly as it can.
Time of year
If you want to repaint your pool, but you're about to head into the rainy season, you might want to reconsider. A pool will need to stay dry and clear of debris for a long while during the painting process, and if there's a chance you might get rain, you'll want to reschedule.
What color to paint
This might seem elementary, but choosing your color way ahead of time can alleviate any anxiety you have about choosing the right color. If you wait until the day before to decide which shade of blue you're going with, you might not have time to think about it and end up regretting it. The last thing you want to do after painting your pool is to have to repaint it.
Gathering supplies
Nothing slows a project down like a run to the hardware store. Check and recheck your list of supplies and be extra sure that you have everything you need. You might even want to buy double of some things to ensure you have what you need when you need it. If you save the receipts, you'll likely be able to return it if you don't use it. Better to be safe than sorry.
Clean, clean, clean
For the best results, you'll want that pool as clean as you can get it. So while it might be tempting to rush through the cleaning steps, we strongly urge you to resist and deep clean your pool before painting it.
Protective gear
Luckily, painting a pool often means you'll be outside, so the fumes of the paint won't be as big of an issue as they are when inside. However, getting pool paint all over your clothes and skin and possibly your eyes isn't ideal. Be sure to wear protective clothing and maybe even safety glasses to protect your eyes. There are many chemicals in paint, and it's best to avoid them as much as possible.

Read more