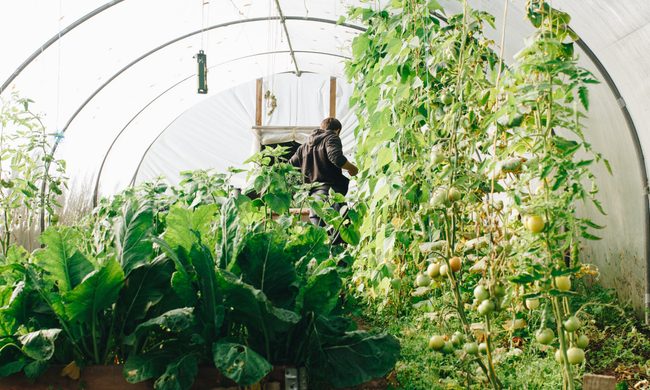
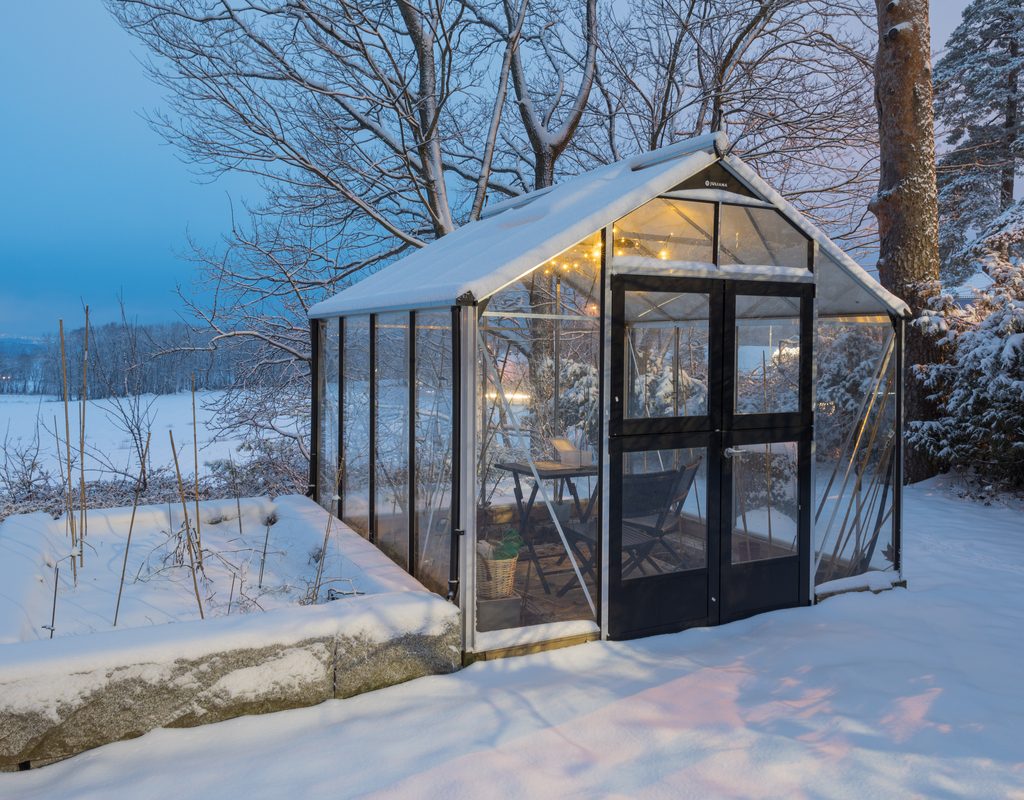
Most of us love the crisp air and colorful leaves that come with fall and winter, but for those of us who enjoy gardening, those cooler temperatures bring new concerns about what to do with your plants. That is, unless you have a greenhouse. Greenhouses expand how much you can grow during the season, let you grow plants for a little longer than you would otherwise, and allow you to have crops that are a bit more sensitive to weather and temperature fluctuations because you can house them in a controlled environment.
During summer, an unheated greenhouse is great for plants, and you can heat your greenhouse during winter if necessary. However, you might not need to heat your greenhouse at all! From caring for crops to starting seeds in unheated greenhouses, this guide will answer all your questions.
Why would anyone want to use an unheated greenhouse?
An unheated greenhouse has its benefits, not the least of which is saving on heating costs. Because they’re outdoors, the sun will naturally heat the space during the day, even in the winter. So although there are concerns about inconsistency, you’ll still be able to save money and lower your bills during the colder parts of the year.
While you can’t grow warm-weather crops in an unheated greenhouse, that doesn’t mean you’re out of options. From root veggies to cold-hardy greens to starting seeds, there are plenty of things you can grow. Aside from that, the pros are the same as with any other greenhouse. You get to grow for longer than the regular outdoor season, protect dormant plants, and bring your container plants into an indoor environment without cluttering up your home.
How to set up an unheated greenhouse at home
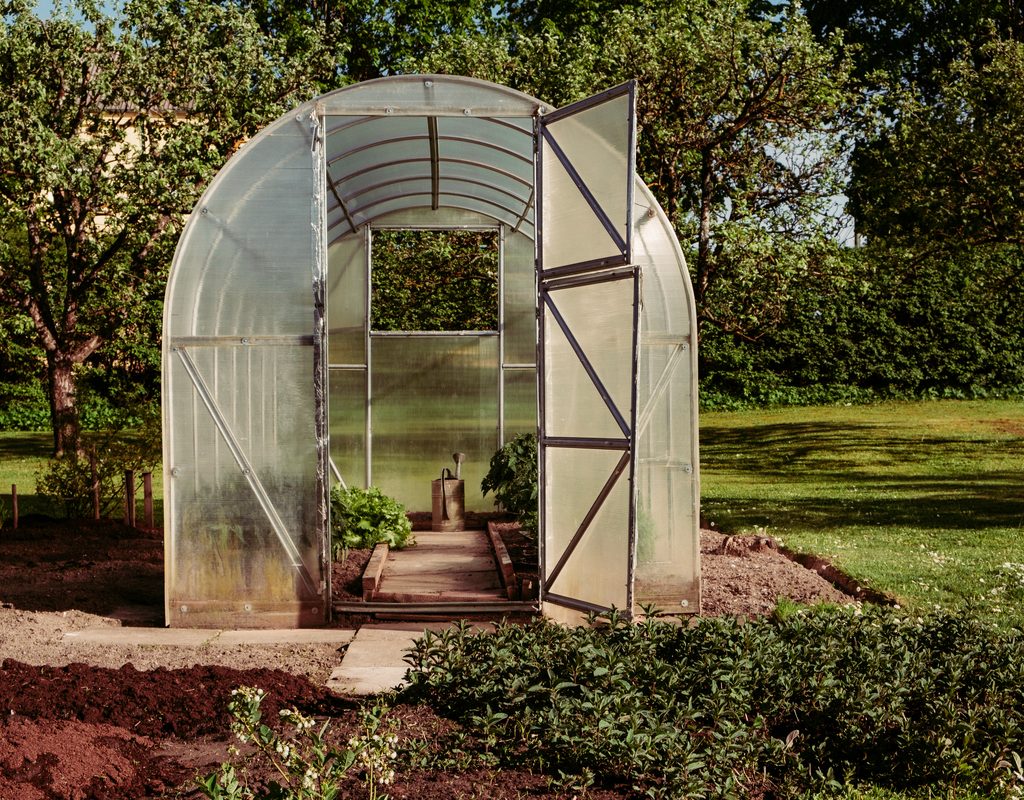
Setting up an unheated greenhouse is as simple as setting up a standard greenhouse, just without the heating system. You’ll want all the basics: a thermostat, a water system (if your greenhouse is large enough), and a few grow lights. If you’re the average home gardener, it’s likely that your greenhouse set-up isn’t that extravagant — likely a cold frame or hoop structure — so it shouldn’t be too difficult to get ready for cold weather growing.
Step 1: Set your greenhouse up in an area with lots of natural lighting and where it won’t get too rattled by the wind.
If lighting is poor, put in artificial grow lights to help your plants thrive.
Step 2: If possible, set up the greenhouse close to a water source, such as a hose, to make things simpler.
This will allow you to set up a water system more easily.
Step 3: The thermometer will be one of the most important parts of your unheated greenhouse, as it will help you keep an eye on how cold or how warm it is.
Although you can’t heat the space yourself, you can provide your crops with a little extra protection at night where needed and provide proper ventilation as temperatures start to warm up.
How to protect your crops without heat
An unheated greenhouse doesn’t mean your plants will go without protection — it just takes a little more work on your end. (Note: Unheated greenhouses may not be the best option for home gardeners who don’t have a lot of time to dedicate to manually caring for the space.)
Although greenhouses trap heat during the day and keep the cold-hardy crops relatively comfortable, nighttime winter temperatures can get a bit dicey. Frost can still damage crops in an unheated greenhouse, so you’ll have to give them extra protection and keep an eye on the forecast for when temperatures may drop.
Step 1: Protection for unheated greenhouses and their crops can be as simple as putting a layer or two of horticultural fleece over the plants and wrapping containers with bubble wrap.
You can also layer the inside of your greenhouse with horticultural bubble wrap, since the sunlight can still come through but it will help insulate and keep the cold out at night.
Step 2: Be mindful to remove the fleece or bubble wrap during the day to avoid overheating the plants.
What can you grow in an unheated greenhouse in the winter?
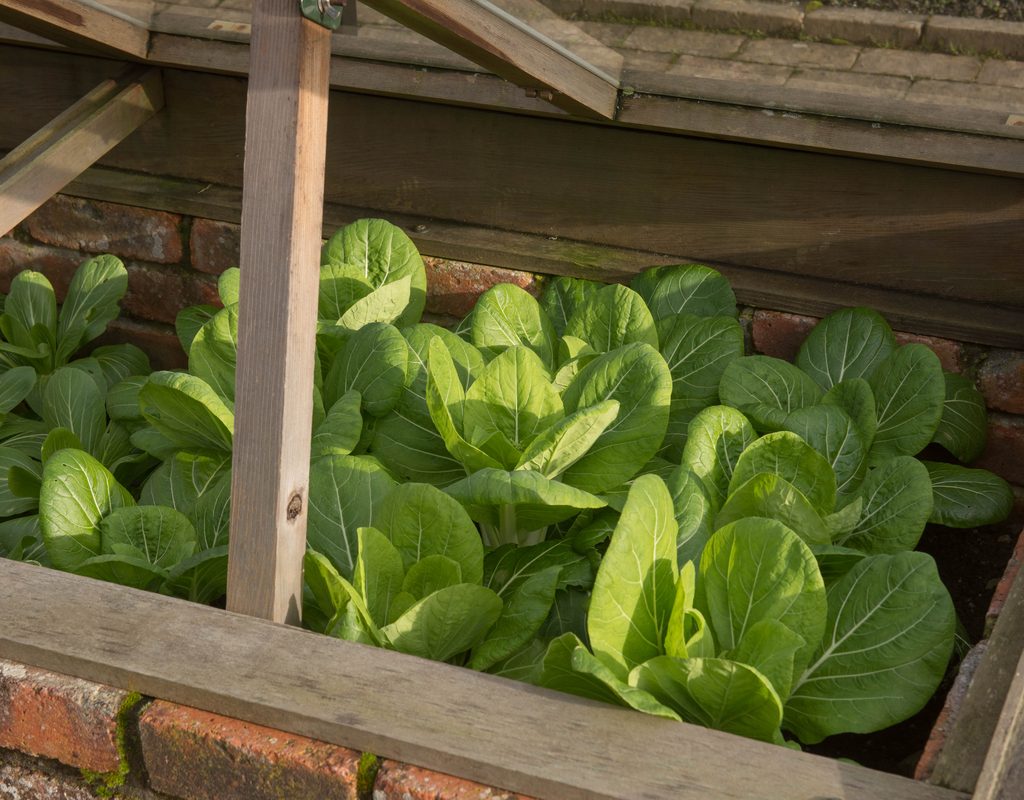
When you have a greenhouse, the onset of winter doesn’t have to mean the end of fresh veggies and greens — and that’s true with unheated greenhouses, too! There are plenty of crops that are cold-hardy and able to withstand frosts and freezing temperatures. Plus, due to the nature of how greenhouses are built, sunlight will be able to naturally heat it more than you might think.
Starting seeds in unheated greenhouses is pretty easy too, and it can help you get your seasonal annuals ready in time for spring planting. Veggies like broccoli, carrots, and turnips are relatively cold-hardy and will grow well in an unheated greenhouse. You can also grow greens like spinach and kale, which means that you don’t have to forgo fresh side salads just because it’s winter! Their care requirements are relatively similar to the ones you follow during the growing season, so long as you’re mindful of overwatering and adding extra protection at night.

Getting good growth in your unheated greenhouse
Although it may be tempting to keep your plants closer together in an unheated greenhouse as an attempt to increase humidity and warmth, you want to do just the opposite.
Step 1: Make sure your plants have room to grow correctly.
Plants in an unheated greenhouse — similar to plants in an outdoor garden bed or controlled greenhouse — don't like being too tightly clustered together. They won’t grow as full as you’d like if they don't have room to stretch their legs, so to speak.
Step 2: Use plant containers to manage and allocate the space better and avoid overcrowding.
Step 3: If you choose to use raised garden beds, make sure you go through the same process of thinning out the weaker plants so that the stronger ones have space to thrive.
What type of unheated greenhouse stays the warmest?
If you want your plants to be as warm as possible without spending time and money on a heating system, than choosing the right materials for your greenhouse is important. Any greenhouse will keep your plants warm, though, so if you already have a greenhouse don't worry about running out to get a new one!
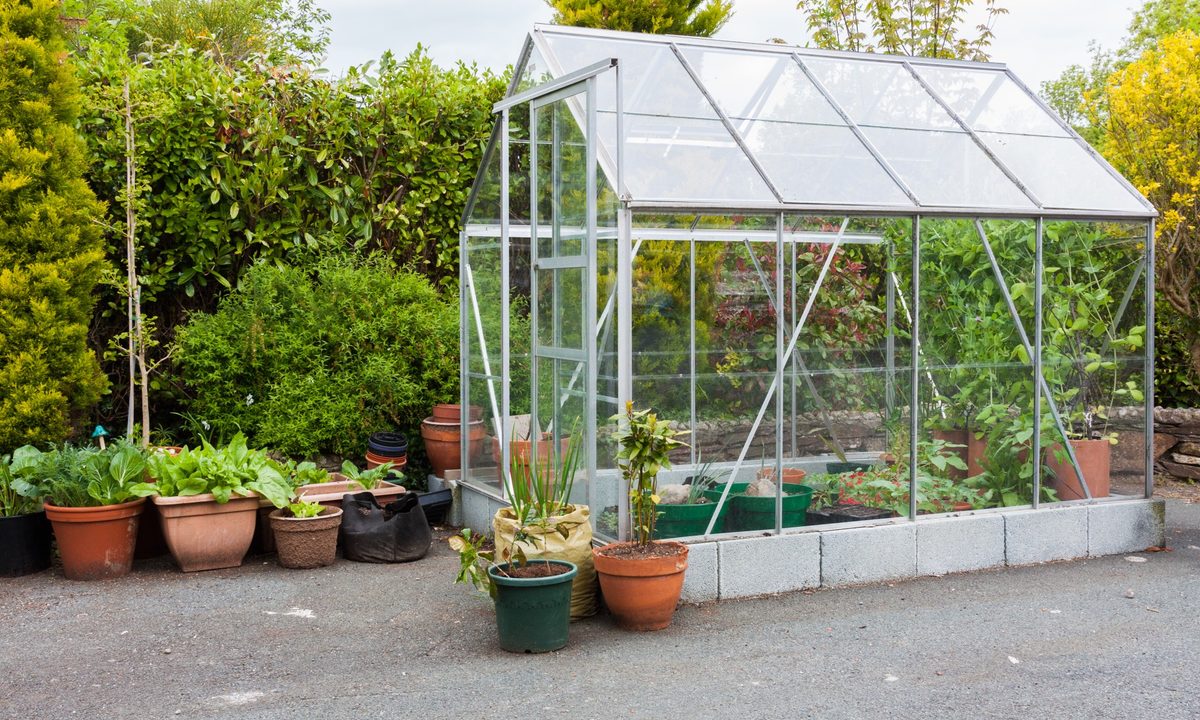
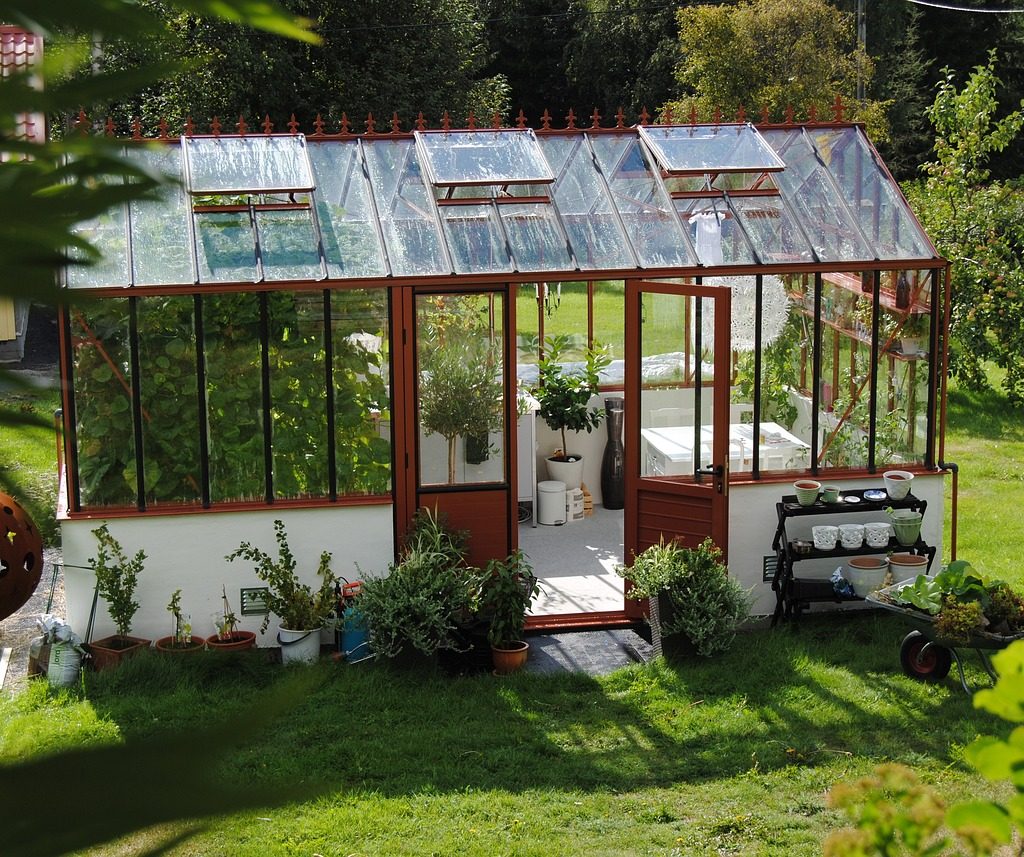
When purchasing a new greenhouse, looks for glass or polycarbonate greenhouses with solid steel or wood frames. Hollow frames can sometimes form ice on the inside of the frame, which certainly won't help your plants stay warm. Both glass and polycarbonate greenhouses are excellent at retaining heat, but there are a few factors you can consider when making your choice.
Glass has a longer lifespan, is easy to clean, and has a more pleasing aesthetic. Although it can shatter (making it less suitable for areas prone to storms, high winds, and hail), it is unlikely to be harmed in other ways. However, the panels are more expensive, heavier, and more difficult to install.
Polycarbonate is a type of plastic, and it can deteriorate over time, meaning the panels will need to be replaced more often. However, they are much lighter, less expensive, and easier to install. Additionally, the panels are more resistant to force damage, meaning they are much less likely to break in storms.
Now that you've got your unheated greenhouse set up, make sure you check in on it every day. In addition to adding protection at night (if needed) and removing it in the morning, you’ll want to inspect your plants for any signs of disease or pests. Damaged foliage should be removed as soon as possible to keep issues from spreading and allow the plant to direct energy to healthier parts. With care and a bit of luck, your winter harvest will be a bountiful one.