While often touted as a beginner-friendly houseplant, the bird's nest fern can be a difficult plant to figure out. Still, it's a fairly common houseplant, one frequently found alongside equally ubiquitous pothos and philodendrons at nurseries and grocery stores.
If you find yourself struggling with one or even having to throw one away, you'll have plenty of chances to try again, as this is an easy-to-find houseplant. To keep your bird's nest fern as vibrant and prolific as possible, here's what you need to know about its care requirements.
What you need to know about the bird's nest fern
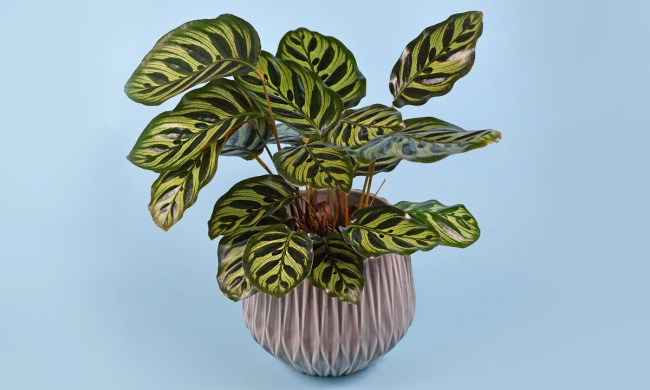
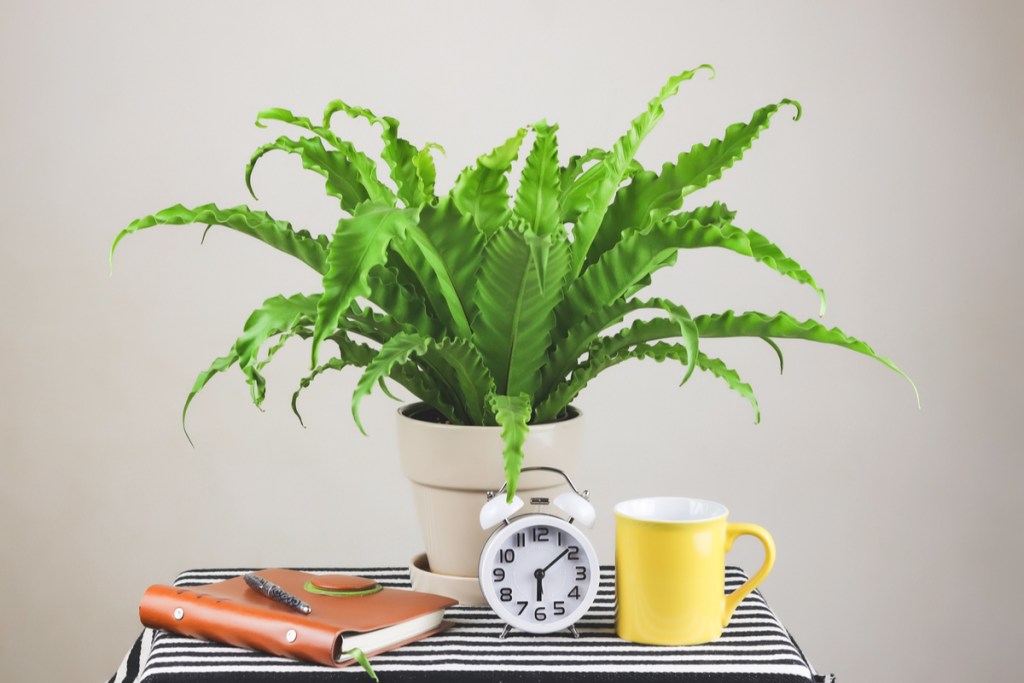
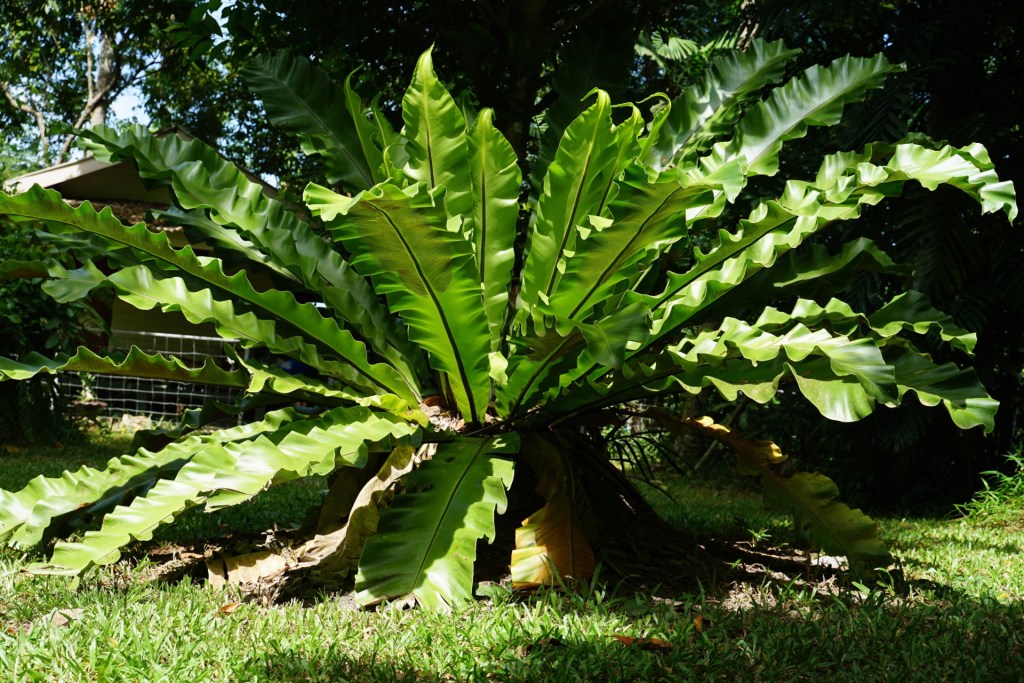
Native to tropical regions of Asia and Africa, the bird's nest fern is probably one of easiest ferns to care for, but it's by no means a walk in the park. Capable of being a lush statement piece inside the home, the bird's nest fern, or Asplenium nidus, features spear-shaped, apple green leaves with wavy margins and a nest of delicate young fronds (or leaves) at the center. With the best care possible, the shiny leaves on a bird's nest fern can reach up to 4 feet tall.
There are a few different types of bird's nest ferns. Here are the most common ones and what you should know about them:
- Asplenium nidus 'Crissie:' What's special about this variety is that its fronds spread out with hand-like ends.
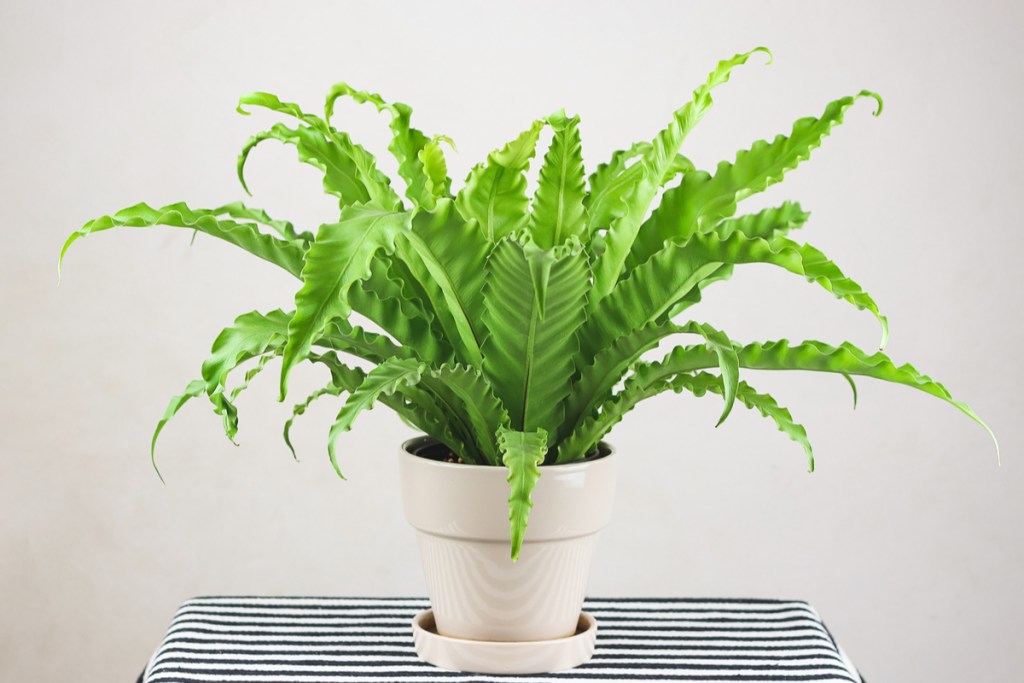
- Asplenium nidus 'Crispy Wave': As its name implies, this variety features wavy leaves.
- Asplenium nidus 'Osaka': Whereas the Crispy Wave variety features a wavy frond body, the Osaka type is only wavy at the edges.

How to repot a bird's nest fern
Often, bird's nest ferns are very tightly packed into nursery pots when you first get them. For that reason, you'll want to repot them into a bigger planter to avoid root rot. They do well in a standard potting mix, but you can add extra bark and perlite for drainage.
As epiphytic plants that attach to trees in their tropical environments, they can even thrive without soil. But if you're not going to be mounting them to a board, soil is a low-maintenance way to keep them grounded and fed.
Step 1: Add an inch or two of potting mix (as blended above) to a pot with a drainage hole. Ideally, the pot should be an inch or two bigger than the planter your fern came in.
Step 2: Loosen your bird's nest fern from its nursery pot and remove some soil from the roots to allow them to spread.
Step 3: Place your fern in the planter.
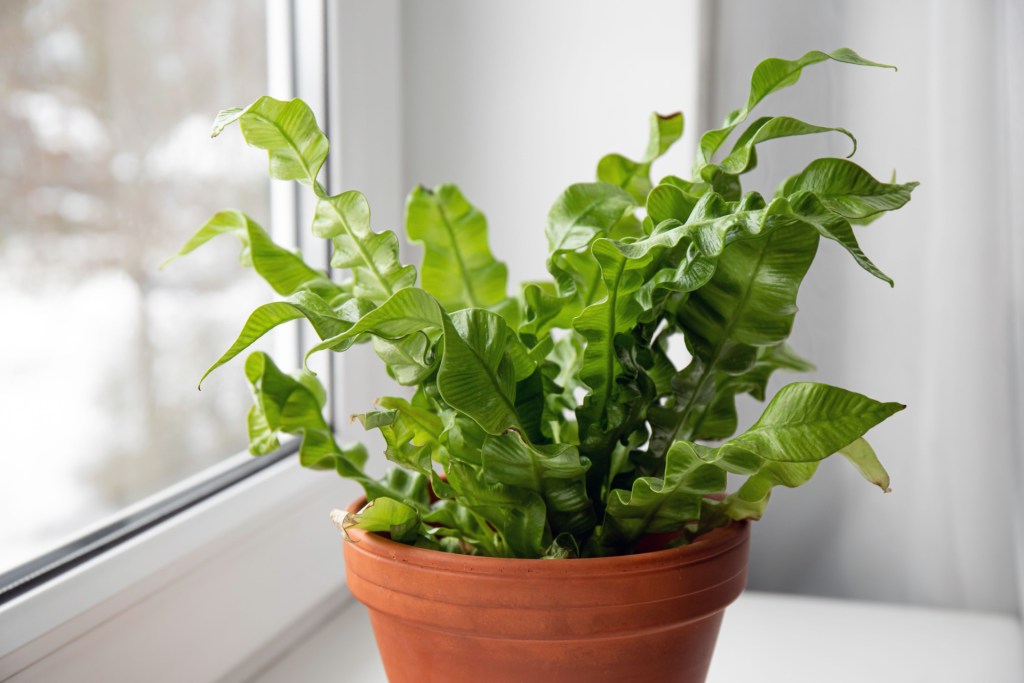
Step 4: Situate your bird's nest fern in an area where it will get plenty of medium indirect light or dappled light, as direct light can burn its fragile leaves.
How to water a bird's nest fern
Moisture is a huge part of bird's nest fern care, and you never want to let your fern completely dry out. If you don't stay on top of watering your plant deeply, the leaves can grow pale and limp.
As a tropical foliage plant, the bird's nest fern also appreciates ample humidity — average home humidity between 30 and 50% should suffice, but your plant will always benefit from more moisture in the air.
Step 1: Using your finger, check to see if the top inch of your soil is dry.
Step 2: Water your plant deeply, and make sure only to get the soil wet. If you water the center of your fern, you may make it susceptible to rot.
Step 3: Check your home humidity with a hygrometer. If you can keep your plant in conditions above 50%, this will prevent your fern from developing crispy tips.
Step 4: To supplement your humidity levels, place your plant on a pebble tray with water or turn on a humidifier.

How to fertilize a bird's nest fern
The bird's nest fern isn't a very heavy feeder and generally doesn't need to be fertilized more than a few times throughout the growing season. You can fertilize your plant biweekly, monthly, or even bimonthly — a spaced-out feeding schedule is perfectly fine, as overfertilizing can burn your plant.
Step 1: Dilute a balanced liquid fertilizer at half strength.
Step 2: Water the solution into your plant.
Common bird's nest fern problems
Yellow leaves: Yellow leaves may be a sign that your bird's nest fern is receiving too much light. You can remove the impacted leaves and move your plant to an area that receives more dappled lighting.
Pale leaves: Underwatered leaves may start to lose their green color. Stay on top of your watering, giving your plant a good soak every time you water it.
Crispy, brown leaves: Burnt leaf tips can be due to either overfertilizing or excessive light exposure. If you suspect the former, leach out your soil with water. If you suspect the latter, cut off the crispy edges and move your plant away from your window.
Brown center: If you notice your bird's nest fern center browning, this may be a sign of rot. If the roots are salvageable, replant them in a new container with fresh soil and try not to water your plant as frequently.
White, cottony material on the leaves: A white, cotton-like fuzz on your leaves is a telltale sign of mealybugs. Wash your plant and treat it with a horticultural oil or soapy water.
Sticky, gray spots: Another pest that could wreak havoc on a bird's nest fern is scale. Scale bugs almost look like fern spores and feel sticky to the touch. You can cut off impacted leaves or get rid of them with neem oil.
How to propagate a bird's nest fern
Propagating a bird's nest fern can be a bit of a tricky endeavor, but it's definitely possible. You'll want to go about the process by collecting the fern's spores, as you can't really multiply it with a cutting. If you're eager to create more bird's nest ferns without buying new ones, here's how to do it.
Step 1: Seek out a mature frond on your bird's nest fern and pluck it off.
Step 2: Place the frond inside of a paper bag for a few days.
Step 3: Collect the spores and place them on wet sphagnum moss or peat on a dish or in a pot.
Step 4: Cover the pot or dish with plastic wrap, leaving it in an area with medium indirect light.
Step 5: Be patient, as it may take a few weeks or months for baby ferns to emerge. Throughout this time frame, keep the growing medium consistently moist.
Although the bird's nest fern can be a bit higher maintenance than your common pothos houseplant, it can be a manageable plant if you give it sufficient moisture and avoid overexposing it to light. With a little bit of attention, you'll be able to enjoy gorgeous, healthy fronds.