
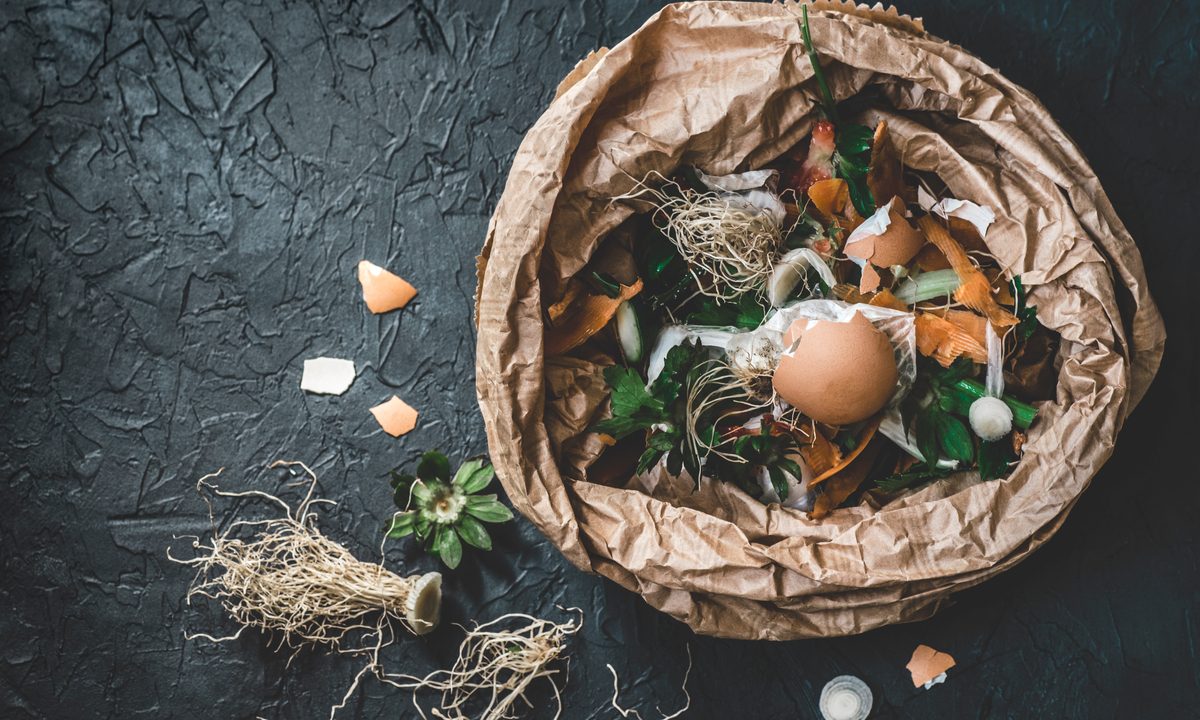
So, you’ve learned how to make compost. It’s ready for spreading, but your garden can’t hold all that compost at once. What do you do with the extras? When your vegetable garden produces too many vegetables, you store the extras to keep them fresh as long as possible, but what about compost? Does it need to be stored a certain way, and will it go bad if it isn't stored properly? If these questions have ever crossed your mind, we have the answers in this guide to how to store compost.
How to store compost
There are a few ways to store compost.
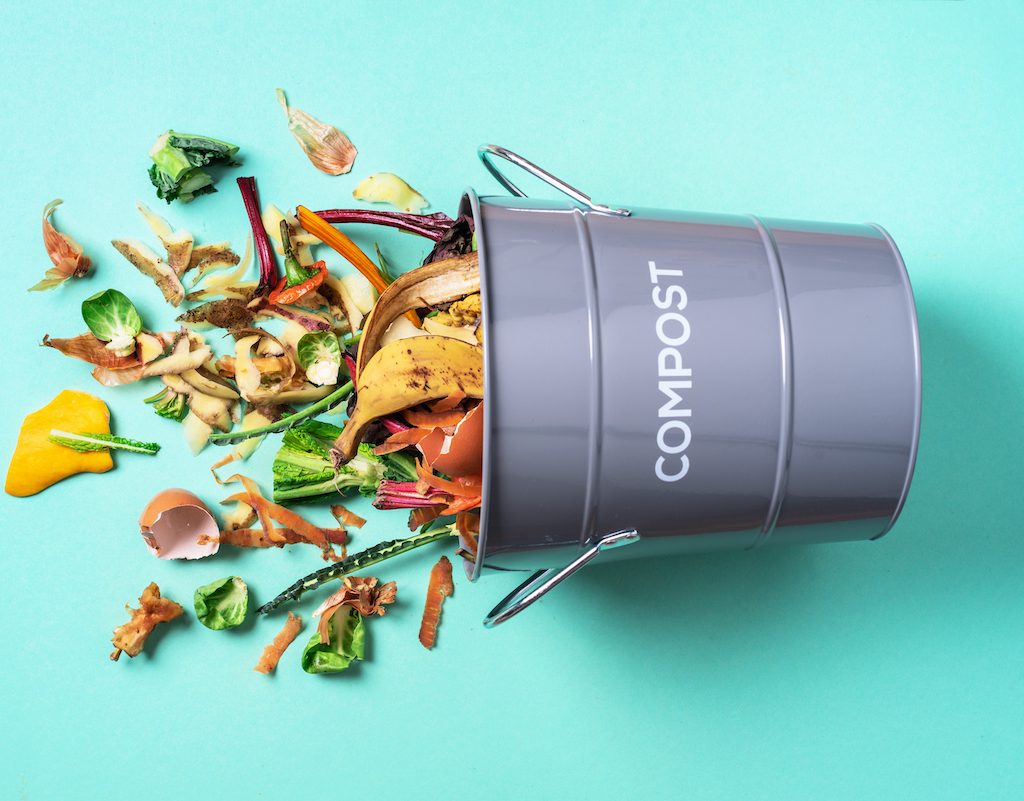
Store compost in a bin
You can store it in a bin, or even in the same bin it was made in, as long as you don’t need that bin to start making another batch of compost.
Store compost in a pile
You can store your compost outside in a pile. This is a good solution if you are consistently making compost, as you can add more to the pile at any time. Worms can also naturally find your pile this way, giving you the benefits of worm composting without any of the actual work. If you store your compost this way, place a tarp over it to keep extra moisture out of it. However, this takes up a lot of room, depending on the size of your pile and is unsightly.
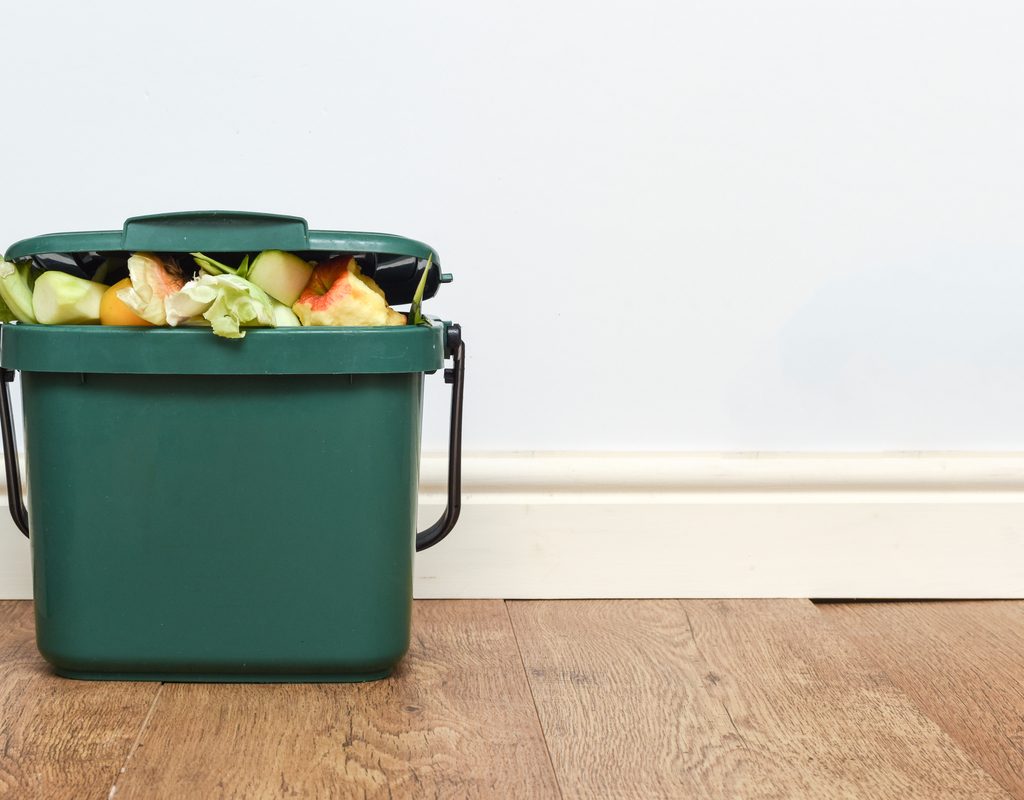
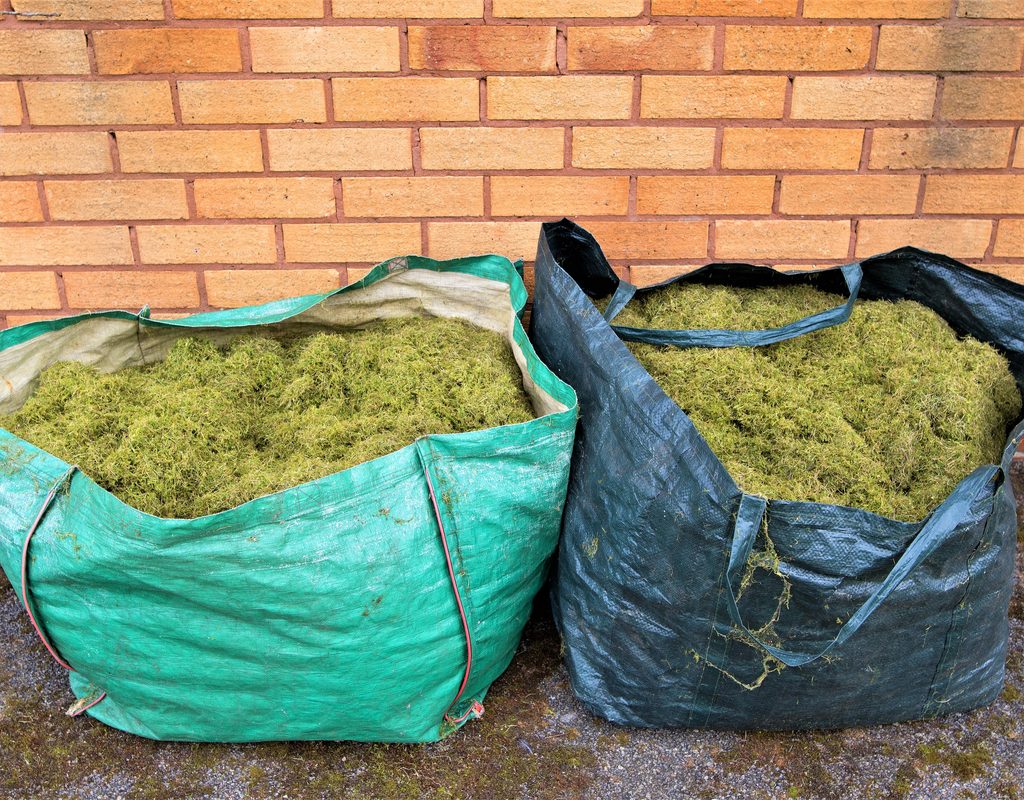
Store compost in a bag
Storing your compost in plastic bags, garbage bags, or an empty garbage can takes up less room and can be stored out of sight. Just make sure it stays moist and that it’s somewhere secure so it doesn’t tip over and spill all over your floor. If your compost starts to dry out, lightly spray it with plain water and mix the compost with a small shovel or garden fork, depending on the size of your storage container. If your container doesn't already have them, poke small holes in the sides to allow air circulation. You can also leave the container open at the top, but this may not be the best option if you have curious animals in the area.
How long can you store compost?
You can store compost indefinitely, but the longer it’s stored, the more nutrients it loses. Compost is at its best for three to four months after it is completed. However, compost can be used even after that. Over time, the nutrients in the compost break down further or escape the compost. This process occurs rather slowly, so you likely won’t have to worry about it too much. As long as you use your compost within a few years, you won’t notice any difference.
Where should you store compost?
If you have the room to store compost outside, that’s where you should store it. It’s best if you store it under a tarp or in some sort of container with a lid. If you need to store your compost indoors, here's what to do:
Step 1: Find a location that is dry and has a relatively mild temperature.
Heat speeds up decomposition, and cold slows it down. If your compost isn’t entirely finished, you can use temperature to your advantage. Otherwise, you want somewhere mild, to keep the evaporation rate consistent.
Step 2: Place the container somewhere secure, flat on the ground or, if it’s on a shelf, away from the edge.
Step 3: Check to see if there’s anything that could fall onto it or knock it over.
This includes storing it somewhere away from pets and small children. While compost generally isn’t harmful for people or animals, there is bacteria in it. Also, if it spills, it makes a big mess, and, if the container itself is heavy and falls over, that could hurt someone. A shed or closet would be an excellent place to keep it.
How can you tell if compost has gone bad?
Trick question! Compost doesn’t go bad. Compost begins losing nutrients after four months of storage, but it doesn’t lose enough to majorly impact your plants until a year after completion. After a year or two of storage, you may notice that your compost is shrinking ever so slightly as it breaks down further. This doesn’t mean it has gone bad, but it does mean that you should use it fairly quickly.
If your compost starts to smell like it’s gone bad, that means that your compost is off-balance, too wet, or too compacted. Add more brown material, such as dry leaves, straw, hay, and newspaper, then turn it with a shovel or pitchfork. This helps add air into the compost, soaks up excess water or allows it to evaporate, and rebalances the levels of green and brown material in your bin.
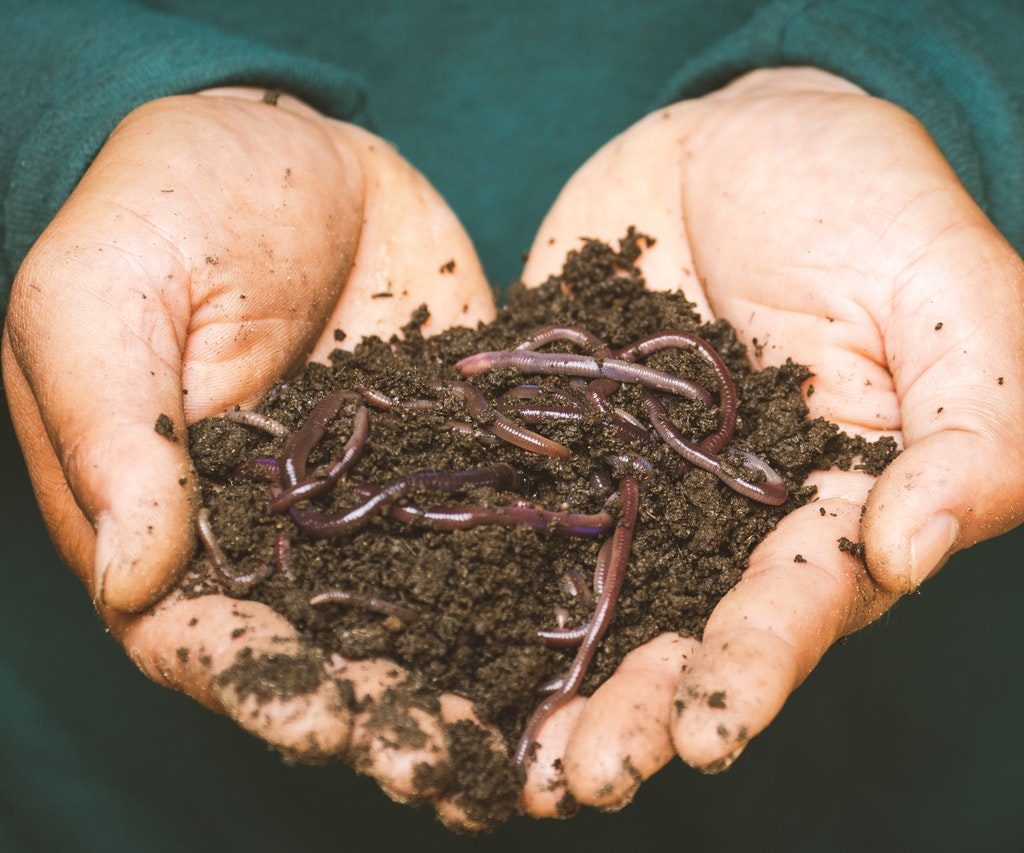
How to store compost with worms
Vermicomposting is a popular and easy way to compost, but you might be wondering how the compost and the worms should be stored. The good news is that storing the compost or worm castings is the same as storing compost from a regular bin. A large bucket or bag in a cool, dry place is ideal for storing worm castings.
The worms themselves won't need to be stored separately, but your entire vermicomposting system may need to be moved into storage during winter. Simply move your system to a more sheltered location, such as a basement, garage, or covered patio.
Add a large amount of food scraps to the bin for your worms to eat over winter. They will eat less during the cold weather. However, if you bring your bin inside they may not slow down as much and will need additional feeding. Then, add a layer of insulation to the top of your vermicomposting bin. Straw, hay, or shredded newspaper are all commonly used. This will keep your worms warm until spring.
Once you’re done with your compost, you may be left wondering what to do with it. Now that you know how to properly store it, you can keep your extra compost for a few months to a year without worry or fear! Your garden will thank you in the spring.


