If you’ve had a bountiful harvest this year, then congratulations! However, getting all your produce indoors is only the first step. You can eat some of your harvest right away, but you'll need to store the rest to keep it fresh. Not every vegetable is stored in exactly the same way, though. Some vegetables need to be stored whole, while others are fine to cut into pieces. And what about fruit? To find out how to best preserve your harvest, we’ve compiled everything you need to know about keeping fruits and vegetables in cold storage.
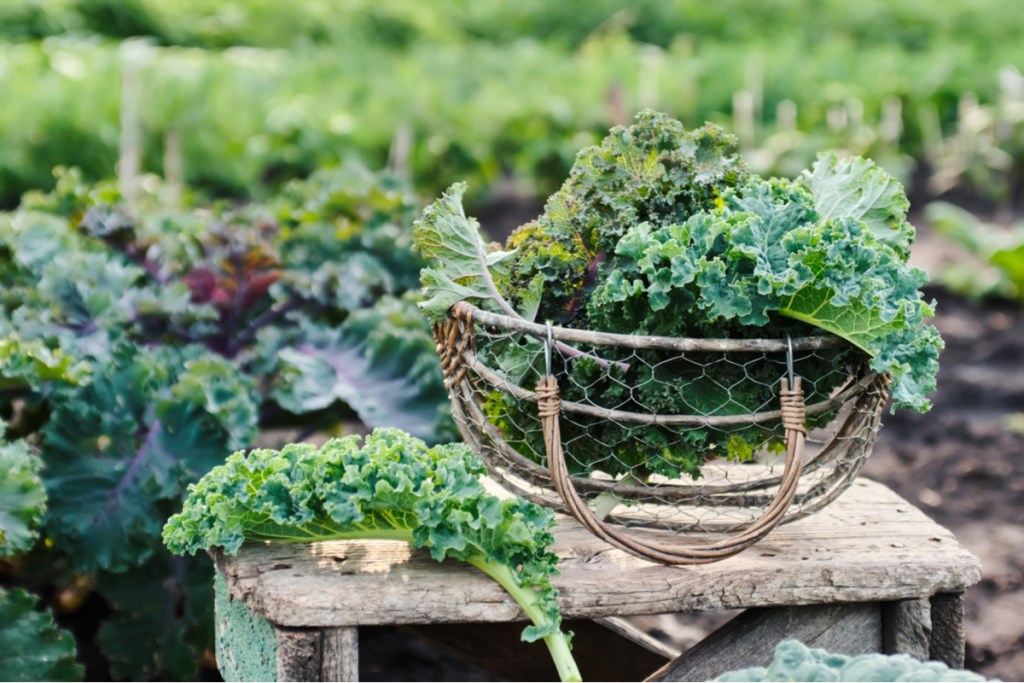
Leaf vegetables
Leafy vegetables, like kale, lettuce, and spinach, tend to have high water content and not as much stability. This impacts how they can be stored. Here's what to know:
Step 1: Avoid storing your leafy greens in the freezer, cabinet, or cellar.
They tend to become soft and wilted after they’ve been frozen. So while you can store your leafy vegetables in the freezer, it isn’t ideal. Additionally, they lack thick skins, so they spoil quickly and are vulnerable to pests and mold when stored at room temperature.
Step 2: Wash the leaves gently with cold water and dry them thoroughly.
Step 3: Place the leaves in sandwich bags.
Step 4: Lay a dry paper towel in the bag with them to absorb any condensation that builds up.
Step 5: Store the bag or bags of leaves in the refrigerator for a few weeks.
Leafy greens don’t last as long as other vegetables, so it’s a good idea to eat them first. Smaller, younger leaves may last only a week, since they’re even more delicate than mature leaves.
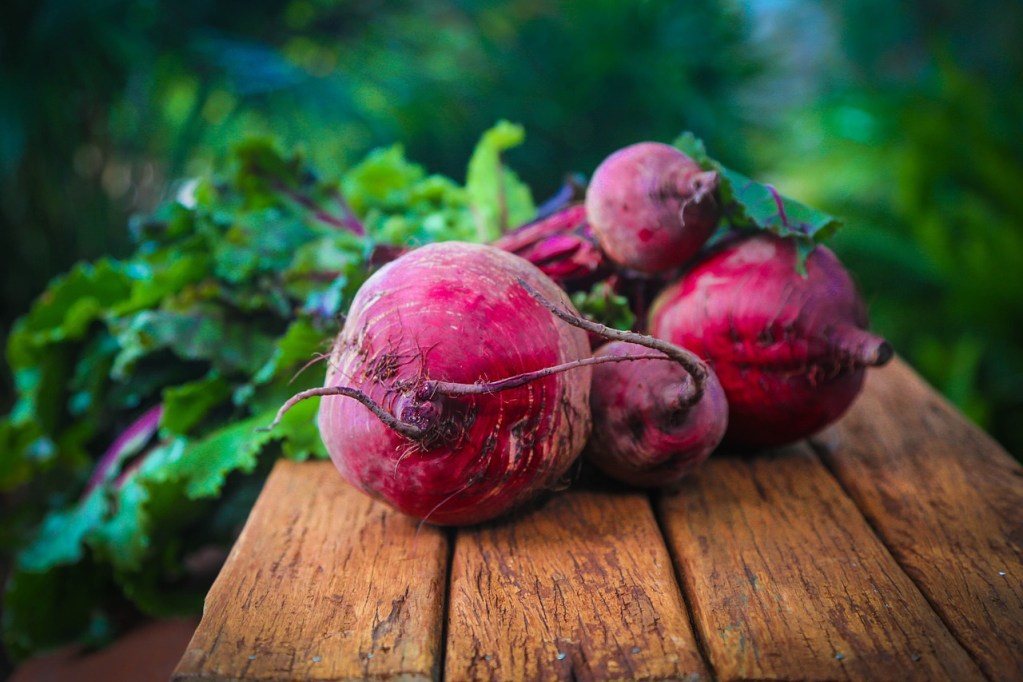
Root vegetables
Root vegetables tend to be hardier than other vegetables, which makes them easier to store since they don’t need refrigeration or freezing. Follow these steps to prepare them.
Step 1: Remove any leafy tops, since these leaves are prone to rotting before the rest of the vegetable.
You can set them aside for composting, carrot-top tea, or any other way you would typically use them.
Step 2: Avoid washing the vegetables before storing them.
This can strip away their natural protection, causing them to spoil faster. Wash them only when you're ready to eat them.
Step 3: Sun cure potatoes, sweet potatoes, onions, and garlic before storing to get rid of any moisture that could cause mildew or rot.
Step 4: Store onions and garlic in a single layer in shallow boxes or bags lined with breathable fabric in a cool, dry place.
Step 5: Pack your other vegetables into a box or crate in layers of sand. The sand keeps the vegetables cool and dry.
Step 6: Place the box in a cool, dry place such as a root cellar, closet, or basement.
Vegetables kept this way can last several months.
Step 7: Check your vegetables for mildew or mold every few weeks, especially if the place they are stored in is not cool and dry.
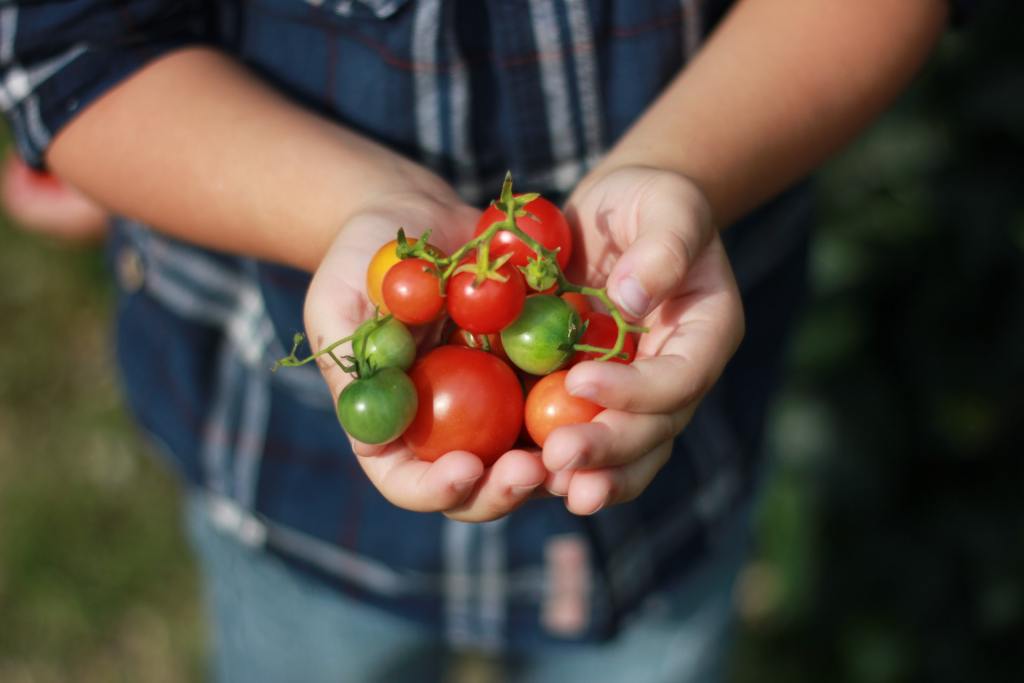
Fruit
Fruit, similarly to leafy greens, tends to have a lot of water and less structural integrity. Tomatoes, eggplants, avocados, squash, and cucumbers are common fruits that are also vegetables, and none of them freeze particularly well.
While frozen, they stay hard and fresh, but become mushy and watery quickly when thawed. This doesn’t make them inedible, though, and freezing your tomatoes can still be a viable option if you plan on making tomato sauce with them. However, if you’d like your fruit to remain firm, then you’ll have better luck storing them in the refrigerator. Here's how:
Step 1: Wash your fruit gently beforehand and dry it thoroughly.
You can wait until you're ready to eat them to wash, but if you're concerned about any mold spores or hidden bugs eating your fruit while you aren't looking, a simple wash will help. Remember not to use any bleach, soaps, or other chemicals that aren't food safe!
Step 2: Store your fruit whole if you are able.
Whole fruit will last much longer than sliced fruit, since the skin will protect the more delicate insides.
Step 3: Store sliced fruit or smaller, thin-skinned fruit (such as cherry tomatoes or blueberries) in a container.
Larger fruit, such as eggplants, may need to be sliced in order to fit in your fridge if you have limited space. Glass containers offer the most protection, but other containers will work as well.
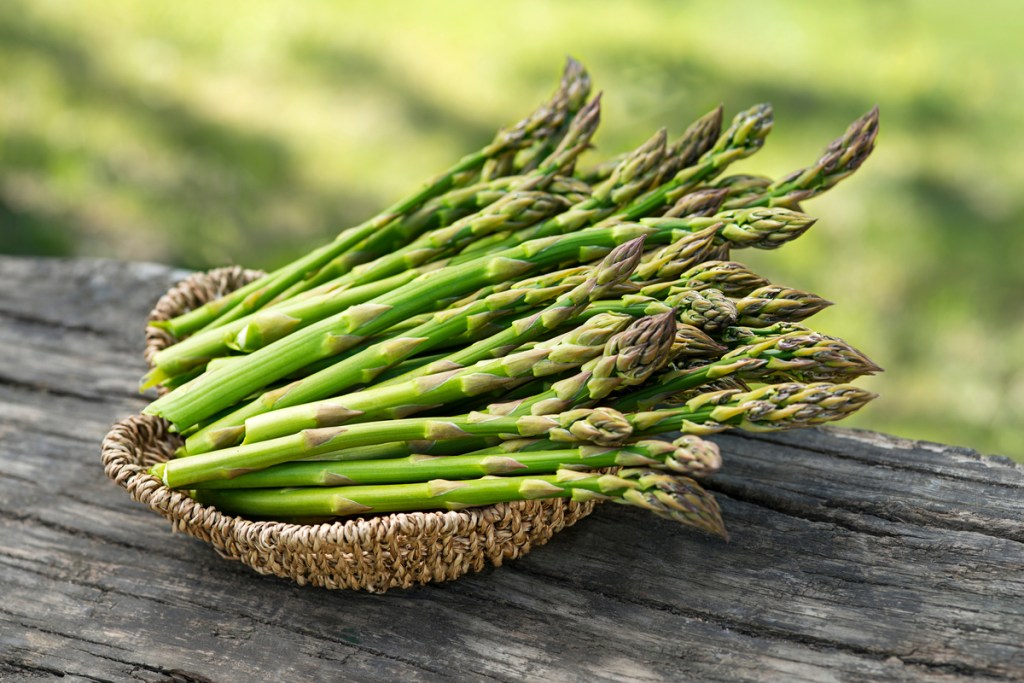
Stem vegetables
Stem vegetables, such as rhubarb, asparagus, and celery, are also known for high water content. They can be stored in the refrigerator for a few weeks, but they can also be frozen if they’re blanched first. Here's how to blanch your vegetables:
Step 1: Cut your vegetables into small, even chunks.
Smaller pieces will blanch faster than larger ones, and it’s easier to use them after freezing if they’re precut.
Step 2: Bring a large pot of water to a vigorous boil.
Aim for a gallon of water per pound of vegetables, but it doesn’t need to be exact.
Step 3: Boil the vegetable pieces for 3 to 5 minutes.
Step 4: Remove the vegetables from the boiling water and put them immediately into an ice bath.
Step 5: Remove the vegetable from the ice bath and dry them off.
Step 6: Spread them in a single layer onto a baking tray or sheet lined with baking paper, then freeze them for an hour or two.
This first freeze keeps them from sticking together and freezing into one solid block of icy vegetable. You want each piece to be frozen individually, so that you can use smaller amounts at a time, rather than thawing out the entire harvest.
Step 7: Remove them from the freezer, place them into bags or containers, and store them in the freezer.
While it might seem redundant to store them in containers once they're frozen, this helps keep them safe from freezer burn, keeps them clean, and helps conserve space.
Storing your vegetables properly can extend their shelf life for weeks or longer. Just follow the simple tips outlined in this guide and you’ll be well on your way to tasty, fresh vegetables any time of the year. As long as you know what kinds of vegetables you have, and how they’re stored, you can keep your harvest fresh. If you ever aren’t sure about a particular vegetable, remember that just about anything can be kept in the refrigerator.