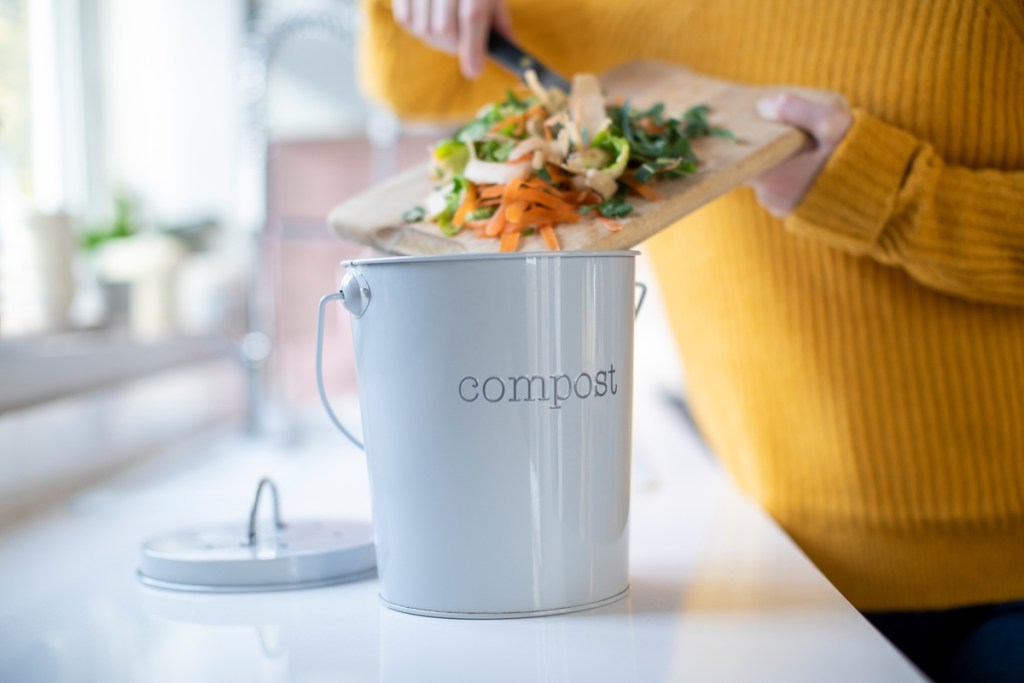
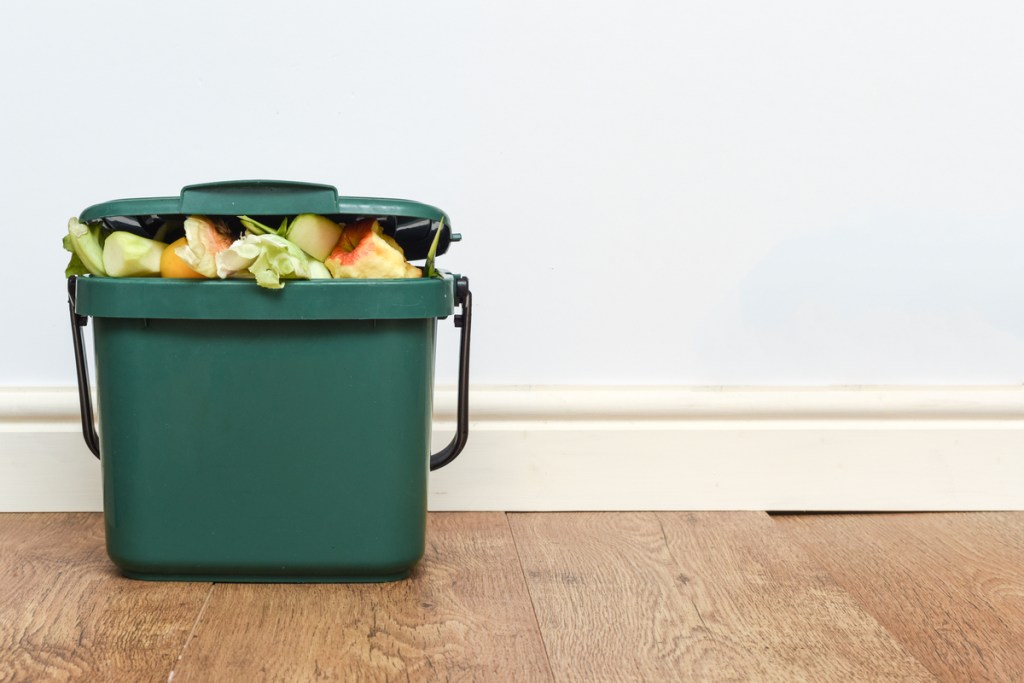
Kitchen composting is an excellent way to cut down on food waste and nourish your plants. If you want to compost but don’t have enough space for a big, outdoor bin, or don’t produce enough vegetable scraps for a big bin to be worth it, then kitchen composting is a great option for you. How do you start kitchen composting? Here is a simple guide to composting, broken down into three easy-to-follow steps.
Gather your supplies
The good news about kitchen composting is that you don’t need anything fancy to do it; you may already have all the supplies you need. All you really need is a bucket or bin in a size that works for you. Some people prefer to have a smaller bucket to collect scraps in, which then gets added into a larger bin, but you can also add your scraps into your compost as you collect them.
Your bucket or bin does need to have air flow to allow excess water to evaporate. If your bucket has a lid — which is helpful if you have animals that enjoy getting into things that they shouldn’t — you can drill a few holes into it. You can add a few more holes in the sides of your bin for good measure.
Consider where your bin will be kept before deciding on what bucket or bin to use. A bin kept in a kitchen cabinet will likely need to be a bit smaller than a bin kept on an enclosed porch or somewhere else with more space. Keep in mind how much you’ll be able to add to it each week, too. Less scraps mean less compost, but it also means you’ll need a smaller bin.

Know what goes in and what doesn’t
Maintaining a compost bin is easy but necessary, especially if you plan on kitchen composting. Most problems that arise with compost come from improper maintenance, and those problems typically result in smelly compost. Luckily, you can circumvent a large chunk of compost issues by knowing what can and can’t be composted.
There are two categories of compostable materials. Green material is fresh organic material, like leaves, grass clippings, and vegetable scraps. Brown material is dried organic matter, such as newspaper, straw, dried leaves, and cardboard. You want a balance of green and brown in your compost. Too much green results in excess water in your compost leading to rot and mold. Too much brown dries your compost out and slows down decomposition.
You can correct an imbalance by adding more of whichever type of material there is less of. If your compost has too much brown, add some green and vice versa. The only materials to avoid completely are ones that won’t break down. This includes inorganic matter like glass and plastic but also bone and wood, which are organic but break down slowly. You can add animal matter to your compost, but be advised that it smells strongly and can attract animals. If you do choose to add meat to your compost, cook it first.

Create the ideal conditions
Your compost needs to be moist, warm, and have plenty of airflow. There isn’t an exact way to measure these conditions, so it may take some trial and error. However, compost is very forgiving, and having less-than-ideal conditions won’t ruin your compost instantly.
The moisture level in your compost should be evenly moist but not soggy. If you touch your compost, you should be able to tell that it is wet, but it shouldn’t be muddy and shouldn’t drip if you scoop some out. If your compost is too dry, you can add some water or green material and mix it in. If it is too wet, add more brown material and mix. Heat is the least likely to cause problems when kitchen composting since the bin is indoors. Room temperature, or close to it, is just fine for your bin.
Air flow may be an issue for kitchen composting, especially if your bin is stored in a cabinet, closet, or other enclosed space. Adding air holes to your bin is very helpful, but it may not be enough. A sure sign that your compost isn’t getting enough air flow is that it seems tightly compacted. Your compost should be loose. Stir or flip your compost with a shovel or stick to add air back into it. It’s best to give your compost a light stir every time you add to it, both to prevent stagnation and to ensure everything gets the chance to compost evenly.
Anyone can begin kitchen composting by knowing these three simple steps. Kitchen composting is, arguably, the easiest form of composting. You don’t need a large bin or a lot of space. Instead, compost in the way that best fits your lifestyle and needs. With a sturdy bucket, the knowledge of what can and can’t be added to compost, and the right conditions, you’ll be able to nourish your plants and benefit the environment.


