
Beets are one of few crops that can be grown almost anywhere, able to thrive in USDA hardiness zones 2 through 11. They’re a fast-growing root crop known for their distinctive red color, though there are also golden and striped varieties that you can grow. Unlike some crops, all of the beet plant is edible, so you can use their greens as an edible garnish or mix them into a fresh salad — but the benefits and uses don’t stop there.

The benefits of growing beets at home
On the health side of things, beets are full of nutrients that your body needs to survive (similar to the way a plant needs proper care to thrive). They’ve got some protein, some potassium, and even some iron. Beets contain vitamin C and vitamin B6, as well as manganese, which is great for brain function and nutrient metabolism.
Perhaps one of the best growing qualities of beets is that they’re a cool-weather crop, which potentially means you can plant a crop to grow in the spring and one again in late summer or early fall when temperatures start to drop again. When grown and cared for well, this means two harvests of beets as opposed to a one-and-done.
It also gives you some flexibility. If you have too many things you want to grow, and some only grow in the spring or only grow in the fall, you don’t have to worry about cutting beets out completely. Simply plant one crop at the time of year when your garden beds have a bit more room.
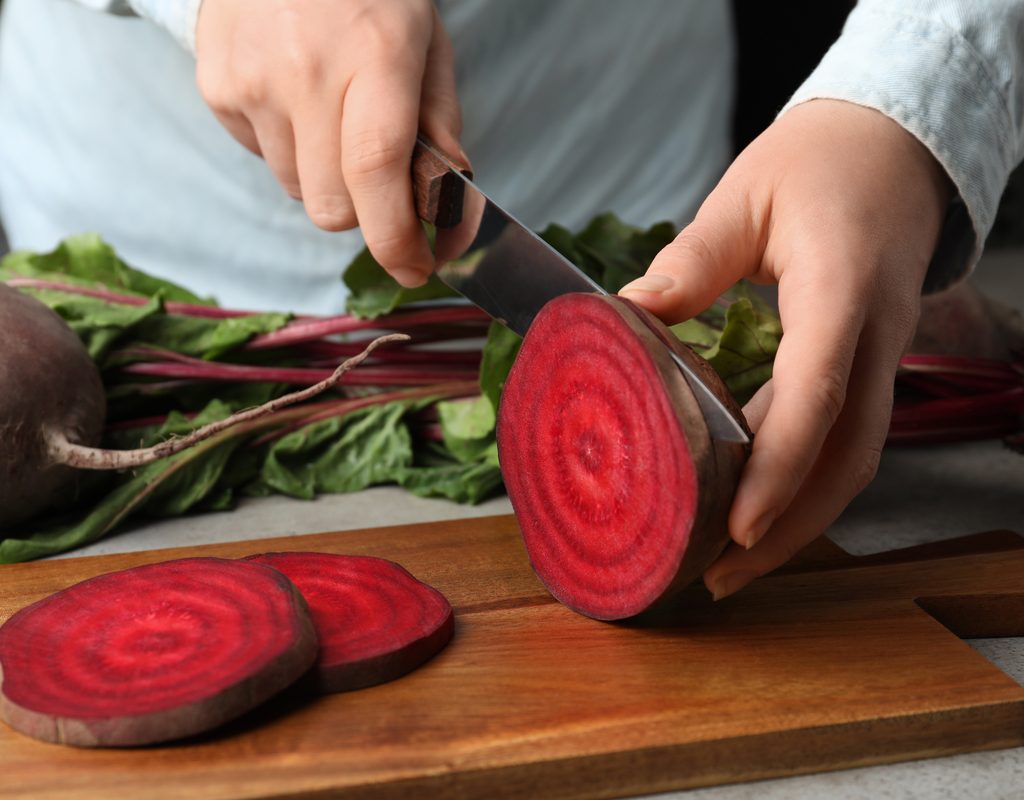
What dishes can be made with beets?
Chefs and home cooks not only love beets for their nutrients but for the color they add to a dish. One of the simplest things you can do (especially if you’ve had a particularly robust harvest) is pickle them to increase their longevity. Taste of home has a great breakdown of pickling beets, including things that they go well with so you aren’t stuck wondering what on earth to put them on. Pickled beets can last up to three months in the fridge, and they’re a great home-grown gift to give family around the holidays if you plant them as a fall crop.
If you plant a spring crop and are looking for a fresh summer dish, you can’t go wrong with this nectarine and beet salad. Not only can you use some of your fresh-harvested beets, but you can also take some of the spring greens from your garden for a truly homegrown dish.
Caring for and growing beets
Beets can be planted in the spring once the soil has warmed to at least 50 degrees Fahrenheit and the threat of the last frost has passed. You can continue to plant beets every two to three weeks while the temperature stays under 75 degrees. Because beets are a cool-weather crop, they don’t like a lot of warmth. Once summer starts to hit, you’ll either want to stop growing beets for the season or wait until late summer or early fall to start sowing a new crop. Keep in mind that if you live in a place that gets cold, you should sow your last set of beets at least a month before the first predicted frost.
Although they grow in cooler parts of the season, beets aren’t very cold tolerant. They prefer to be in environments between 50 and 85 degrees Fahrenheit for proper growth and survival. One thing you should be mindful of when growing beets is proper spacing for the plants to avoid any fungal growth from lack of airflow. Beet seedlings need at least four inches of space between them to grow strong.
Light needs: At least six hours of full sun per day
Water needs: Water regularly, aiming for at least one inch per week
Soil needs: Well-draining, rich soil
Are beets easy to grow?
Yes! Despite their specific temperature needs, they aren’t complicated to care for and grow. Beets are mainly grown as annual vegetables, so you don’t have to worry about any kind of pollination for the crop to grow. Plus, they’ve got very simple light requirements that are easily attainable in most garden set-ups. As long as you’re mindful of the outdoor temperatures, you shouldn’t run into any unforeseen problems.
How to properly harvest beets
When your beets are ready for picking, you’ll want to start by loosening the soil around them. This gives them a little more room to breathe and move after establishing themselves in the garden bed for the last couple of months. After the soil is loosened, gently pull them out. If your beets fight back a little bit, continue loosening the soil around them until they come out with a gentle tug. You want to keep at least one inch of the stem on the plant, so harvesting needs to be done gracefully.
How can you tell when beets are ready to harvest?
Once planted, beets take between 55 and 70 days to mature. You’ll know your plant is ready to be harvested once the greens are around three to four inches tall, though you can let them grow a little longer if you’re hoping to get larger beets. Keep in mind, though, that the larger beets get, the tougher and more fibrous they become (and the greens themselves become less tender). Ideally, you don’t want to let the greens get much larger than six inches at most.
Common problems you may run into
Like other crops, beets are prone to some bacterial, fungal, and viral infections. Some bacterial infections are caused by crops that previously resided in the garden bed, so take care not to plant beets where you’ve previously grown potatoes. Other fungal and viral infections are more likely to happen to weaker plants, so the best way to avoid these is to make sure you’re providing the proper care and giving beets a healthy environment.
If you notice any signs of bacterial, fungal, or viral infections, you should remove the affected parts of the plants (in some cases, this means the whole plant) and use an appropriate combating method. For viral infections caused by pests, this means using an insecticide safe for beets; for fungal infections, see what fungicide is good to use on beets.
The good news is that problems don’t often happen when a plant is thriving, and the same goes for many crops. By taking the time to ensure your plants are where they will be happy, healthy, and strong, you’ll have a mostly problem-free harvest and fresh beets for all your favorite dishes.


