Want to make homemade bird food using seeds from your garden? Here are the best plants to use

Use these tips to make your own bird food

There are tons of plants you can grow to feed birds over the winter, but did you know you can make homemade bird food at any time of year? Growing the plants, harvesting the seeds, and preparing the bird food is easier than you might think. Whether you’re a dedicated bird watcher or just enjoy listening to bird songs in the morning, here’s everything you need to know to make homemade bird food using seeds from your own garden.
Difficulty

Easy

Duration

1 hour

What You Need

  • Bag

  • Scissors, shears, or a knife

  • Tray

  • Airtight container

  • Plants with seeds (such as sunflowers, coneflowers, millet, and black-eyed Susans)

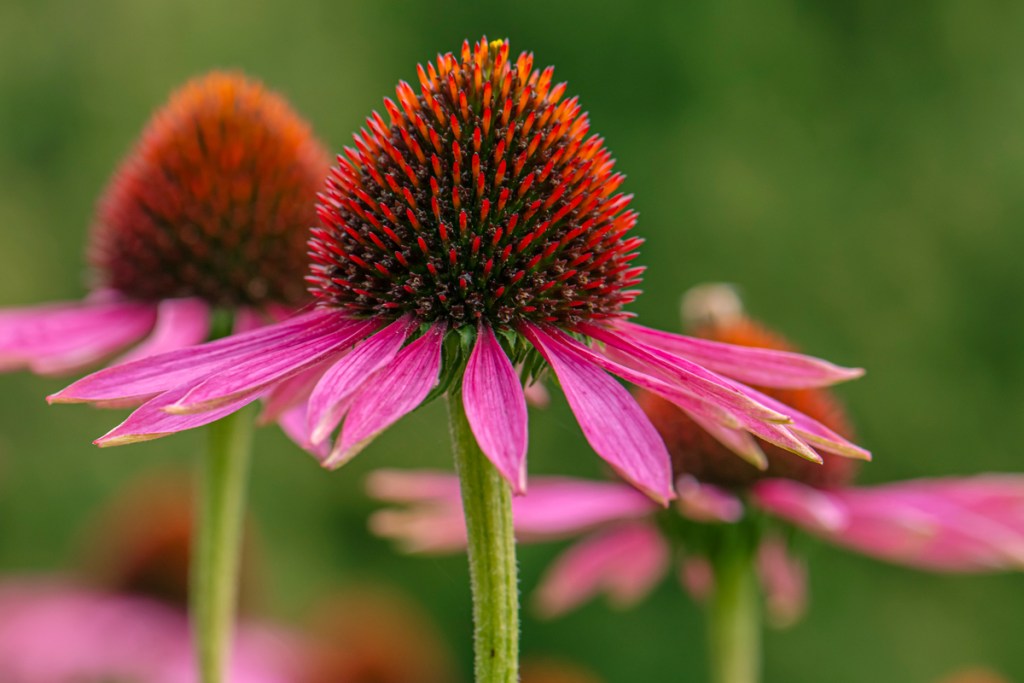
A close-up of pink coneflower blooms
LapaiIrKrapai / Shutterstock

What plants to use

Almost all plants have seeds of some sort, but not all of them are good food for birds. Plants with large seed heads or berries are the best, as they offer easy access for both you and the birds.

If you plan on just adding the plants to your garden, then berry bushes like holly and juniper are great additions. However, if you’re going to make bird food, then you should be aware that adding berries will add a few extra steps. This is because berries need to be thoroughly dried, otherwise they could rot in storage or in your bird feeder!

For making your own bird food, here are the plants you should look for:

  • Sunflowers
  • Coneflowers
  • Millet
  • Black-eyed Susans
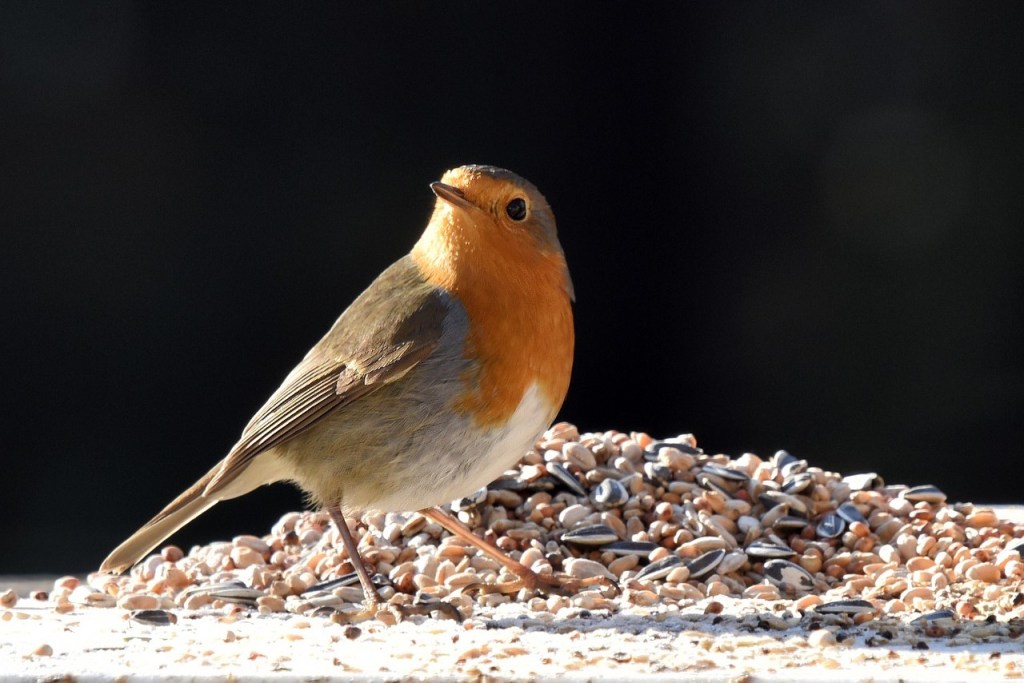
A robin standing in front of a pile of seeds
Image used with permission by copyright holder

Harvesting the seeds

To make bird food, here's how and when to collect the seeds:

Step 1: Wait until the seeds have developed.

This is typically a couple of weeks to a month after the flowers bloom.

Step 2: Place a bag over the flowers.

This ensures that any loose seeds fall into the bag rather than on the ground while harvesting.

Step 3: Cut the flowers off the plants using scissors, shears, or a knife, so the flowers fall into the bag.

Step 4: Remove the seeds from the flowers.

Most of the seeds should dislodge with a gentle shake of the flowers or brushes from your hands. If the seeds are stuck tightly, drying the flowers first can help.

Step 5: Spread the seeds out on a tray and allow them to dry for about a week.

If you plan on using all of your seeds immediately, then you can skip this step. However, drying them will help you store your seeds for longer.
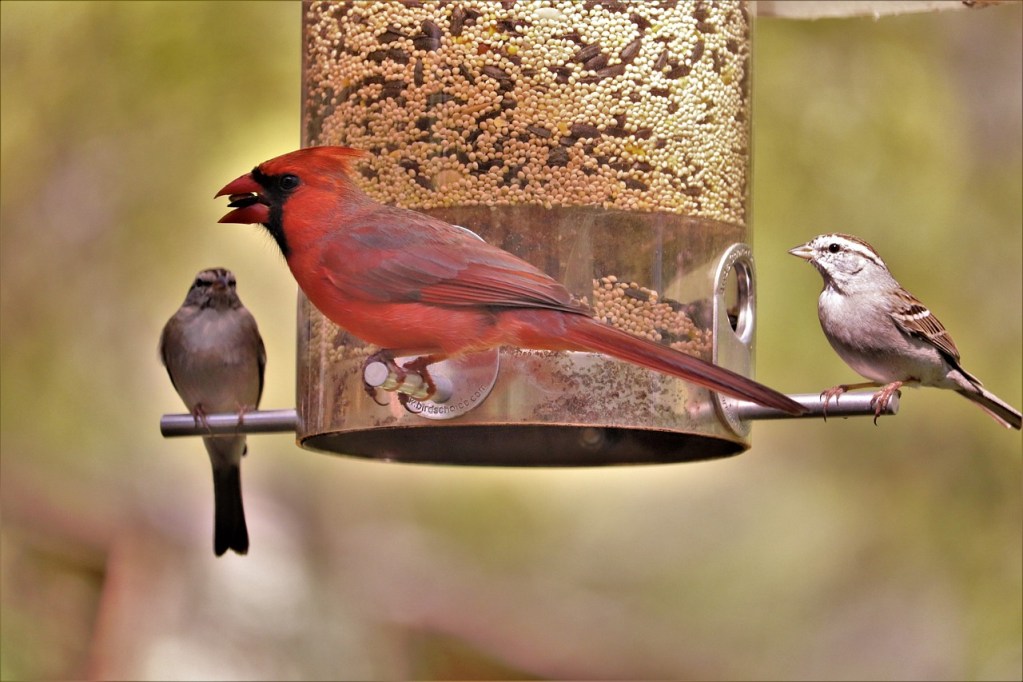
Male cardinal and two smaller birds at a bird feeder full of seeds
Image used with permission by copyright holder

Preparing the bird food

Once your seeds are dry, here's how to prepare, use, and store your bird food:

Step 1: Remove any husks or pods from the seeds.

Step 2: Mix your seeds together.

Step 3: Fill your birdfeeder or set 1 to 3 cups of seeds out where birds can reach it.

Step 4: Store excess seeds in an airtight container in a cool, dry, dark space.

Step 5: Refill the feeder once a day or whenever it gets low.

Making homemade bird food is exceptionally easy. Your local birds will love it, and you’ll love watching them visit your garden! You may even see some other seed-loving critters, like squirrels or chipmunks. Don’t forget — you can set aside some of the seed mix and use it to replant your garden.

Editors' Recommendations

Cayla Leonard
Cayla Leonard is a writer from North Carolina who is passionate about plants.  She enjoys reading and writing fiction and…
Turn your hydrangea leaves from brown to green – make your plants healthy again
Get rid of brown spots and restore your hydrangea's health
Purple and blue hydrangeas

Hydrangeas are beautiful flowers that can be found in many gardens, container gardens, and even as cut flowers. They come in several shades of pink, blue, and white, and some of them can even change color. As beautiful as these flowers are, though, they're not without fault. Proper hydrangea care can keep most of their common problems at bay, but they might still develop brown spots on their leaves.

Brown spots on hydrangea leaves can be caused by several different things, although the most common causes are fungal infections. Keep reading to figure out what is causing your hydrangea leaves to turn spotty and to find out how to treat it.

Read more
The best sprays to keep pests off your delicate hibiscus plants
Safe and effective sprays for your hibiscus
Close-up of a red hibiscus flower

Garden pests range from minor annoyances to plant-destroying nightmares, but controlling them can be tricky. While commercial sprays are effective and easy to find, many of them include harsh chemicals that are not good for the environment. On top of that, some plants are too sensitive for sprays like that! Hibiscus plants in particular can suffer cosmetic damage from certain chemical sprays. If you need help keeping pests away from your hibiscus, here’s what you need to know about finding the right insecticide for hibiscus plants.

Why are specialized sprays so important?
Insecticide or pesticide sprays have a job to do. They’re made specifically to kill insects and keep them away from your plants. Most plants can withstand the chemicals used in these sprays without issue, but some plants, like hibiscus, are particularly sensitive.

Read more
Are you asking, ‘Why is my tomato plant wilting?’ Here’s how to be the hero in your garden
Properly water and inspect your tomatoes to prevent (or treat) wilting
Tomatoes on a tomato plant

Tomatoes are probably the most popular veggies grown at home. Even novice growers can grow these plants with little to no experience in growing anything. Even better, many of these beginners are successful because tomatoes are so easy to care for and grow in your own home. However, one of the most common questions about growing tomatoes is, "Why is my tomato plant wilting?" Well, it could be due to a few reasons. We'll take a look at them here and give you tips on how to get your tomato plants back into tip-top shape. 

Why do people grow tomato plants?
Let's first talk about why you want to grow tomato plants. Growing tomatoes at home has a lot of benefits. First, they're healthier than store-bought tomatoes, and they taste better, too! There's no denying that tomatoes grown at home have a richer flavor. Once you eat your own tomatoes, you'll likely find the store-bought ones flat and watery by comparison.

Read more