
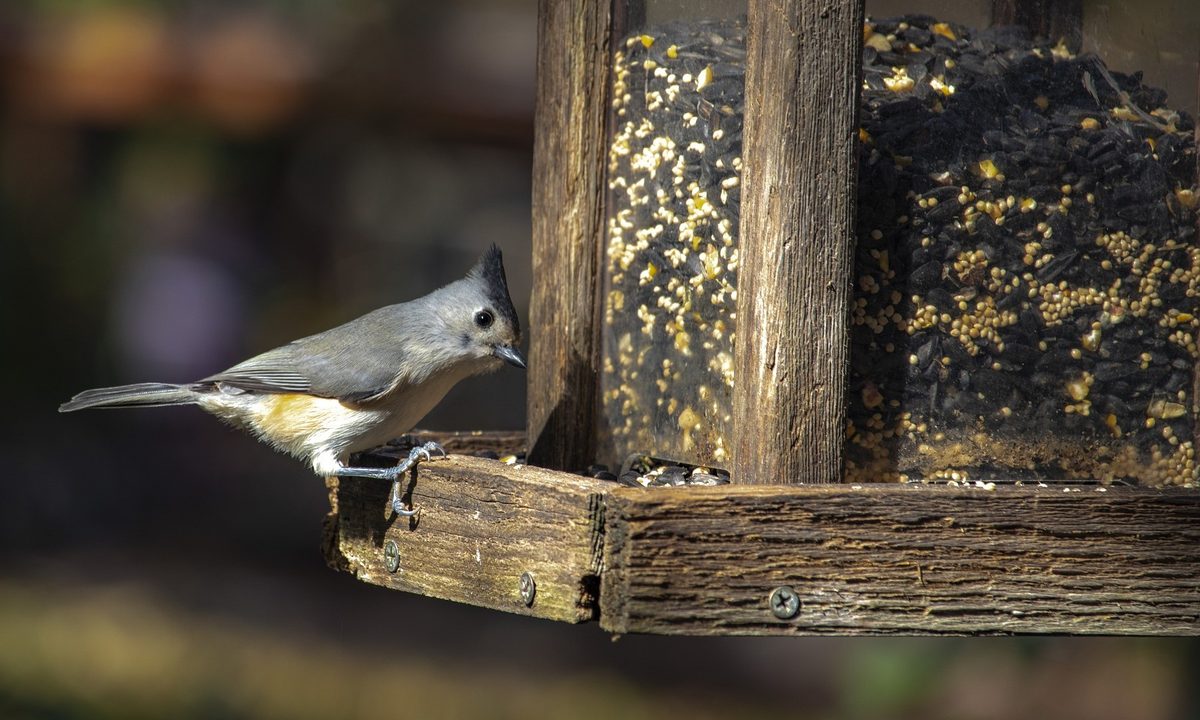
There are tons of plants you can grow to feed birds over the winter, but did you know you can make homemade bird food at any time of year? Growing the plants, harvesting the seeds, and preparing the bird food is easier than you might think. Whether you’re a dedicated bird watcher or just enjoy listening to bird songs in the morning, here’s everything you need to know to make homemade bird food using seeds from your own garden.
What plants to use
Almost all plants have seeds of some sort, but not all of them are good food for birds. Plants with large seed heads or berries are the best, as they offer easy access for both you and the birds.
If you plan on just adding the plants to your garden, then berry bushes like holly and juniper are great additions. However, if you’re going to make bird food, then you should be aware that adding berries will add a few extra steps. This is because berries need to be thoroughly dried, otherwise they could rot in storage or in your bird feeder!
For making your own bird food, here are the plants you should look for:
- Sunflowers
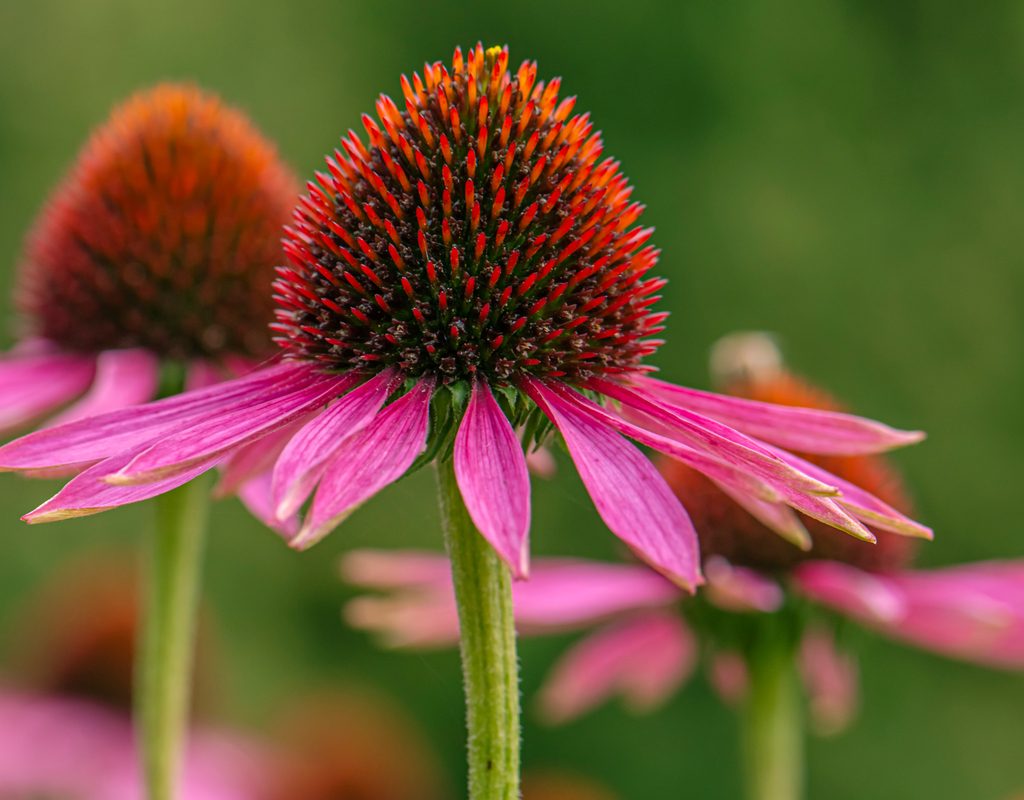
- Coneflowers
- Millet
- Black-eyed Susans

Harvesting the seeds
To make bird food, here's how and when to collect the seeds:
Step 1: Wait until the seeds have developed.
This is typically a couple of weeks to a month after the flowers bloom.
Step 2: Place a bag over the flowers.
This ensures that any loose seeds fall into the bag rather than on the ground while harvesting.
Step 3: Cut the flowers off the plants using scissors, shears, or a knife, so the flowers fall into the bag.
Step 4: Remove the seeds from the flowers.
Most of the seeds should dislodge with a gentle shake of the flowers or brushes from your hands. If the seeds are stuck tightly, drying the flowers first can help.
Step 5: Spread the seeds out on a tray and allow them to dry for about a week.
If you plan on using all of your seeds immediately, then you can skip this step. However, drying them will help you store your seeds for longer.

Preparing the bird food
Once your seeds are dry, here's how to prepare, use, and store your bird food:
Step 1: Remove any husks or pods from the seeds.
Step 2: Mix your seeds together.
Step 3: Fill your birdfeeder or set 1 to 3 cups of seeds out where birds can reach it.
Step 4: Store excess seeds in an airtight container in a cool, dry, dark space.
Step 5: Refill the feeder once a day or whenever it gets low.
Making homemade bird food is exceptionally easy. Your local birds will love it, and you’ll love watching them visit your garden! You may even see some other seed-loving critters, like squirrels or chipmunks. Don’t forget — you can set aside some of the seed mix and use it to replant your garden.


