Sweet, juicy, and fruit fresh from your garden is a treat unlike any other. If you’ve tried growing some of the typical garden staples such as blackberries or apples and are looking for something new, then loquat trees should be your next garden addition.
Native to southern China, this tree offers beautiful flowers, tasty fruit, and even leaves that can transform into herbal tea! Interested in all this tree has to offer? Use this simple care guide to get started growing your own today.
Planting a loquat tree
Start by choosing your planting site, since you may need to take extra steps to prepare it before planting. Choose a location in full sun or partial shade with well-draining, slightly acidic soil. Adding compost, pine straw, or peat moss to your soil can help adjust the pH.
Avoid planting your loquat near trees that are afflicted with fire blight. Fire blight is a bacterial disease that affects trees related to apples and pears. It causes leaves, stems, and branches to wither and turn black, brown, or gray. Fire blight can’t survive in the soil, so it’s safe to plant your loquat tree in an area where the infection previously was — just avoid planting it near trees that are still infected. Make sure to sanitize any pruning shears or saws that have been used to prune infected trees, as well.
If you live north of zone 8, have limited outdoor space, or plan on moving soon, then grow your loquat tree in a container. When planting your loquat tree, you can choose to grow it from seed, sapling, or grafted sapling. Check your local nurseries and garden centers to see what is available.

Caring for a loquat tree
Water your loquat tree regularly, especially during dry weather. While the tree can survive droughts, it will produce less fruit and may even lose leaves or fruit to conserve water. You should prune your loquat tree during late summer or early fall, after the harvest but before it begins to put out new flowers. Remove diseased, damaged, and weak branches. This is also a good time to trim any branches that are growing too long or tall.
Feed your loquat tree with a balanced fertilizer every two to three months during the first year. Afterward, feed your tree one to three times per year. Loquat trees need a lot of nutrients to produce fruit. If you only fertilize yours once per year, it should be in mid to late spring, when the fruit begins ripening. This is especially important when growing a loquat tree in a container, as the roots of your tree won’t be able to grow further to reach fresh nutrients.
Watch for pest damage from scale, aphids, codling moths, and fruit flies. Insecticidal soap and neem oil are effective organic ways to control these pests. Additionally, keep an eye out for fungal infections caused by overwatering, especially after heavy rains.

Harvesting the fruit
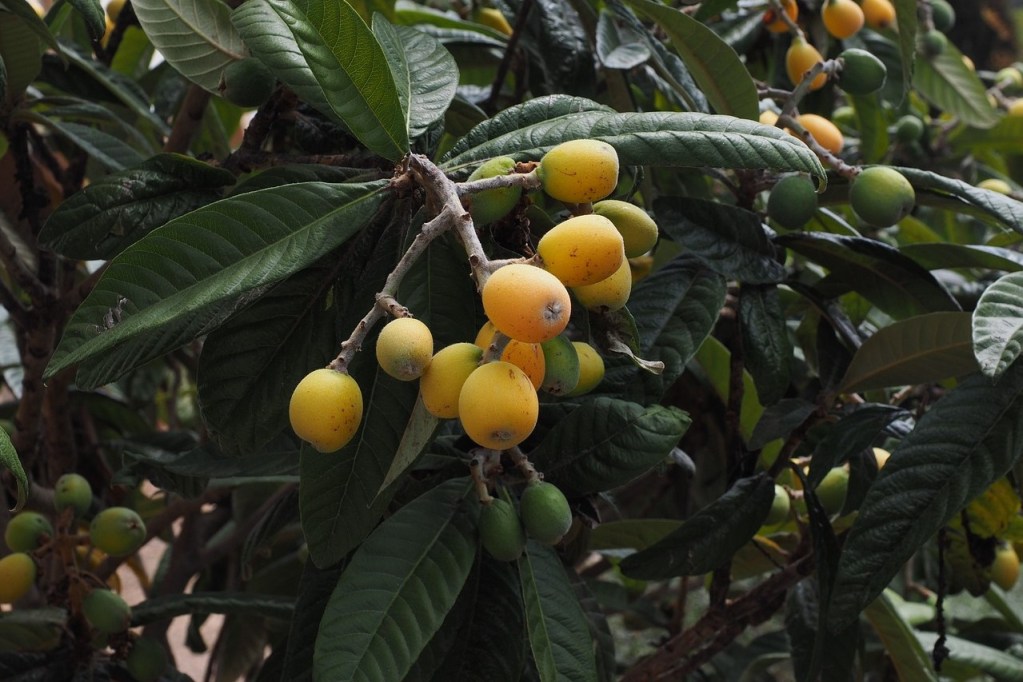
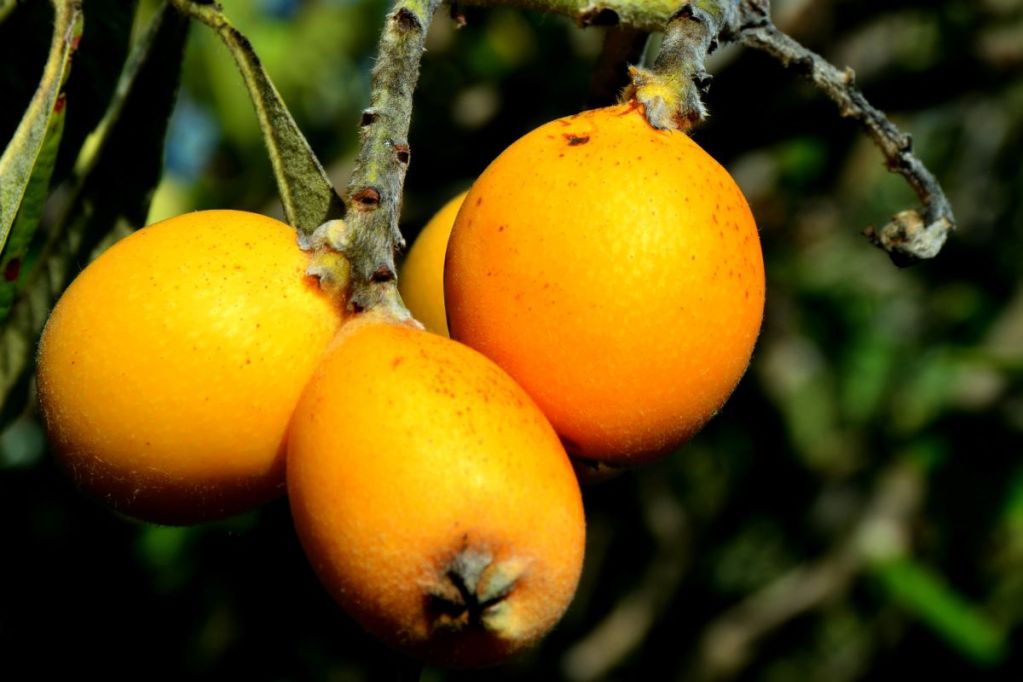
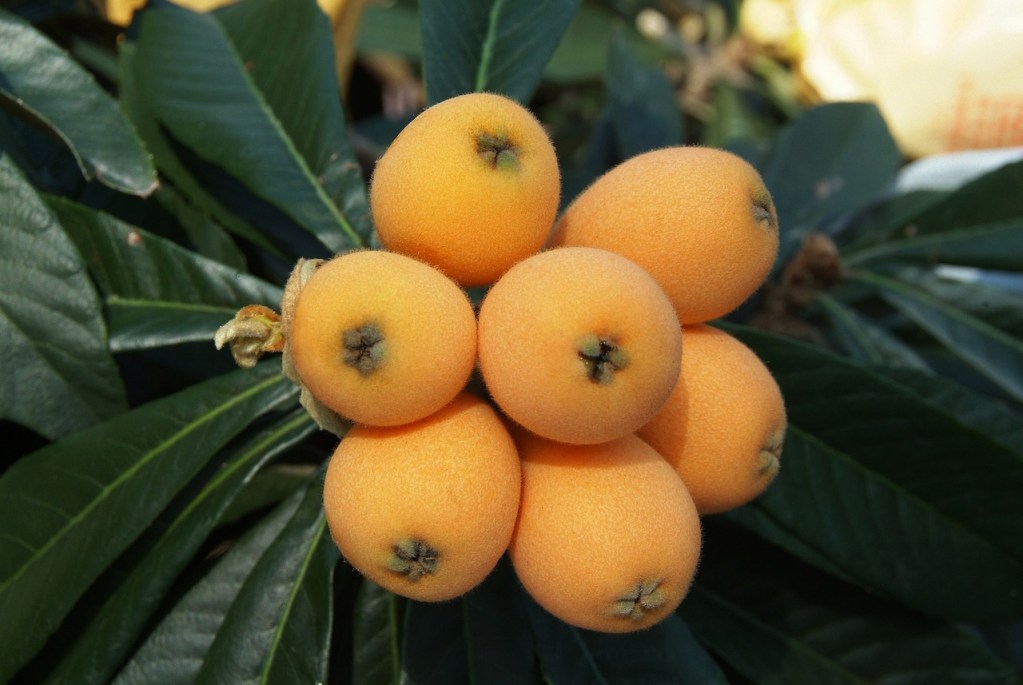
You can expect to start harvesting the fruit around 90 days after your loquat tree flowers. Typically, this is in mid-spring to early summer, and you can recognize ripe loquats by their bright orange or yellow color. Ripe fruit should come off the tree with minimal force, and there should be no green anywhere on them. Although some fruit species will continue to ripen after being harvested, loquats will not. Make sure they are fully ripe before you harvest them.
You can harvest loquats by pulling individual fruit off the tree or by cutting branches to harvest several clumps of loquats at a time. Harvesting in clumps is convenient if you have multiple trees or are in a rush to harvest your fruit, and it can save you a little time on pruning later in the year! For the average gardener with only one or two loquat trees, harvesting them as individuals may be an easier route.

Harvesting the leaves
You can harvest the leaves of the loquat tree to be dried and use them to make herbal tea. You can use the flowers can in the tea; however, it’s important to remember that the flowers are responsible for creating the fruit. While taking a few for tea won’t impact your harvest, you’ll want to leave plenty on the tree.
Select clean, healthy leaves and cut them from the tree. Spread the leaves out in a single layer on a tray or board. Place them in a warm, sunny place with good air circulation so they can dry properly. You can speed up the process using an oven, but you’ll need to cook them at a low temperature for a longer period of time to avoid burning them. For example, 100 to 150 degrees Fahrenheit for several hours is a good place to start. You can add more layers of leaves, just be sure to separate the layers with an oven-safe material such as parchment paper.
Once they are fully dry, crush or break the leaves into an airtight storage container. Use about 1 tablespoon of loquat leaves to make 1 to 2 cups of tea — so a single loquat tree can make quite a bit of tea!
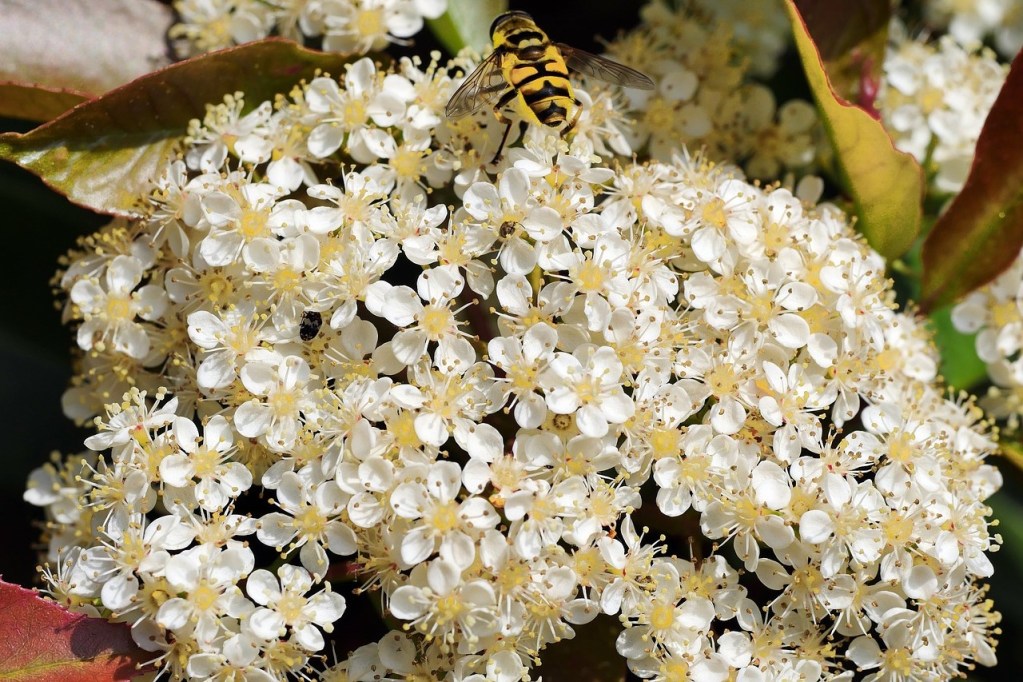
Beautiful flowers in the fall, fresh fruit in the spring, and tea all year long — loquat trees have so much to offer your garden and you! Why not head out to your local nursery or garden center to look for saplings? Before you know it, you’ll have tons of delicious loquat jam and tea.


