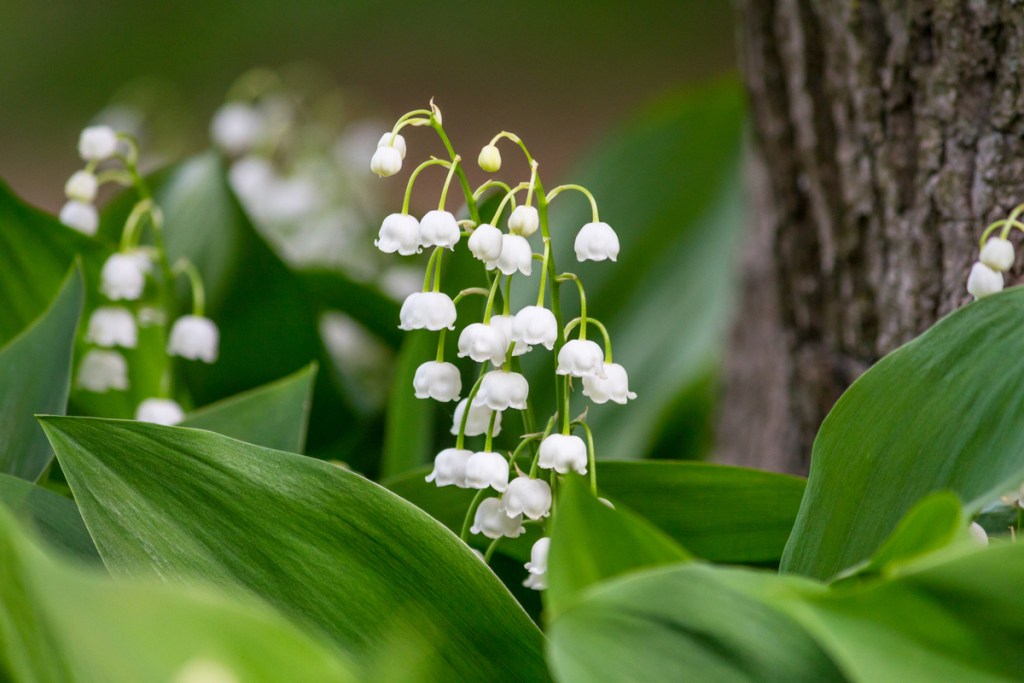
With their whimsical, bell-shaped blooms and lovely, sweet fragrance, lily of the valley flowers can make for a beloved fixture in any springtime garden. A gorgeous ground cover, the lily of the valley plant is easy to care for. Still, if you're new to these quaint blooms, you might be wondering how to plant and grow them. To help you get started, we've compiled this comprehensive guide on lily of the valley care.

What is the lily of the valley plant?
Native to Asia and Europe, lily of the valley (Convallaria majalis) features quarter-inch, down-facing blooms with thick, ovate leaves. Technically part of the asparagus family, it's commonly found in moist soil in mountain forests, but it's now cultivated as a garden flower or bouquet filler.
The sweetly scented white flowers emerge on short stalks around springtime, spreading through rhizomes in the ground. The plant can sometimes produce red berries, but keep in mind that all parts of it are toxic — you should keep an eye on curious pets and kids.

How to plant lily of the valley
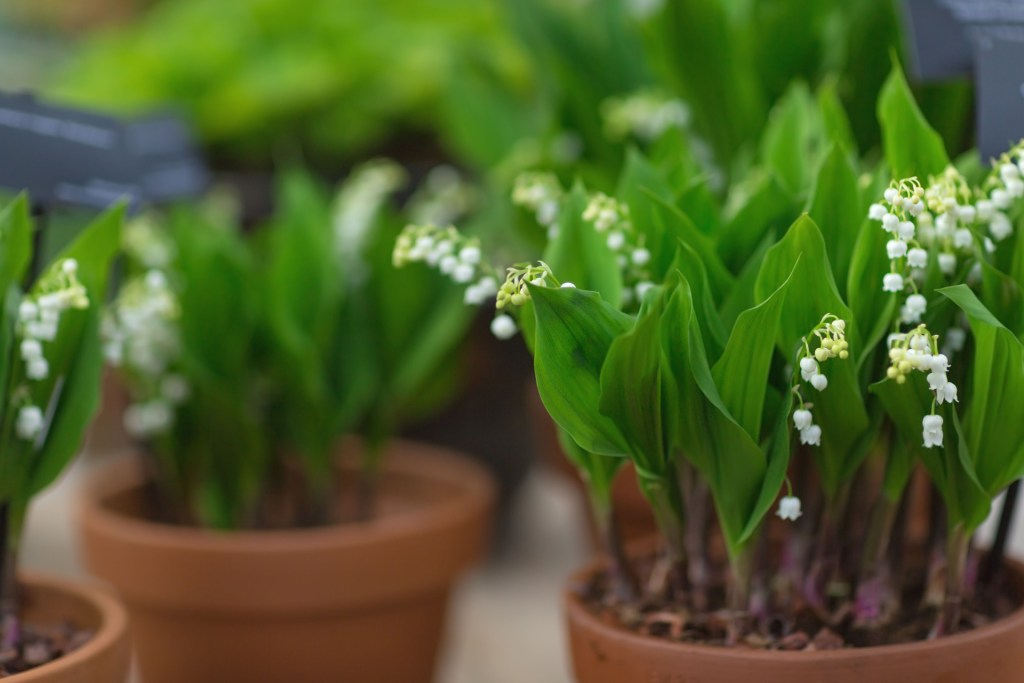
When growing lily of the valley plants, you'll usually be working with rhizomes called pips. Sometimes, you may find pre-chilled pips that have been forced to bloom during the winter, just in time for the holidays. Usually available around October or November, you can plant them in December for them to arrive during the holidays or late winter. Once potted, pre-chilled pips can take as little as three weeks to bloom.
Lily of the valley flowers can be quite simple to plant, whether you keep them in a container or grow them in the ground — they can adapt to most soils. Because they're toxic to ingest and potentially irritating to touch, be sure to handle them with gloves.
Step 1: Set your garden soil in a container or flower bed of your choice. Ideally, you want a cool, partially shaded area to set your pips down.
Step 2: Set clusters of pips 1 to 2 feet apart and single pips 4 to 5 inches apart in the soil.
Step 3: Top dress your soil with 2 to 3 inches of a mulch, such as wood chips.
Step 4: After your lily of the valley plants have bloomed, you can clean the pips and keep them in plastic bags to repot again during the winter.

How to care for lily of the valley
Lily of the valley plants are actually quite low maintenance. In fact, some people even consider them aggressive, if not invasive, growers in their garden — they're fairly resistant to most pests and diseases. Here are a few simple care tips to keep your lily of the valley happy.
Soil: Lily of the valley plants do best in well-draining, slightly acidic soil that's rich in organic matter. That said, they're highly adaptable to different types of soils.
Watering: Your soil should be moist but never soggy. Lily of the valley flowers also like normal humidity levels, so you may have difficulties growing them in dry conditions. Mulch will help with water retention.
Lighting: Lily of the valley plants appreciate light but really do best in partial shade. In warm regions, you may even want to give your plant full shade, if possible.
Temperature: Lily of the valley flowers are hardy to climate zones 2 to 7, so they fare best in mild, cool temperatures around 60 to 70 degrees Fahrenheit. If you live in a warm climate zone, they may do best as indoor plants.
Feeding: You can add compost or manure to your soil when growing it, but you generally don't need to feed your lily of the valley. You can also add a balanced 10-10-10 slow-release fertilizer into the soil once or twice throughout the growing season — 1 tablespoon per square foot should be sufficient.
Pruning: You don't need to prune lily of the valley, as its dead foliage can create a mulch for it. Still, you can cut about a quarter of an inch above where the flower stalk connects to the main plant to maintain a tidy look. Because this plant grows aggressively, you can also divide its roots in spring or fall to thin out colonies and promote blooms.

Different ways to incorporate lily of the valley into your home garden
Because of their delicate blooms, lily of the valley plants can easily add a whimsical charm to your home garden. As fast bloomers, they look beautiful growing as prolific ground cover beneath trees or shrubs — out in their native habitats, you'll find them growing beneath lush shade trees.
You can also grow them against north-facing walls to keep them away from too much harsh light. Just make sure that wherever you grow them, there's not too much foot traffic to damage their long leaves. If you have pets or kids around, it may be a good idea to keep them in hanging baskets or high, out-of-reach areas.
For small but eye-catching blooms, add lily of the valley blooms into your home garden this spring. The only thing to keep in mind is that lily of the valley is toxic, so protect your hands with gloves and keep the flowers away from your fur babies and little ones. When it comes to the actual plant care, growing lily of the valley only takes a small effort on your part, as you can easily cultivate this dainty, sweet-smelling bloom that spreads prolifically on its own.


