
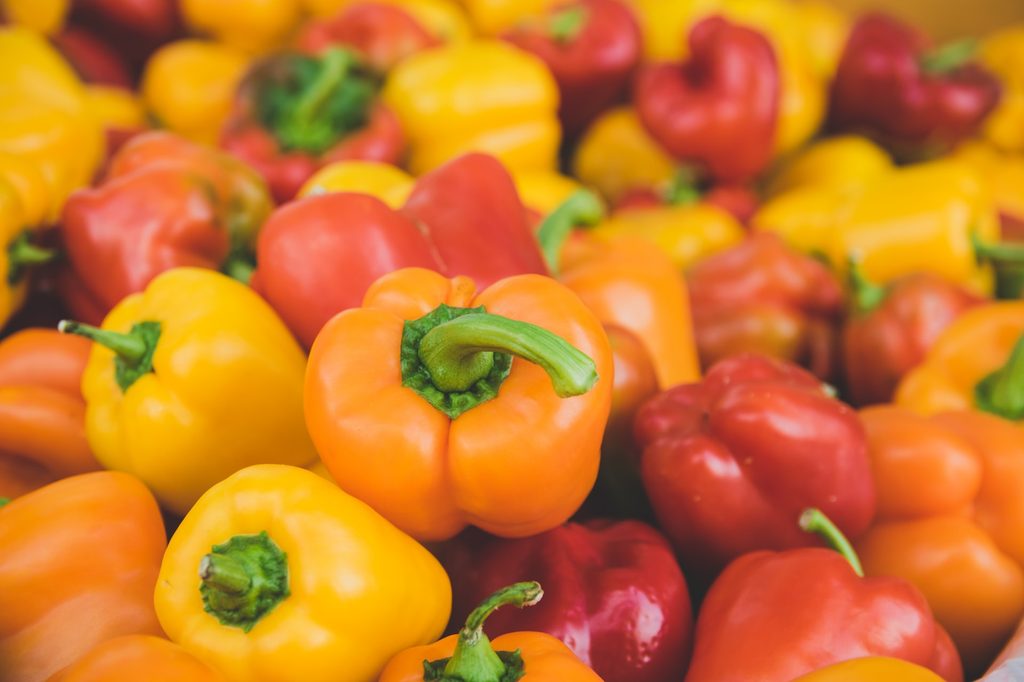
If you enjoy salsa or stuffed peppers, you’ll want to know how to plant bell peppers. Whether you like them sliced, diced, or whole, bell peppers are a delicious, nutritious, and colorful addition to meals and gardens. You can stuff them, toss them onto a salad, or add them to a stir fry, like japchae! Whether you call it a vegetable or a fruit, bell peppers are sure to please. If you’re a fan of bell peppers, too, then you should probably know how to grow them for yourself. They’re easy to grow in just about any garden, so why not try adding them to yours?
When should you plant bell peppers?
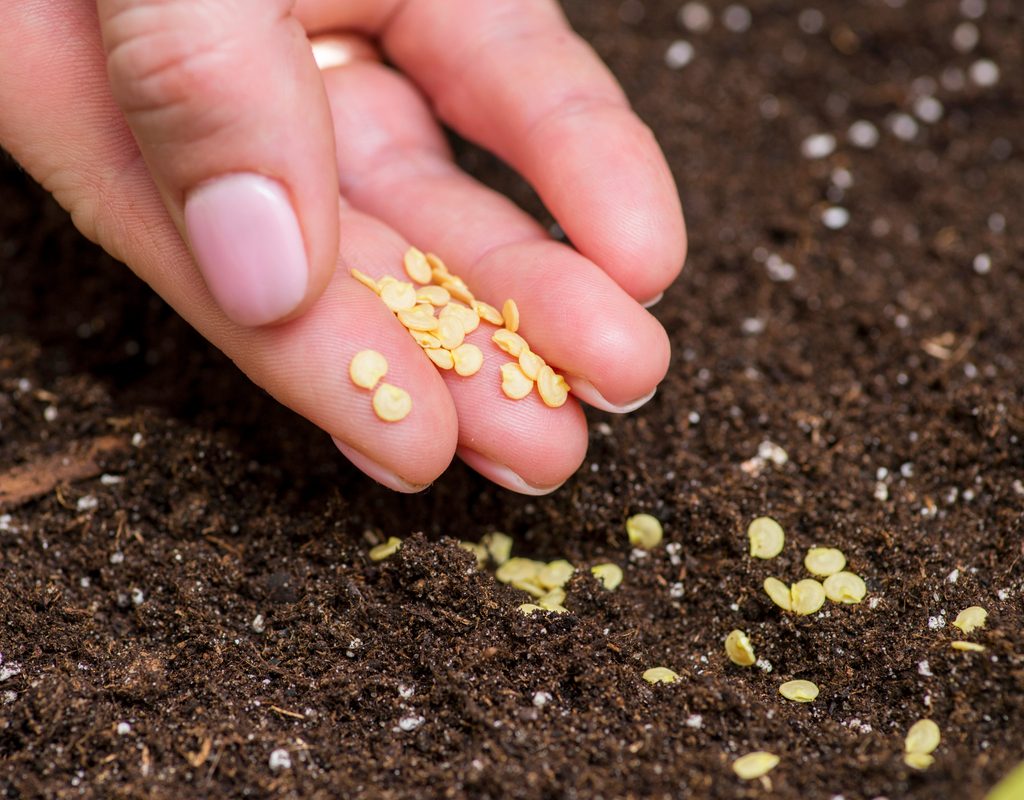
There are a couple of options when it comes to planting bell peppers. You can start with a seedling from a garden center or nursery, or you can start from seed. If you start from seed, you can direct sow or start them indoors. This will impact your planting time, so it’s important to decide which option you’ll choose before anything else.
Starting from a nursery plant is perhaps the easiest to time. You can typically plant them immediately after you get them. To start from seed, you’ll need to know your estimated last frost date. Peppers thrive in warm weather, and they can be damaged by frost, so you’ll have to wait until after the frost has passed in spring to plant them. Start your seeds indoors six to eight weeks before the last frost, so they’ll be ready to transplant as soon as it passes.
You can also plant bell peppers in summer for a fall harvest. Plant them three to four months before the first frost of fall. Bell peppers grow slowly, so it’s important to give them plenty of time to grow before the weather begins to cool.
How to plant bell peppers
Choose a planting site that’s in full sun, with rich, well-draining soil. Drainage is important, as bell peppers don’t enjoy standing water around their roots (also known as wet feet). If you’re starting your seeds inside, you can use any potting mix, but be sure that the container you’re using has drainage holes. Adding compost to your soil can help improve its nutrient balance.
Starting seeds indoors also requires sunlight, but, more importantly, it requires warmth. Cold temperatures can cause slow or even failed germination. Keeping your seeds and seedlings in a warm room is helpful, and many gardeners use a heating mat to keep the seeds at a stable temperature.
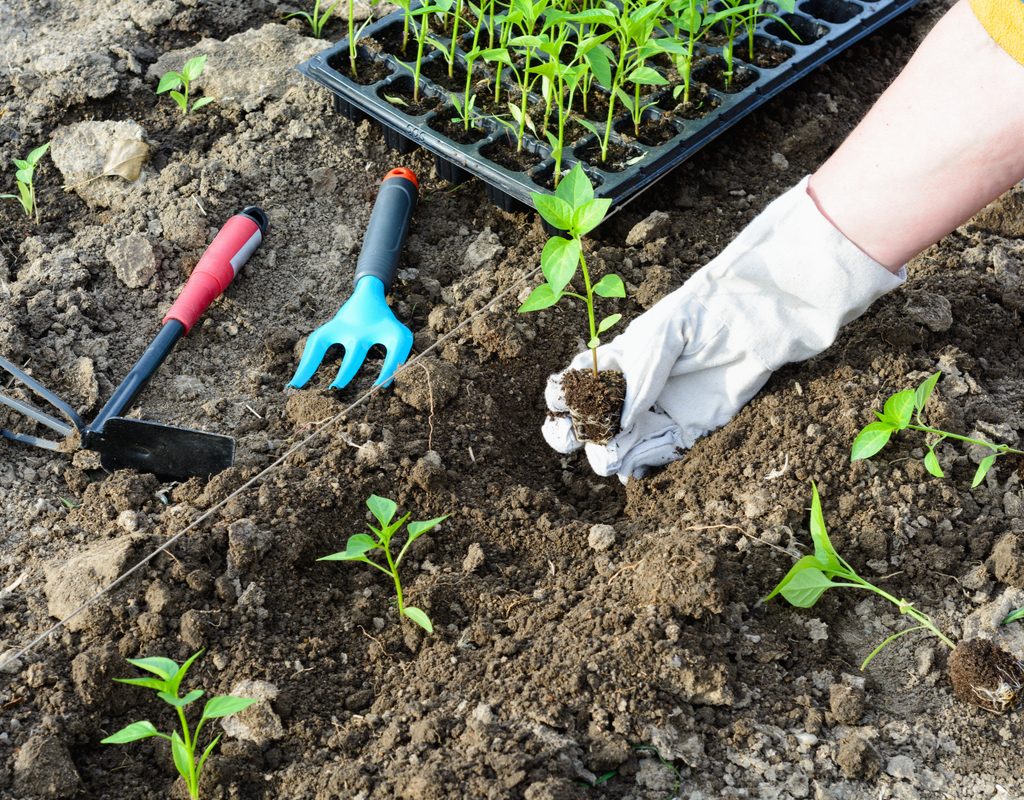
When you’re ready to transplant your indoor bell peppers into your garden, you’ll need to harden them off first. Hardening off is a method of slowly adjusting indoor plants to the outdoor elements. This lessens the shock and stress of a sudden transition and greatly increases your plants’ chances of survival. It takes one to two weeks, total, and is very simple. Just take your plants outdoors for an increasing amount of time. Begin somewhere sheltered, like a porch, and then move to less sheltered areas.
Caring for bell peppers
Water your bell peppers thoroughly once a week. Depending on your climate, you may need to wait a little longer between watering or water them slightly sooner. The soil should be fairly dry before you water them again, otherwise you run the risk of overwatering them. If you think your pepper is being underwatered, check the leaves. Limp leaves and dry soil mean it needs to be watered.
Peppers are susceptible to a few fungal infections and small pests. Fungal infections can be avoided by taking care when you water your peppers. Avoid getting the leaves or fruit wet, since most fungal spores are spread via water droplets. Small insects like aphids and mites enjoy pepper leaves. They can be removed by hand or controlled through a pesticide like neem oil.
If your bell pepper plant is tall, it may need support. You can use professional garden stakes or tomato cages. However, it is also easy to build your own supports. Cages can be made from wire, and stakes can be a simple piece of wood and some garden ties.
How and when to harvest bell peppers
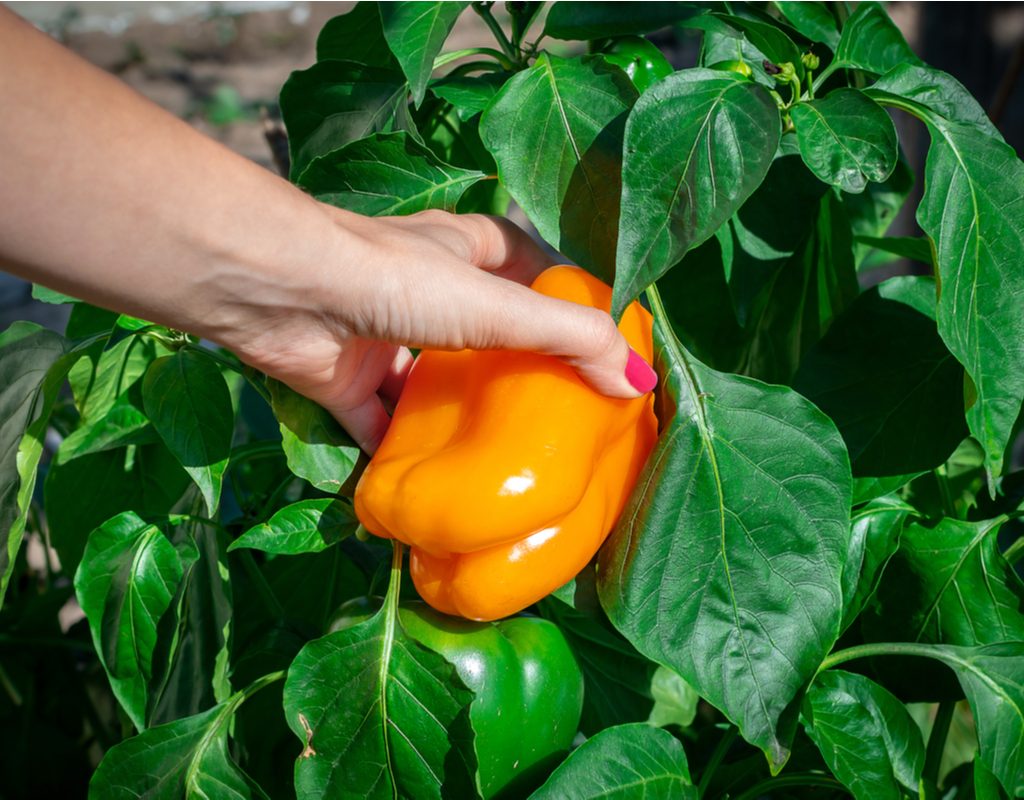
Although variety does impact your harvest time, most bell peppers are ready for harvest within 60 to 90 days of planting if you start with a transplant, or 90 to 120 days if you start from seed. Your bell pepper plant will give you plenty of warning, as you’ll see the flowers bloom, then the peppers themselves begin to form. Harvest ripe peppers by gently snapping or cutting the pepper off of the plant, leaving some stem attached to the pepper.
Bell pepper plants benefit from a continuous harvest. This means that if you harvest them a few at a time, as they ripen, the plant will produce more peppers. Harvesting them as they ripen also decreases the chances that they’ll be damaged by pests or fungi. Bell pepper plants can even produce for multiple years in a row, but they need to be protected from the cold.
No matter how you love to eat them or which color you prefer, bell peppers are an excellent addition to your garden. They’re versatile and easy to grow, especially if you live in a mild or warm region! Just remember to give them plenty of time to grow. Whether you’re growing red, orange, yellow, or even purple, we hope you enjoy your sweet pepper harvest.


