
Drying fresh fruit is an excellent way to preserve your harvest from your backyard garden and make delicious snacks. Unlike frozen fruit, jams, and preserves, dried fruit is a convenient take-along snack that stays in prime condition for months. And it’s easy to make — simply clean and slice the fresh fruit and pop it into a countertop dehydrator for a few hours. Making high-quality dried fruit with a long shelf life requires proper preparation and favorable storage conditions. Here's everything you need to know about how to store dried fruit.
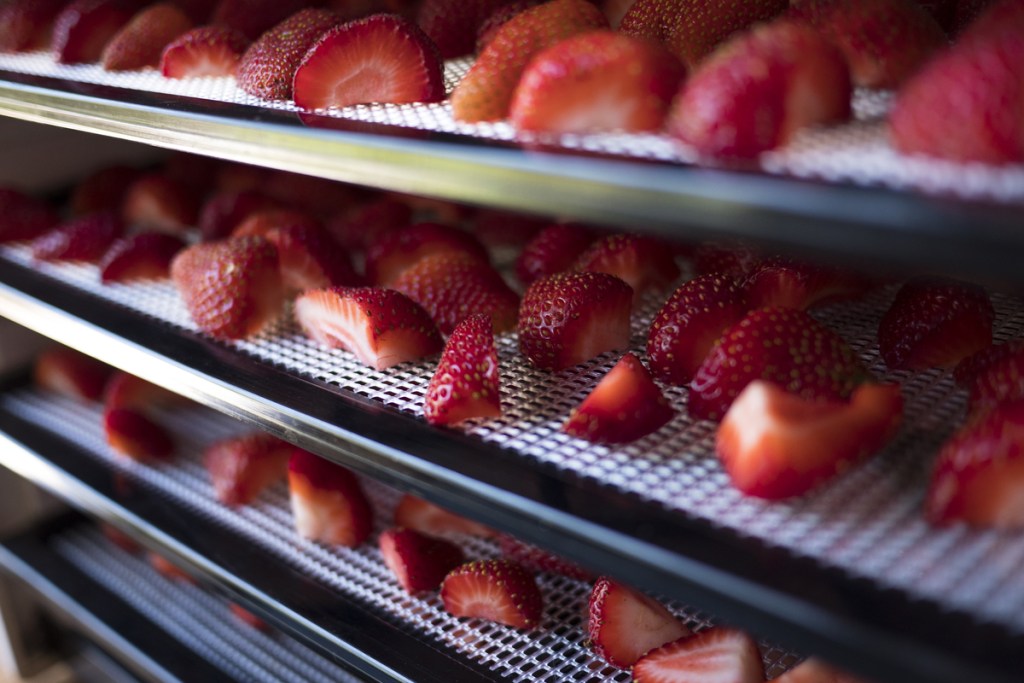
How to prepare dry fruit for storage
Let's first start with how to prepare dried fruit with a dehydrator.
Step 1: Start with fruit at the peak of its ripeness for the best flavor.
Step 2: Wash the fruit in cool water and dry it.
Step 3: Remove any blemishes.
Step 4: Slice the fruit into approximately equal-size pieces.
Slice large fruits like apples, pears, and peaches into quarter-inch or half-inch thick slices. Smaller fruits like figs and strawberries can be quartered or left whole.
Step 5: Peel any fruit that you wouldn't eat with the peel on. Fruit with edible peels can be left intact.
Step 6: Puncture small, thick-skinned fruit, such as blueberries, with a skewer to give moisture an escape route.
Step 7: Lay out the pieces in single layers on dehydrator trays.
Step 8: Follow the food dehydrator manufacturer’s instructions on drying time and temperature.
In general, using lower heat for a longer time produces a more consistent finished product.
How dry is dry enough?
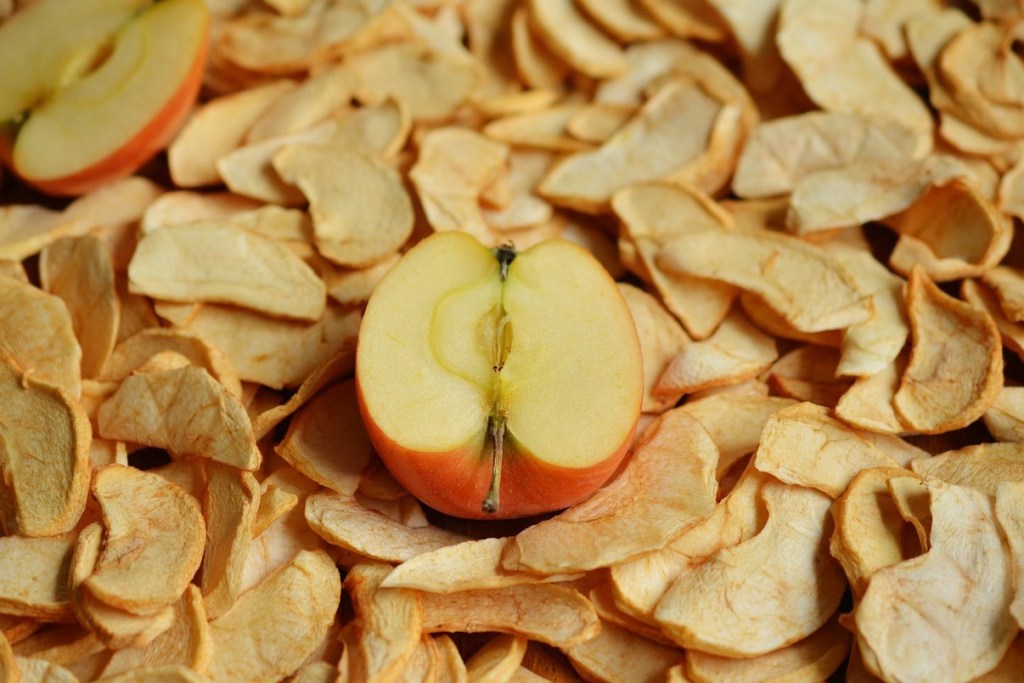
As the fruit shrinks and wrinkles develop, check it periodically for readiness. It’s finished when the texture is leathery and no longer sticky. If you cut into the fruit pieces, they should not appear juicy. Mostly, fruit doesn’t become crispy or brittle when it’s finished, as it still retains about 20 percent moisture. When it’s ready, turn off the machine and allow the fruit to cool completely before storing.
How to store dried fruit
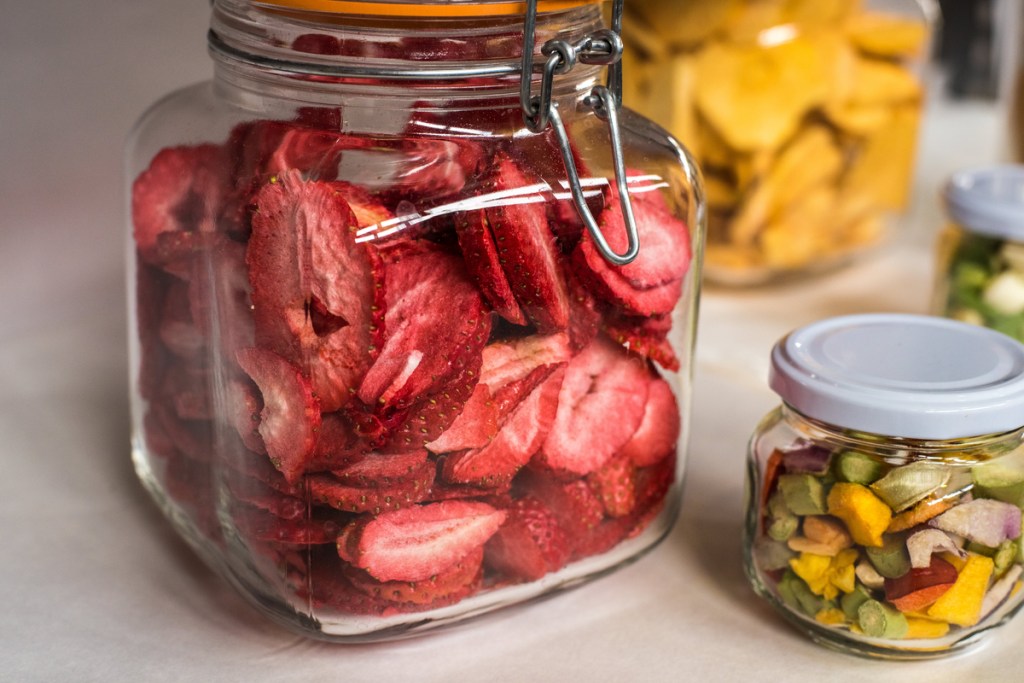
When it first comes out of the dehydrator, the dried fruit will include some pieces that are drier and others that are still slightly moist. Eliminate this inconsistency by conditioning the fruit for a couple of weeks before placing it in long-term storage. Here's how:
Step 1: Pack your fruit pieces loosely into canning jars or zipper seal bags, and place the containers in a cool, dry area.
Step 2: Give the containers a gentle shake daily to keep the pieces from sticking together.
During this time, the dry pieces absorb excess moisture from the moist pieces.
Step 3: After ten days, inspect for signs of moisture condensation.
If any cloudiness appears on the walls of the container, cycle the fruit through the dehydrator once again. If not, proceed to long-term storage.
Long-term storage for dried fruit
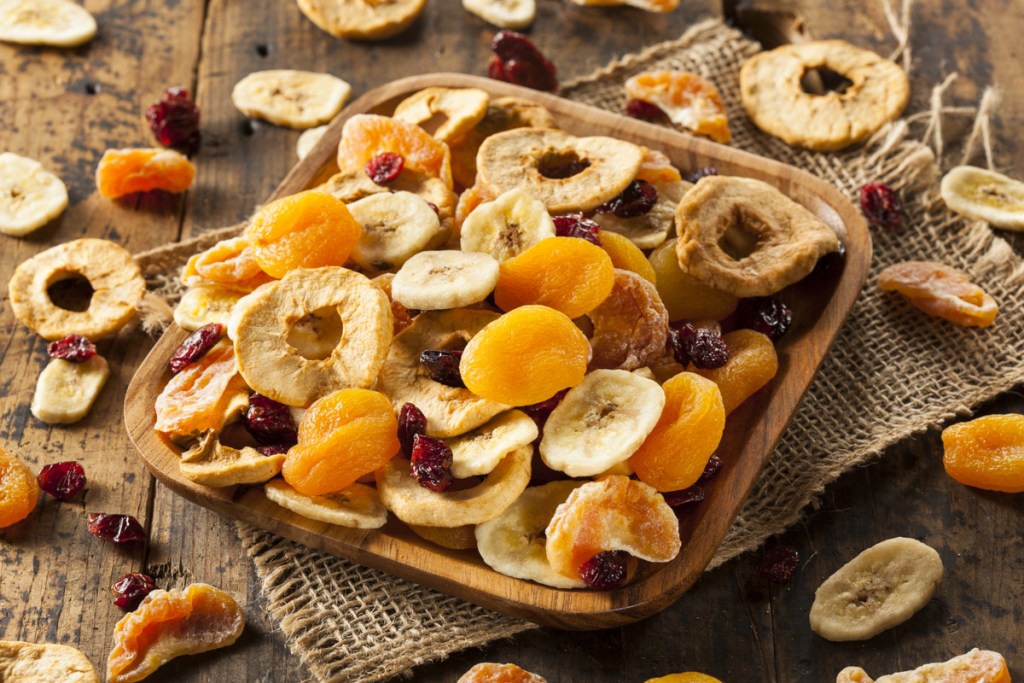
Here are the steps to take to store your dried fruit for a long time:
Step 1: Use proper storage containers.
Ideal containers for storing dried fruit are airtight to prevent spoilage from unclear moisture. Ideal containers are also clear, so the produce is easy to monitor. Freezer bags, canning jars, and vacuum seal bags are all excellent choices. Smaller, single serving sizes are best, as they limit exposure of unused portions.
Step 2: Pack the fruit snugly in the containers without breaking it up.
Step 3: Label each container with the contents and the date and move it to the storage location.
Step 4: Keep the fruit in a cool, dark, and dry location where it will be safe from pests.
At 60 degrees Fahrenheit, the fruit will remain shelf stable for up to a year. At 80 degrees, it lasts half that time. Excessive light exposure will cause the fruit to fade and could affect the integrity of plastic containers. If plastic bags are used, place the bags in sturdy metal tins or other durable containers to eliminate light and protect them from pests.
Step 5: Store dry fruit in the freezer if you want it to keep for an extended period of time.
Step 6: Monitor for spoilage.
Plan on using up your dried fruit within a year. Regularly check the stored supply to ensure that it’s still viable. Watch for moisture condensation, color loss, or mold formation inside the sealed bags.
Step 7: Place the most recently dried fruit in the back, with the older product toward the front, so it’ll be used first.
Step 8: Pull any bags that show signs of moisture and use those first (as long as they haven’t spoiled).
If mold is present, or if there is an “off” smell, throw away the fruit. Other symptoms of spoilage include off color, lack of flavor, or hardness. If there’s any doubt, don’t consume it.
How to use your dried fruit
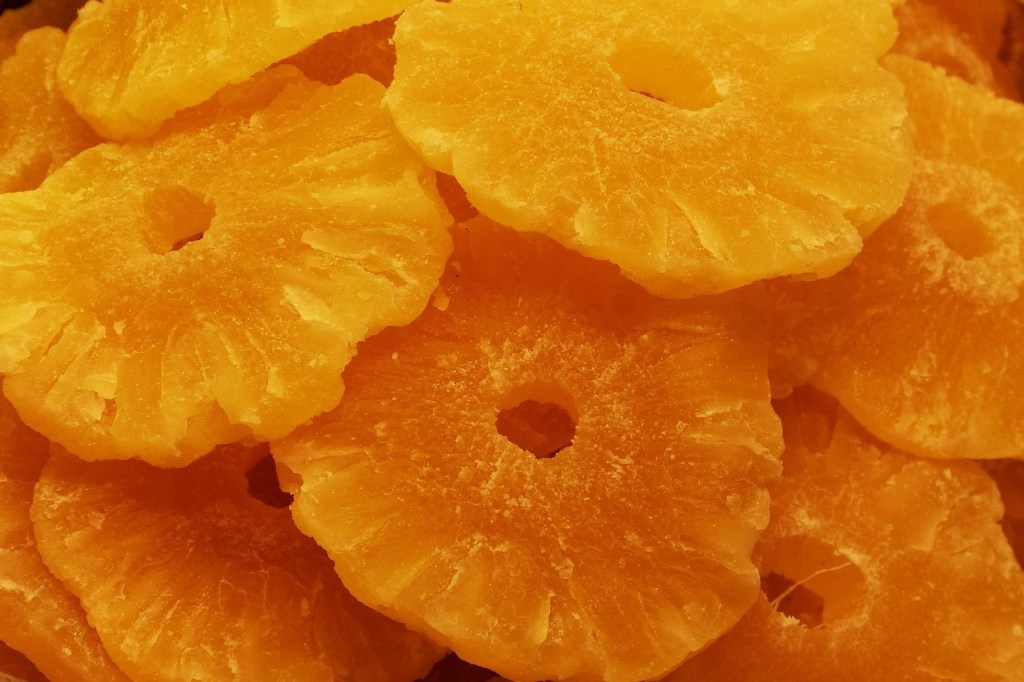
After you've gone through trouble to dry and store your fruit pieces, there are plenty of ways to enjoy them and use them up before they spoil. Obviously, you can eat your dried fruit all by itself, or throw it into a trail mix with some nuts and granola.
To jazz up your breakfast with a touch of sweetness, you can also toss them into plain oatmeal and cereal. Of course, dried fruit also tastes great when incorporated into baked goods such as cookies, breads, and blondies. You can even get creative and incorporate them into savory recipes for salads, wraps, and soups.
When you grow your own fruits and veggies, you want to enjoy them to the fullest. Drying is one of the oldest ways to preserve fruits for year-round use. By preparing them properly and storing them in the best possible conditions, you’ll be able to savor the flavor any time.


