Good pruning is a critical step when growing apple trees. It contributes to the long term health of the tree and boosts the quality of the fruit. Pruning also simplifies other tree care tasks such as mowing, spraying, and harvesting the fruit. But to gain all of these wonderful benefits, you’ll need to know how and when to prune apple trees for specific desired effects.
When to prune apple trees
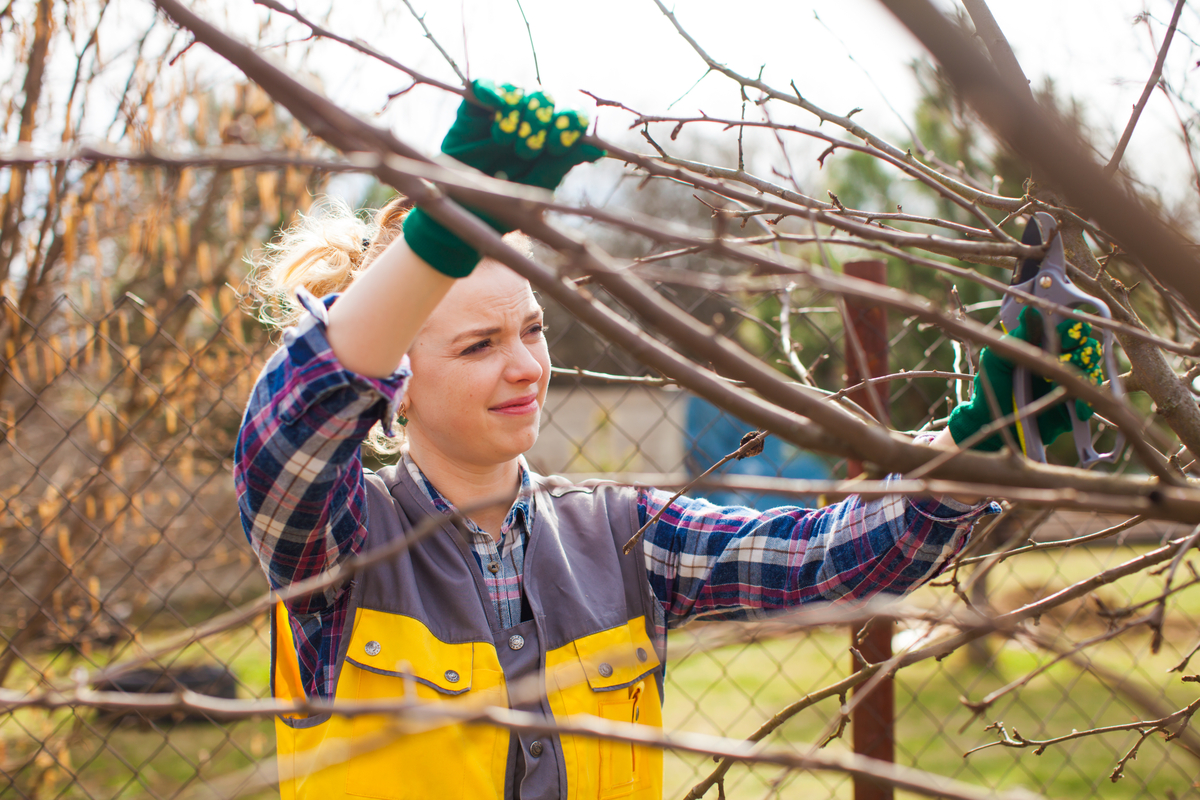
The most important apple pruning season is late winter. Prune apple trees every year during winter dormancy to establish and maintain a strong branch structure and vigorous growth. Light summer pruning can also prove beneficial, to encourage flowering and fruiting the following growing season. Never prune in autumn, as doing so stimulates new growth which won’t be able to properly mature before to winter, making the tree susceptible to damage.

How to prune apple trees
The primary goals are to prune for a strong branch structure and to stimulate robust, healthy growth. Apple trees naturally grow dense, bushy branches with lots of weak, unproductive twigs. Structurally, wide branch angles are stronger than narrow, and evenly spaced branches are stronger than intermittent ones. Pruning removes weak and congested growth, encourages favorable branching patterns, and condenses more energy on the remaining buds. The pruned tree produces more vigorous growth, and higher yields of larger fruit.
Prune back to a bud
Before making a pruning cut, look for a bud. All branches have buds that face outward in all directions. Your goal is to encourage horizontal growth radiating outward from the central leader. The most favorably oriented buds are often located on the undersides of branches.
Make all pruning cuts about a quarter-inch above an outward facing bud. The cut needs to be close enough to the bud to avoid leaving a hard-to-heal branch stub, but just far enough away to ensure the bud won’t die.
Watch those branch angles
When branches form narrow, v-shaped crotches, they tend to split in older age. It usually happens to apple trees when they are loaded with fruit. Prune away any of these weakly connected branches. Leave only the strongest branches that connect at wider “10 o’clock” and “2 o’clock” angles.
Build a strong branch structure
New trees should be pruned for a strong, supportive branch structure that will hold up against weather and the weight of a heavy fruit crop. Create a pyramidal form with a single vertical leader and evenly spaced lateral branches. Prune the leader to a bud 24 to 30 inches above the uppermost set of lateral branches.
Select lateral branches spaced 4 to 6 inches apart along the trunk/leader, and prune the rest. Laterals should be growing in a mostly horizontal direction, shooting out from the trunk equally in all directions. Tip prune long or unbranched laterals back to the next good bud to promote branching and stem rigidity.
Thin the canopy
Annual thinning is necessary to keep the tree canopy from becoming crowded. Begin by cutting away weak, damaged, diseased, or sharply angled branches. Also cut away any branches that interfere with others. Wherever branches are crossing or forked, remove the weaker one. Remove any branches that shoot straight upward, and any that sweep backward toward the center of the tree.
Pruning out of season
Some pruning needs arise that shouldn’t be left until winter. There’s no benefit to leaving damaged or diseased limbs on the tree. In fact, they could cause worse problems to arise. Remove these branches right away. Broken branches should be cut off cleanly, rather than leaving a jagged stub.
Suckers are shoots that emerge in summer from the roots or lower stem, below the swollen area where the tree scion was grafted to its rootstock. Remove suckers whenever you see them. Water sprouts are vigorous branches that suddenly grow very quickly, usually straight upward. These should also be removed as soon as they’re detected.
Remove excessive fruit
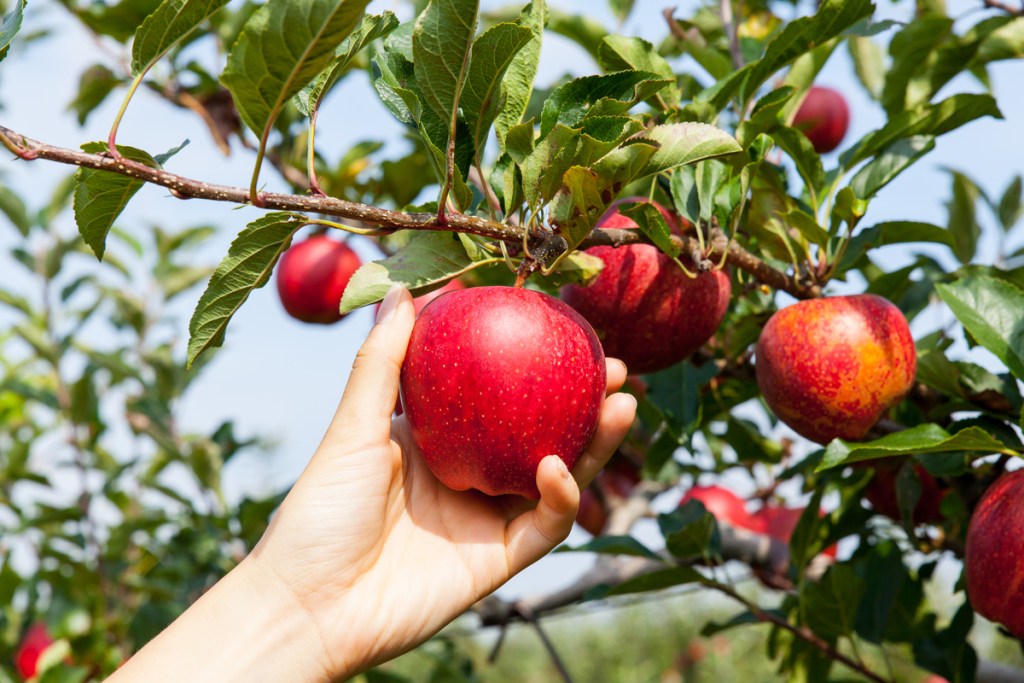
Thinning a heavy yield is one of the hardest things to do, but is necessary for a few reasons. The weight of a bumper crop can break the tree. This year’s record yield often leads to next year’s dearth. Fruit size and quality increase when fewer fruit are present to dilute the resources.
Many apple trees naturally drop some of their underripe fruit in early to mid summer so they can ripen the remaining crop. When this process occurs naturally, the tree spends precious resources on growing the fruit in vain. This often leads to inconsistent yields from year to year. In some cases, the trees only bear fruit one out of every three years. Don’t let that happen.
About a month after the flowers drop in spring, spend some time hand thinning excessive fruits. Remove all except one apple every 6 to 8 inches. The center apple of a cluster will develop into the largest fruit.
Some gardeners are wary of removing healthy tree branches, or are afraid they’ll harm the tree. Don’t worry. It’s really the best thing for the life of the tree. Keep in mind the purposes of pruning, and with practice you’ll become more confident. And your apple trees will bear abundantly.


