
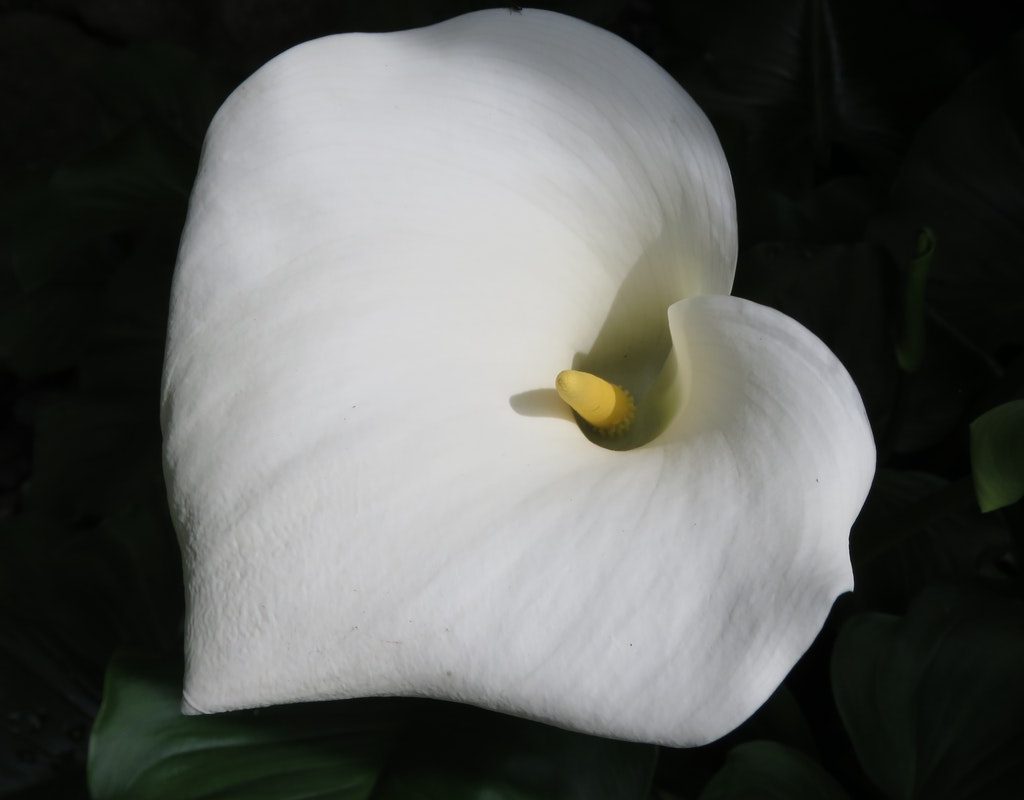
If this is your first time trying to grow calla lilies, you may be unprepared when it comes time to learn how to plant calla lily seeds. Because ones bought from nurseries or garden centers are close to (if not already) blooming, it’s easy to think that calla lilies work similar to other flowers; you plant the seeds or bulbs outdoors and wait for things to happen. You’ll see that’s not the case with this flower, and knowing how to transplant calla lilies will become essential to the process of growth and cultivation.
Planting your calla lily seeds
The most key aspect of planting calla lily seeds is starting them prior to planting. Spread your calla lily seeds on a damp paper towel, cover them lightly, and store them in a cool place out of direct sunlight for as long as it takes for them to sprout. By doing this, you’ll have a good idea of which seeds will be viable and which ones you can get rid of.
As your seeds start to sprout, you can separate the ones to be planted and discard the ones that don’t show any signs of life. If you’re going to start them in containers and transplant them later on, you should choose containers with good drainage, fill them with soil, and plant two seeds per pot. The soil should be kept moist until the seedlings sprout, and then you can separate them to give them more room to grow. You can always transplant your calla lilies outdoors later on.
If you’re thinking of planting the viable seeds directly outdoors, there are a couple things to ask yourself. Do you live in an area where the “colder season” is still warm enough for plants? Are you prepared to overwinter them, or will you treat them like annual flowers? Because there’s no guarantee your calla lily will bloom the first year, it may make more sense for you to purchase new calla lilies each season as opposed to growing them from seed if you only want annual flowers.
Caring for the seedlings
Once the viable seeds have been planted, you should water the soil right away — just enough to make it moist. You want the seeds to have some water to begin their growth, but you don’t want to drown them. Following that initial watering (whether you’ve started the seeds outdoors or in a pot), you should hold off on watering again until the surface of the soil is dry. This watering schedule will look different for garden-grown calla lilies than it will for container-grown calla lilies.
When planting outside, make sure the seeds are sown in an area that gets roughly six to eight hours of direct sunlight every day. These are often spaces that receive partial shade later in the evening or early in the morning as opposed to one that’s fully exposed from sunrise to sunset. Be especially mindful of your soil if you live in an area that is more dry as opposed to more humid. Calla lily seedlings like a humid environment, so you may find yourself watering more frequently.
The best place to grow calla lilies outdoors
Calla lilies will thrive best when planted outdoors if you live in zones 8 through 10 (referring to the USDA plant hardiness zones). In these zones, the calla lily rhizomes (the underground stems) will be able to survive during the off season and sprout again when it’s time; however, any zone colder than that should have calla lilies grown as annual flowers. If you aren’t interested in buying new ones each year, it is possible to overwinter your calla lilies and rhizomes so that you won’t have to start from scratch the following season.
Overwintering and transplanting your calla lilies
If you live in zones 8 through 10 and can leave your calla lily rhizomes in the ground year-round, great! Just keep in mind that this will allow them to grow larger, so you may have to separate them into smaller rhizomes every so often. If you live in a colder region, you can dig up and bring your rhizomes inside to overwinter them before replanting them the next growing season.
To overwinter your calla lilies, you’ll want to dig up the rhizomes after the growing season (but before the first frost of fall) and prune the leaves so that about an inch of the stem is left. For the first three days, keep your rhizomes in a dry, warm spot in your home, then put some damp peat moss in a box with the rhizomes and store them for the rest of the winter. Calla lily rhizomes should be replanted four inches deep following the last frost of the spring.
If you’re transplanting your rhizomes from a container to the outdoors, you should follow similar guidelines. Plant rhizomes four inches deep after the last frost in an area that receives direct sunlight six to eight hours a day, and water when the soil surface is dry.
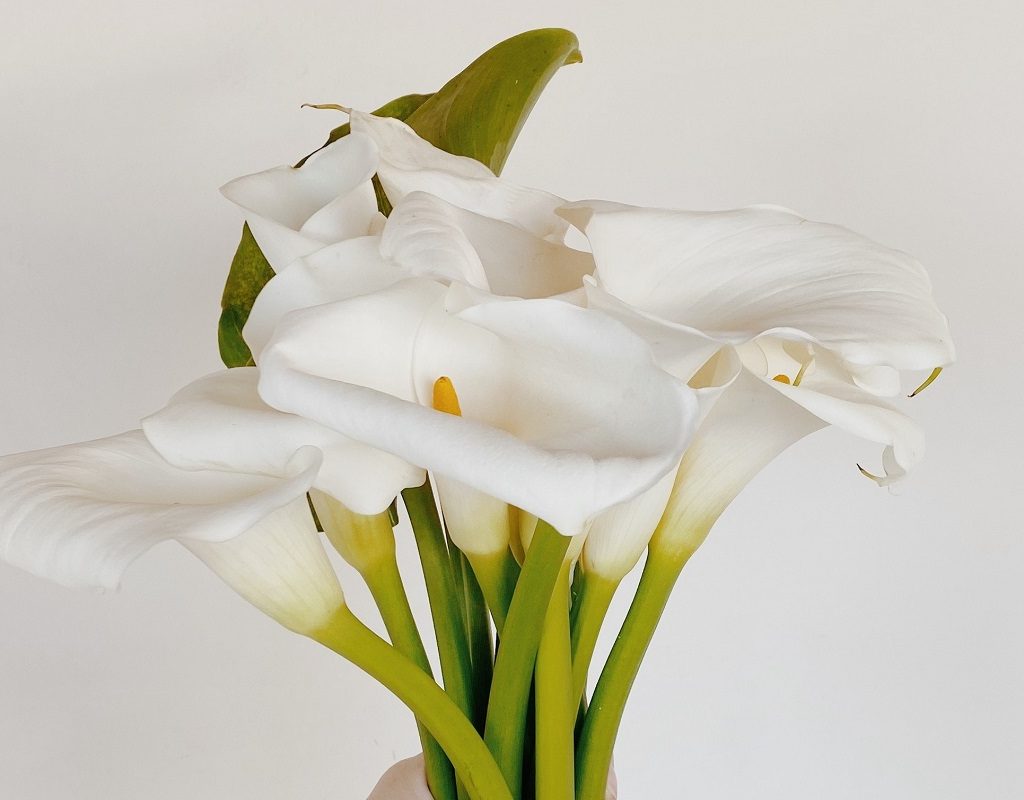
Calla lilies are beautiful flowers that can be grown both indoors and outdoors under the right circumstances. If you’re willing to invest the time in their growth, they can be very rewarding to start from seed and care for year after year.


