
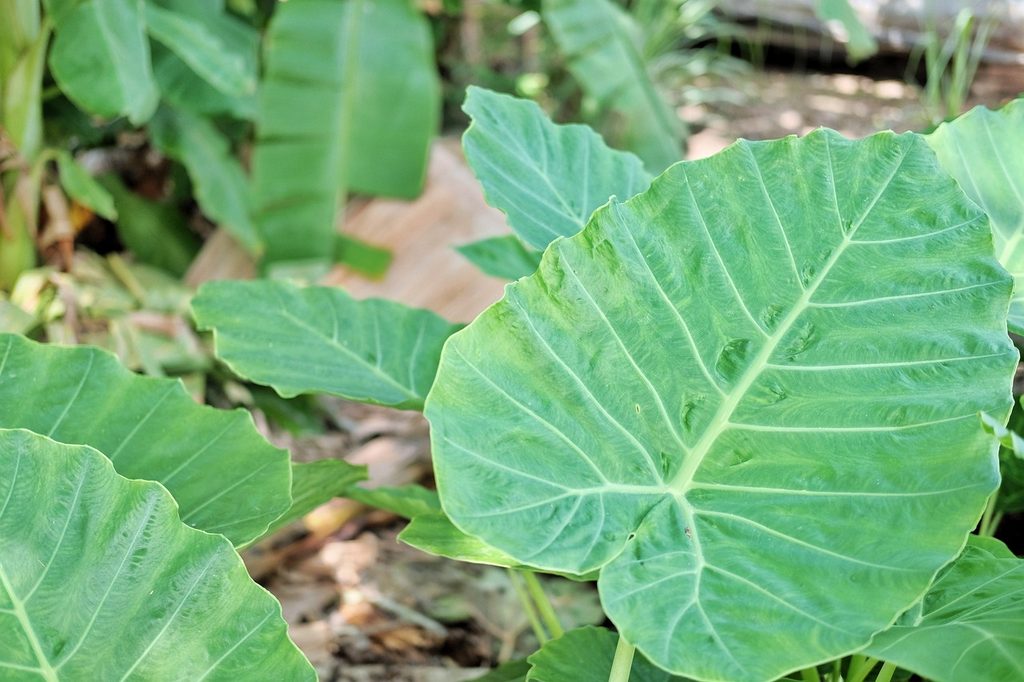
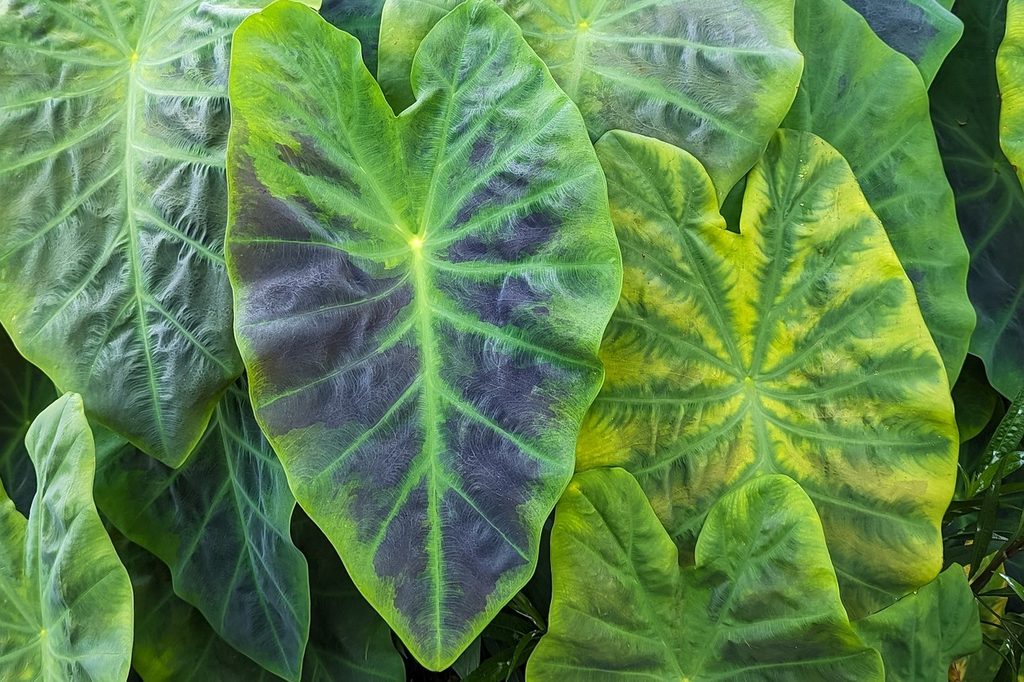
Foliage plants are often used as a backdrop or filler, but there are some species that truly deserve to be the star of the show. While most showy foliage plants are colorful, some rely on size and shape to make an impression. Elephant ears are one such plant. These large, gorgeous plants will capture you and your guests’ attention, whether you grow a small indoor variety or let one of the larger plants take up space in your yard. To help you get started growing these beautiful plants, here is our elephant ear plant care guide.
Planting elephant ear plants
Elephant ear plants grow best in rich, well-draining soil. Amending the soil with compost before you begin can help improve poor soil if you aren’t sure that the soil in your garden is rich enough. Choose a planting site in full or partial sun. Elephant ears need at least 6 hours of sunlight each day, so avoid planting them too close to larger plants or structures that could cast shadows over them. Additionally, choose a space that is at least a few feet away from other plants. Elephant ears can grow quite large, so it’s important not to crowd them.
You can find elephant ear seedlings or young plants in some nurseries, but it’s also easy to grow elephant ear plants from bulbs. Select a healthy bulb without any blemishes, holes, or squishy parts. Plant it with the point facing upward and deep enough that the entire bulb is covered. Typically, this is around 5 inches deep, but you should adjust accordingly if your bulb is bigger or smaller.
You can start your elephant ears indoors at any time, but wait until the weather begins to warm up to plant them outdoors. Elephant ear plants don’t do well in cold weather, especially when they are young.
Caring for your elephant ears
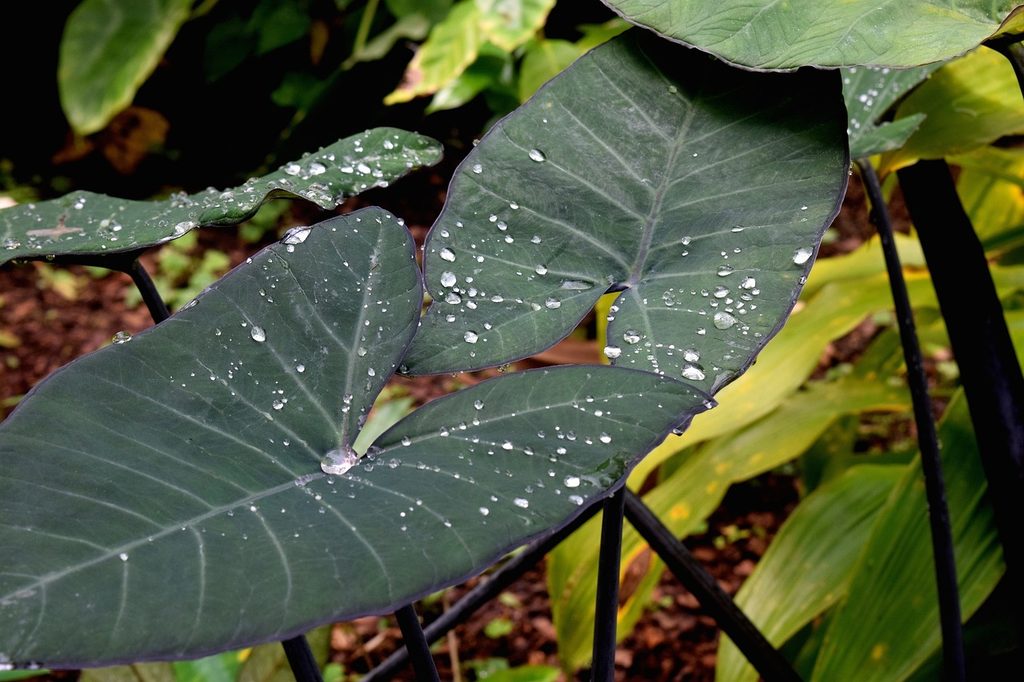
In order to thrive, elephant ear plants need sunshine, warmth, humidity, and regular waterings. Water your elephant ears whenever the soil is dry, especially in hot weather. Although elephant ears love warm weather, they still need extra water to account for how quickly it evaporates. Humidity is more difficult to control outdoors, but misting your plants occasionally will go a long way toward keeping them fresh.
Indoor elephant ear plants should be in a sunny window or anywhere that has bright, indirect light. Keep them away from drafts and air vents, especially during cold weather. The dry air from vents and the cold air from drafts can weaken elephant ear plants. You don’t need to prune your elephant ear, but you can remove dead, damaged, or diseased leaves. Be sure to use a sharp, clean pair of scissors or garden shears, and wash the tool thoroughly afterward to prevent spreading bacteria from one plant to another.
Although elephant ear plants are best known for their leaves, they will bloom flowers under the right circumstances. These flowers resemble peace lilies, as they are actually related. The flowers don’t need to be deadheaded, but you can remove them if you prefer.
Common problems and solutions
The most common problems elephant ear plants face, as well as their solutions, boil down to proper care. Overwatering and cold damage are the causes of these problems, but they are luckily easy to avoid and correct. Overwatering can cause a variety of fungal infections, with one of the most common being leaf spots. This happens when a combination of overwatering and wet leaves causes fungi to grow on the leaf, weakening your plant. Careful watering will go a long way to preventing this. To correct this problem, remove infected leaves and let the soil dry before watering it again. If your elephant ear plant is potted, repotting it in fresh, dry soil will help as well.
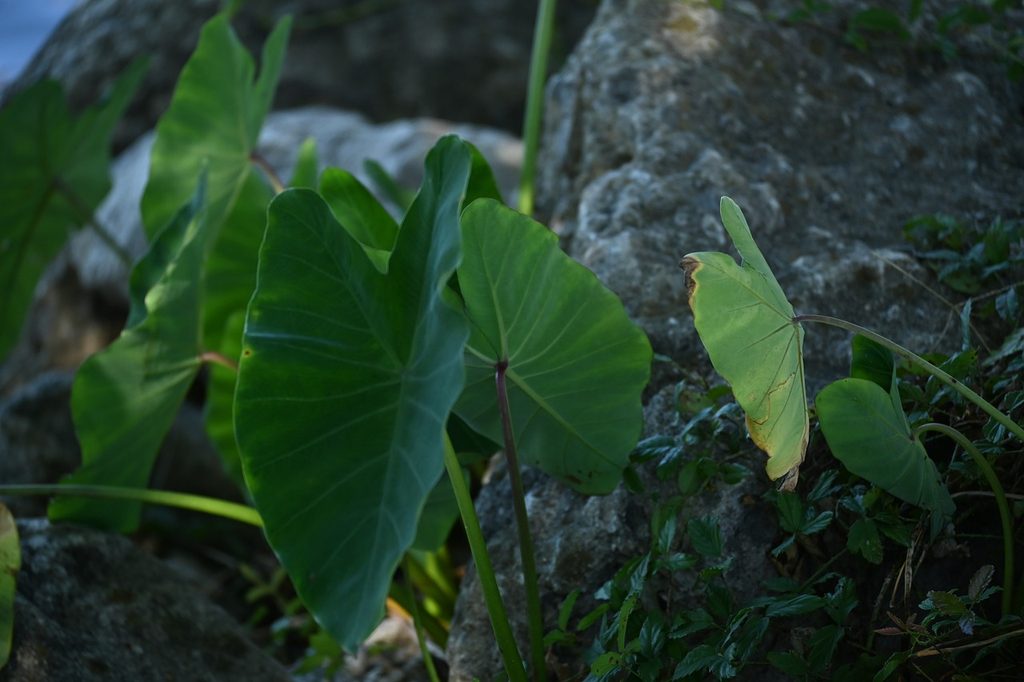
Cold weather causes elephant ears to wilt and their leaves to become discolored. If your elephant ear is outdoors, you can use mulch and a plant cover to shield it from the worst of the cold damage.
The final problem is not one with the plant’s health, but rather yours. Elephant ear plants have a skin irritant that can cause people to break out into rashes, especially if they come into contact with the sap. Handle your elephant ear with care, and when in doubt, wear gloves! Additionally, this skin-irritating quality extends to the mouth and throat of any people or animals that chew on it, making it toxic to people and pets. Keep your elephant ear well away from curious pets or children, and seek medical attention if you believe they have eaten any of your elephant ear plants. While mild cases of elephant ear poisoning are more common than severe ones, the symptoms are still deeply unpleasant.
Elephant ear plants can be a show-stopping addition to your home or garden. With the proper care, these large, leafy plants are sure to flourish, wowing you and your guests. While they’re easier to grow in warmer climates, the smaller varieties of elephant ear plants can grow indoors in any region. Just be sure to keep them warm, watered, and away from pets!


