Chances are being stuck inside over the last year has resulted in an ever-expanding houseplant collection and a desire to jump ship and move somewhere new and exciting. And who can blame you? After cooping up in one house for months on end, it’s time for a change. Unfortunately, moving plants isn’t always the easiest job (especially for newer indoor gardeners). Getting them there safely will be the number one priority.
How to prep your plants for a move
Prepping your plants for the move is equally as important as transporting them. Although it may seem as simple as “let’s plop them in the car and go,” there are actually some things you should do in the weeks leading up to the move to ensure they’re in their best possible state.
- Repot into shatter-proof containers. This is optional and more for your peace of mind. If you want, you can repot your plants into shatter-proof containers three to four weeks before the move. That way, if they tip over or tumble in the car (or, knock on wood this doesn’t happen, if they fall out of the car), you’ll only be cleaning up dirt and not broken pottery.
- Prune back any overgrowth or dying foliage. Two weeks before you move, you should trim any foliage that’s gotten a bit out of control or is damaged/dying. This will clean them up before the move and give them time to recover from the stress before being transported.
- Water normally until two days before. Plants can be watered as needed up until two days before the move. Moving plants with wet soil could cause them to freeze (if the move is during a colder time of the year) or create a perfect environment for fungus to grow.
These general guidelines will help you get your plants in their best, healthiest, safest state before packing them up and taking them to your new home. Plus, any repotting you do can help give you a good idea of whether or not they need larger pots once they’ve settled.
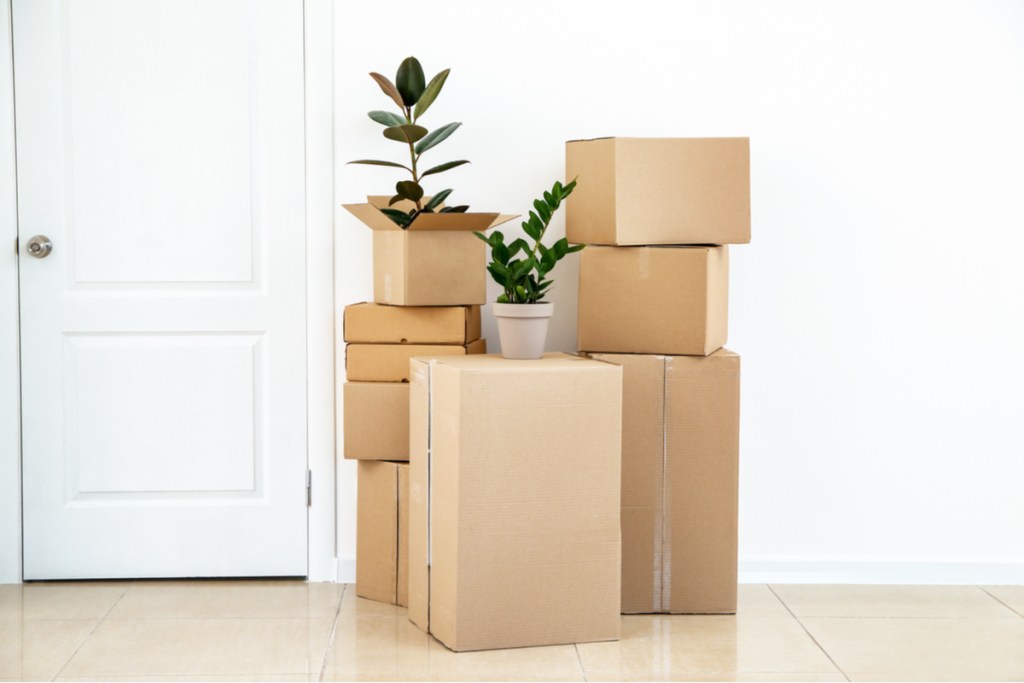
Packing up the plants
When packing up your plants, you’ll want to consider what your primary mode of transport is. Is your car small or large? Can they fit on the floor or in the backseat? Will you need to put the seats down so they can lay flat? How they’re being transported is key to figuring out how you need to pack them up.
Any space you choose to pack your plants in (a box, a car, etc.) should be able to fit them comfortably. You don’t want them so loose that they’re rolling around getting damaged, but you also don’t want to squeeze them in so tightly that you accidentally take a leaf or two off while trying to fit them all in. If you have to and it’s possible, take more than one trip! Any empty space between plants in boxes can be filled with packing material like newspaper or bubble wrap to prevent the plants from moving around too much in transport.
Handling small vs. large plants
When it comes to moving both small and large plants, you want to be as careful as possible. Unfortunately, they can’t often be packed the same way. Small plants can often be packed upright in a box with packing material stuffed between the pots. You can also choose to wrap each pot individually before placing it in the box, if you want a little extra security. The lid should be left open so they can still get some oxygen and light, and they should be packed last to keep them in the box for as little time as possible.
The box of plants should be fine in your lap or on the floor of the back seat. If you’re buckling in for a long trip or have some particularly fragile plants, you can keep them on the floor by your feet so they’re closer to the cold or warm air coming out of the vents. Plants in hanging baskets often can’t be safely packed into a box, so you can either keep those in your lap or hang them from one of the handles or garment-bag hooks in the car.
As for large plants, these most likely won’t fit in a box or stand upright in the back of the car. (If some do, great!) So in the event that one falls over, you’ll want to preemptively wrap the pot of the plant to keep the soil contained. This can be done with a plastic bag that’s taped shut at the base of the plant or with cardboard that’s placed on top of the soil and secured. You can wrap the leaves gently in something like a sheet or soft towel to keep them from catching on the inside of the car. For large plants that need to be laid down, be sure boxes or other items won’t slide and crush them. If possible, try to transport large plants on their own trip as opposed to cramming them in with a lot of other items.
If you don’t have a car large enough for all of your plants, you can always check in with family and friends to see if they can help! Packing your plants in the car will always be a bit safer than cramming them into a moving van.
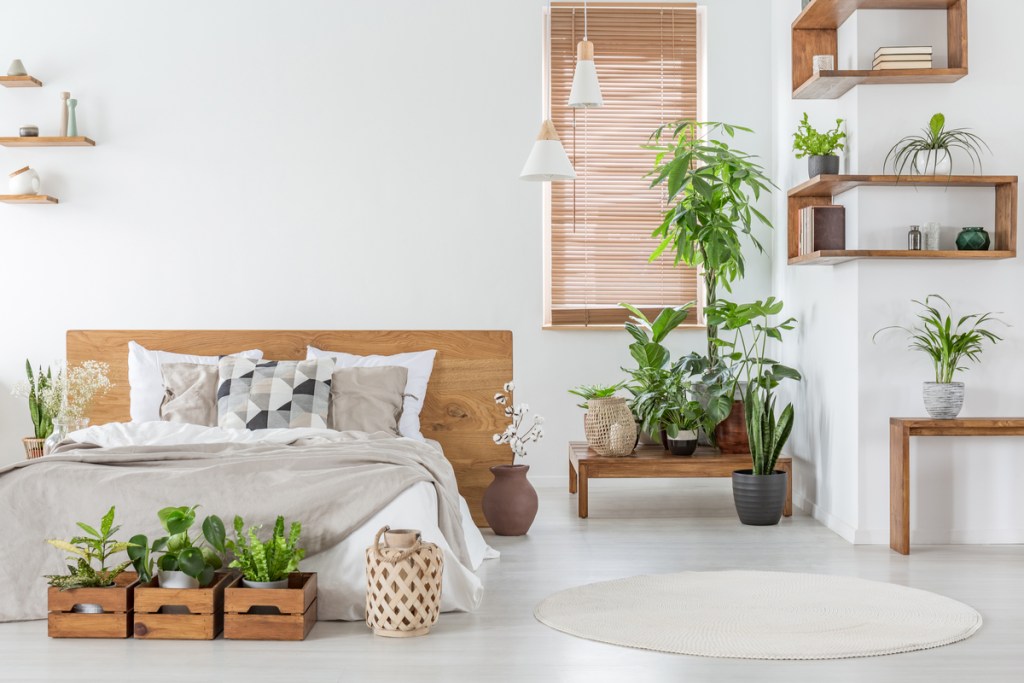
Getting them settled in
Once you get your plants to the new place and unpacked, it’s time to get them situated. Think about how the setup was in your previous home and if there was anything you wanted to change. Were some plants outgrowing their pots? Were some unhappy with the amount of lighting they were getting? Were there plants that could go on a smaller shelf and vice versa? Now’s your chance to reorganize and style them in a way that works for them and you!
Aside from just choosing how to arrange them, there are a few other things that need to be done once you arrive:
- Clean up any damage. If there were any leaves that got hurt or torn off during the move, you should trim them off to keep the plant healthy. Moving plants is stressful, and trimming off irreparable parts will allow your plants to direct their energy to the healthy growth as they acclimate.
- Give them a little water, if needed. Depending on how long the move was, your plants may need a little water. Check the soil to see if any are particularly dried out. If so, give them a bit of a drink. Otherwise, give them some time until the soil reaches the preferred dryness for more water (which can vary from plant to plant).
- Pick out a location similar to the one in the previous home. Most importantly, choose a location in the home that’s similar to the last. Think not only of where your plants will look good but where they’ll feel good. They still need the right amount of sunlight and temperature, and it may take a bit of rearranging to figure out the best spots.
Nothing is ever guaranteed when it comes to moving plants. You can do everything right and still have a few casualties. But by being as prepared as possible, the majority of your plants will likely make it through the move and to the next home with you.