Tomatoes are one of the most popular vegetables to grow, and cherry tomatoes are perfect for salads and snacks! Learn how to grow cherry tomatoes with these tips so that you may enjoy fresh and healthy ones
Here’s how to start
Although this step isn’t necessary (you can go to your local garden center and pick up a tomato seedling), it can be a gratifying and exciting part of the process. There has also been some debate on the health of nursery plants versus home seed starting. Either way, let’s start here.
Check your local frost date, count back six to eight weeks, and there you have the date to plant your tomato seeds. At six to eight weeks of growth, your little tomato seedlings will be ready for the real world. You can either start them in a greenhouse or a corner of your house. Just be sure the temperature in your home doesn’t fluctuate too much and stays within 60 to 80°F. You’ll also need at least four hours of direct sunlight. Alternatively, you can invest in an inexpensive grow light.
Now for sowing. In pots 3 to 4 inches tall, fill with seed-start soil until about 1/2 inch from the top. Place two seeds in the center, spread more soil on top, and gently press down with your fingers. Sowing two seeds will give you a better chance of at least one sprouting. If both sprout, pinch off the smaller of the two. It’s essential to gently press the topsoil down for good soil contact. Gently water and keep the seeds warm and moist while they germinate.
Once your little tomato seedlings have sprouted, keep them moist, but avoid overwatering. Keep this up for the next six to eight weeks and there is no more risk of frost.

Get ready to transplant
Before you transplant your little tomato babies, you must acclimate them to being outside. This process should take you about a week. First, set your seedlings outside for 15 to 20 minutes. Then slowly increase that time over the week, and by the end, they will be ready to plant. Skipping this step could cause your seedlings to be sunburnt and die.
With a prepped and ready-to-grow garden bed, it’s time to plant. Pop a seedling out and prune off the bottom 1/3 of the leaves of the plant. Then plant deeply, including the stem. This allows your plant to shoot off more roots and have a more sturdy foundation for those windy days. Gently taper the dirt around the stem and press the soil down — not too hard, but enough to give the seedling support while it settles into its new home.
Water the seedlings and cover the soil’s top with a heavy mulch to keep the soil wet and discourage weeds.
Growing out the plants
Now your little plant babies are out in the world all on their own. Well, maybe not all alone, since you probably stand and watch them, but they are doing their thing! Now it’s time to step back and help only when needed.
Tomatoes like to be watered deeply. Don’t just spray the top of the soil and move on. Allow the soil to get full before moving onto other plants. In addition to watering every three to four days (depending on the weather), keep an eye out for weeds. Pull them up from the roots when they pop up and try to stay on top of them. Too many weeds around your plants can stunt their growth.
It takes about 40 to 50 days after your tomatoes are planted to see actual tomatoes, and when you do, start fertilizing every two weeks. This will support your plants with all the nutrients they need to pump out those gorgeous tomatoes.
Pruning your tomatoes
When your tomato plants reach 1 to 2 feet tall, it’s time to prune. First, keep the bottom third of your plant pruned of leaves. This will reduce the risk of disease and pests. You won’t get too much fruit production down there anyway.
Then be sure to pluck your suckers! When the plant grows a stem between the main stem and a branch, pluck that sucker out of there! It won’t produce fruit and will only drain the plant of vital resources.
You can also “top” your plants. When your tomato plant is loaded with fruit, you can cut the growing point off. It won’t grow any taller, but the plant will then focus on its fruit. Not everyone swears by this, but you can give it a try yourself!
Harvesting the tomatoes
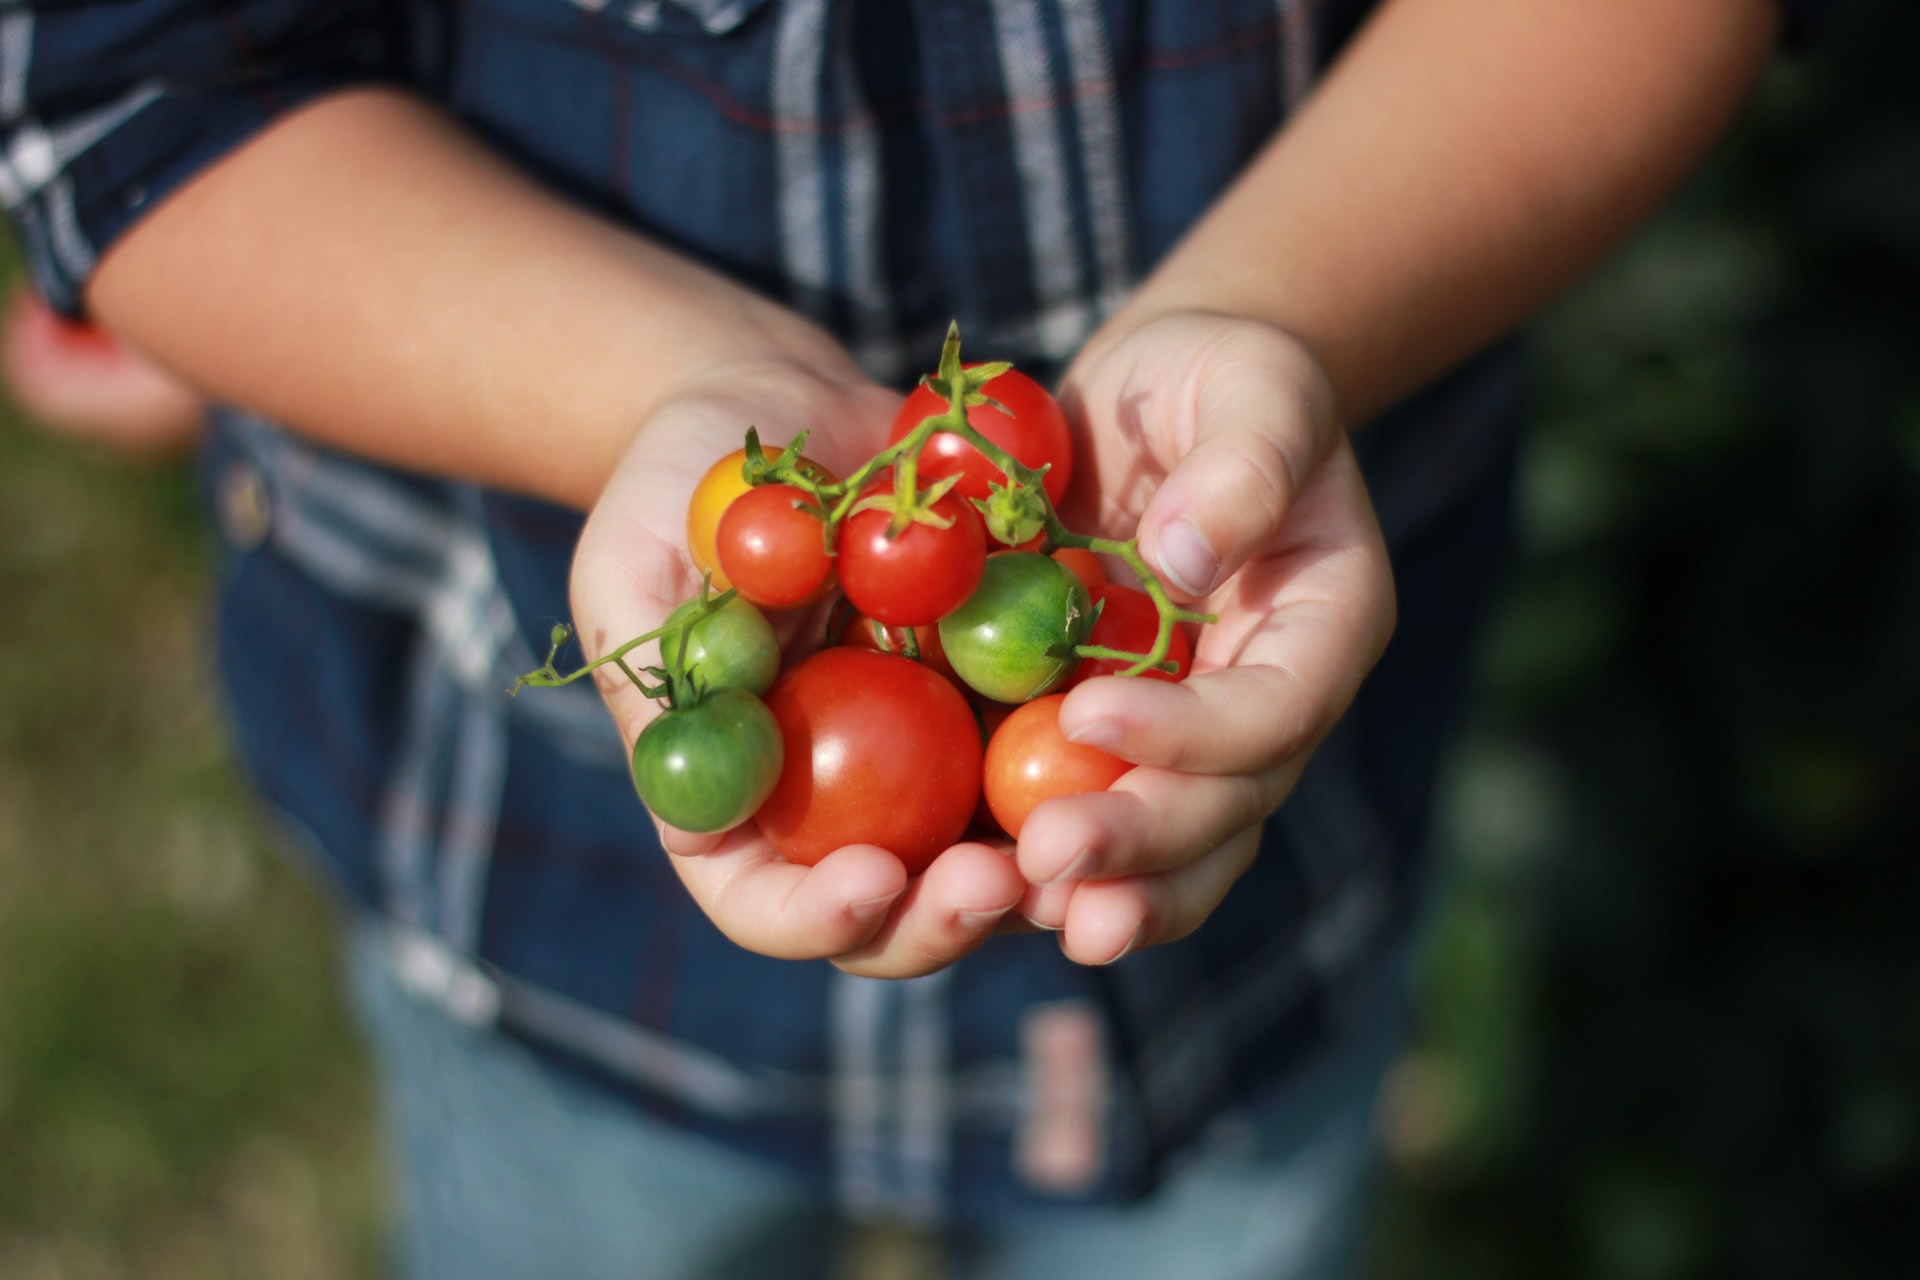
Now it’s time to reap the fruits of your labors — literally! You’ve raised these plants from seeds to seedlings to teenagers, to fully-fledged tomato fruit-producing plants. Well done! Now how do you know when to pluck that beautiful tomato?
Unlike some fruit, you do not want your tomato to ripen fully on the vine. Just when your tomatoes are about to lose all the green and go entirely “pink,” should you harvest. This will lower the risk of your tomatoes becoming insect food, squirrel snacks, or sunburnt. It will also encourage your plant to keep producing! That means more tomatoes!
Store the “pink” tomatoes in a cool, dry place until they are perfectly ripe. Avoid sunny windows or cold refrigerators. These places will now allow your tomatoes to ripen perfectly and might even ruin them.
It can feel like a lot to take in, but don’t be discouraged! Dive in and give it a try. Even if you only get two tomatoes the first year, you will have learned so much from the experience that you’ll get baskets and baskets more the next year.