
The best types of outdoor lighting for any space

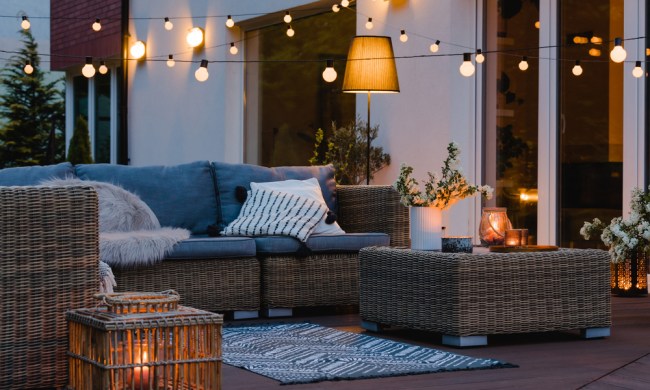
Your outdoor lighting is the first element your guests see when they visit and the last as they leave. This space allows you the opportunity to create an unusual and elegant atmosphere. This can be achieved with everything from simple external accessories to highly decorative lighting that adds drama to your landscaping.

What types of outdoor lighting are best?

Backyard lit by outdoor lighting
Virrage Images / Shutterstock

Let’s take a look at some of the various types of lighting available:

  •  Solar lights. These lights use the sun as a source of energy instead of electricity. For this reason, solar-powered lights can be placed anywhere in your garden, making them both convenient and versatile.
  • Spotlights and floodlights. These are also trendy and emit a powerful light beam. Since they are ground level, they work very well to highlight the natural properties of trees and shrubs.
  • Motion-sensor light. if you are looking for safety, this is the right choice for you. These lights can be set for different sensitivity levels. They surprise strangers who wander onto your property or shine light when an animal passes by.
  • Submersible lights. For those who like to dive into the water after dark, this diving light adds soft brightness to the water. Not only can diving lights be used in swimming pools, but they can also be placed in ponds, fountains, and hot tubs.

What are the best landscape lights?

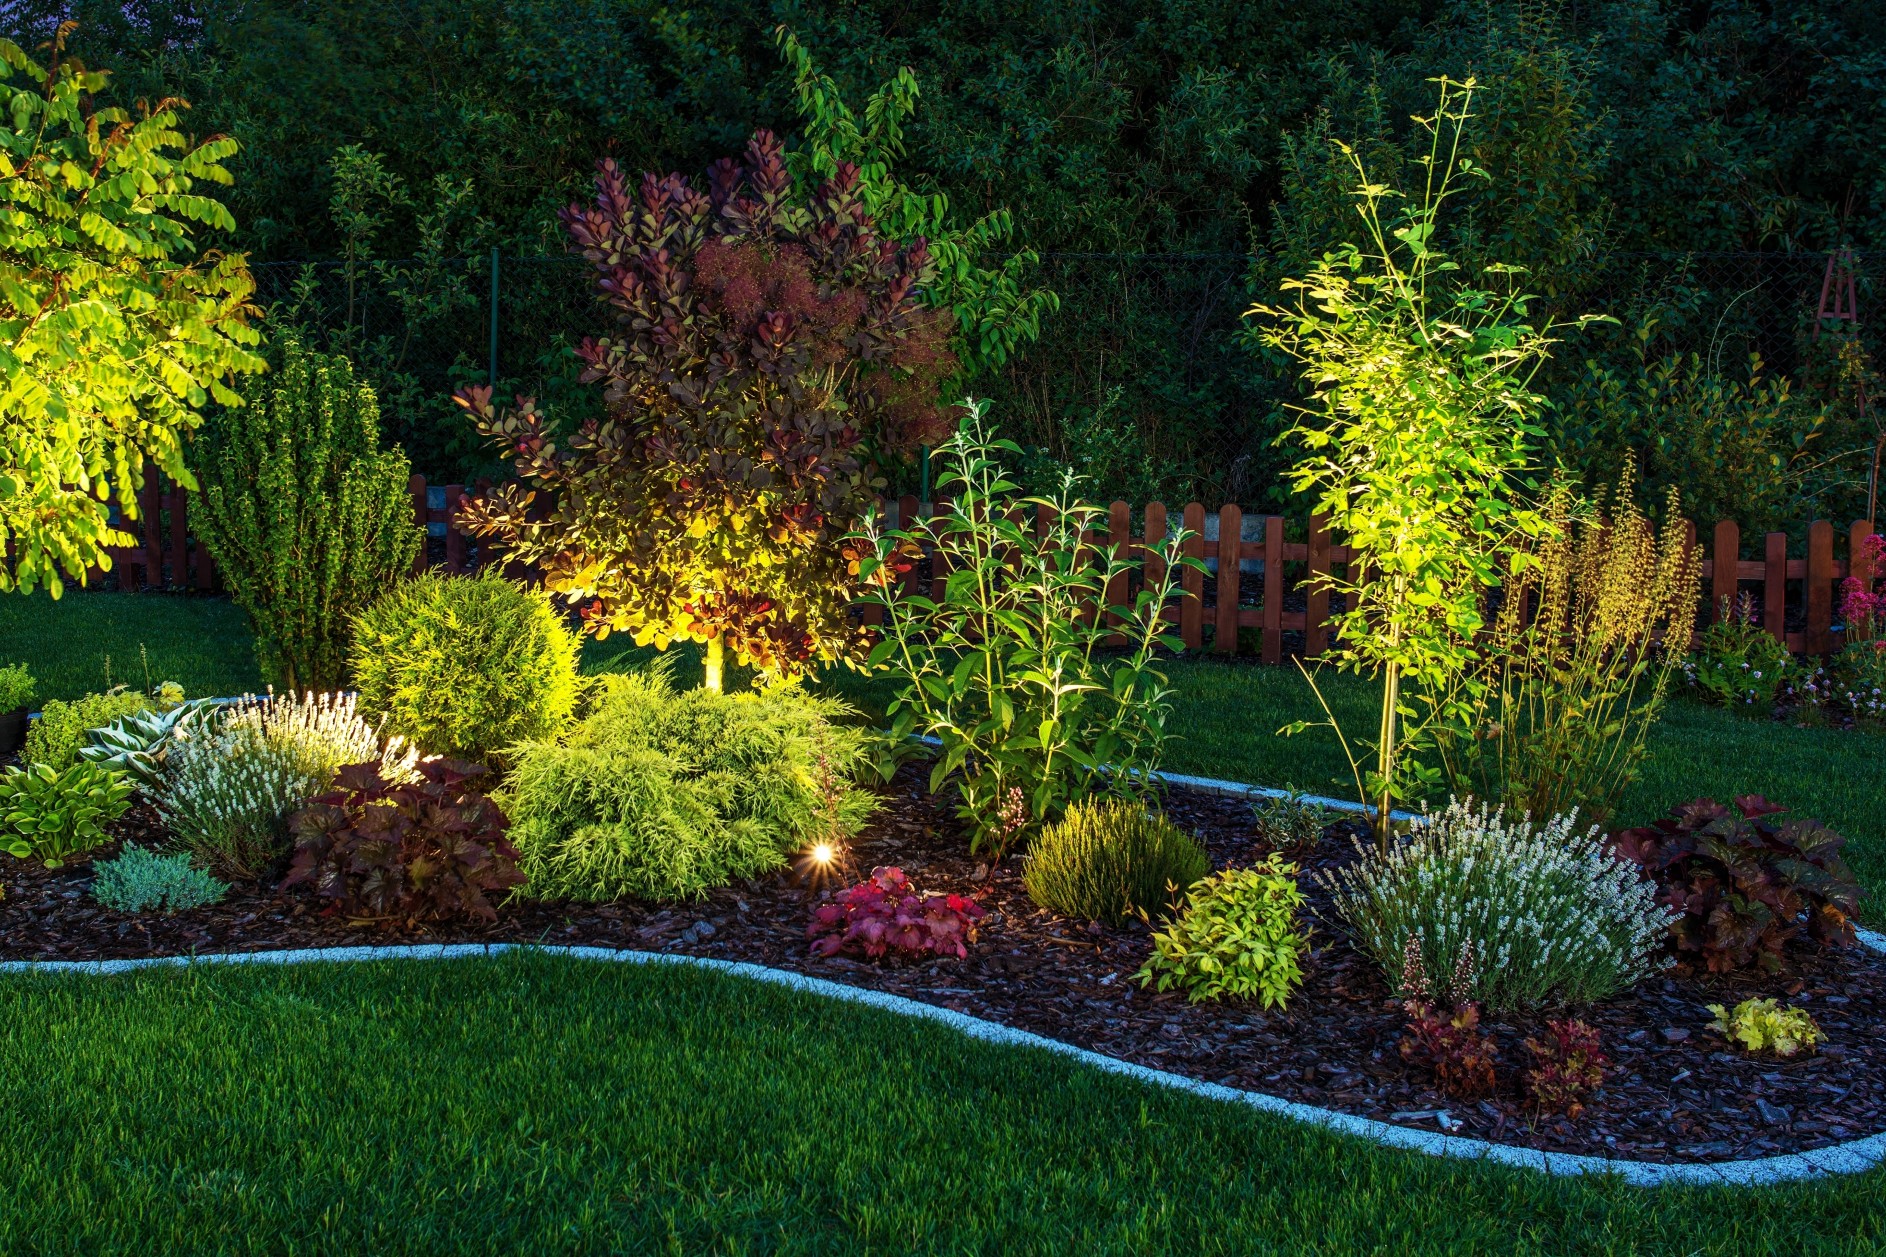
If you’re looking to highlight your landscaping beds, you have several options to consider:

  •  Moonlighting. These light sources are located high in trees to achieve the desired effect, which mimics the soft glow of moonlight. Not only do these types of light improve visibility on your property, but they also add a beautiful and romantic feel to your landscaping.
  • Uplighting. This type of lighting is used to highlight specific elements in your yard, such as a special tree, a garden feature, or some type of architecture. It also can be used effectively when combined with downlighting.
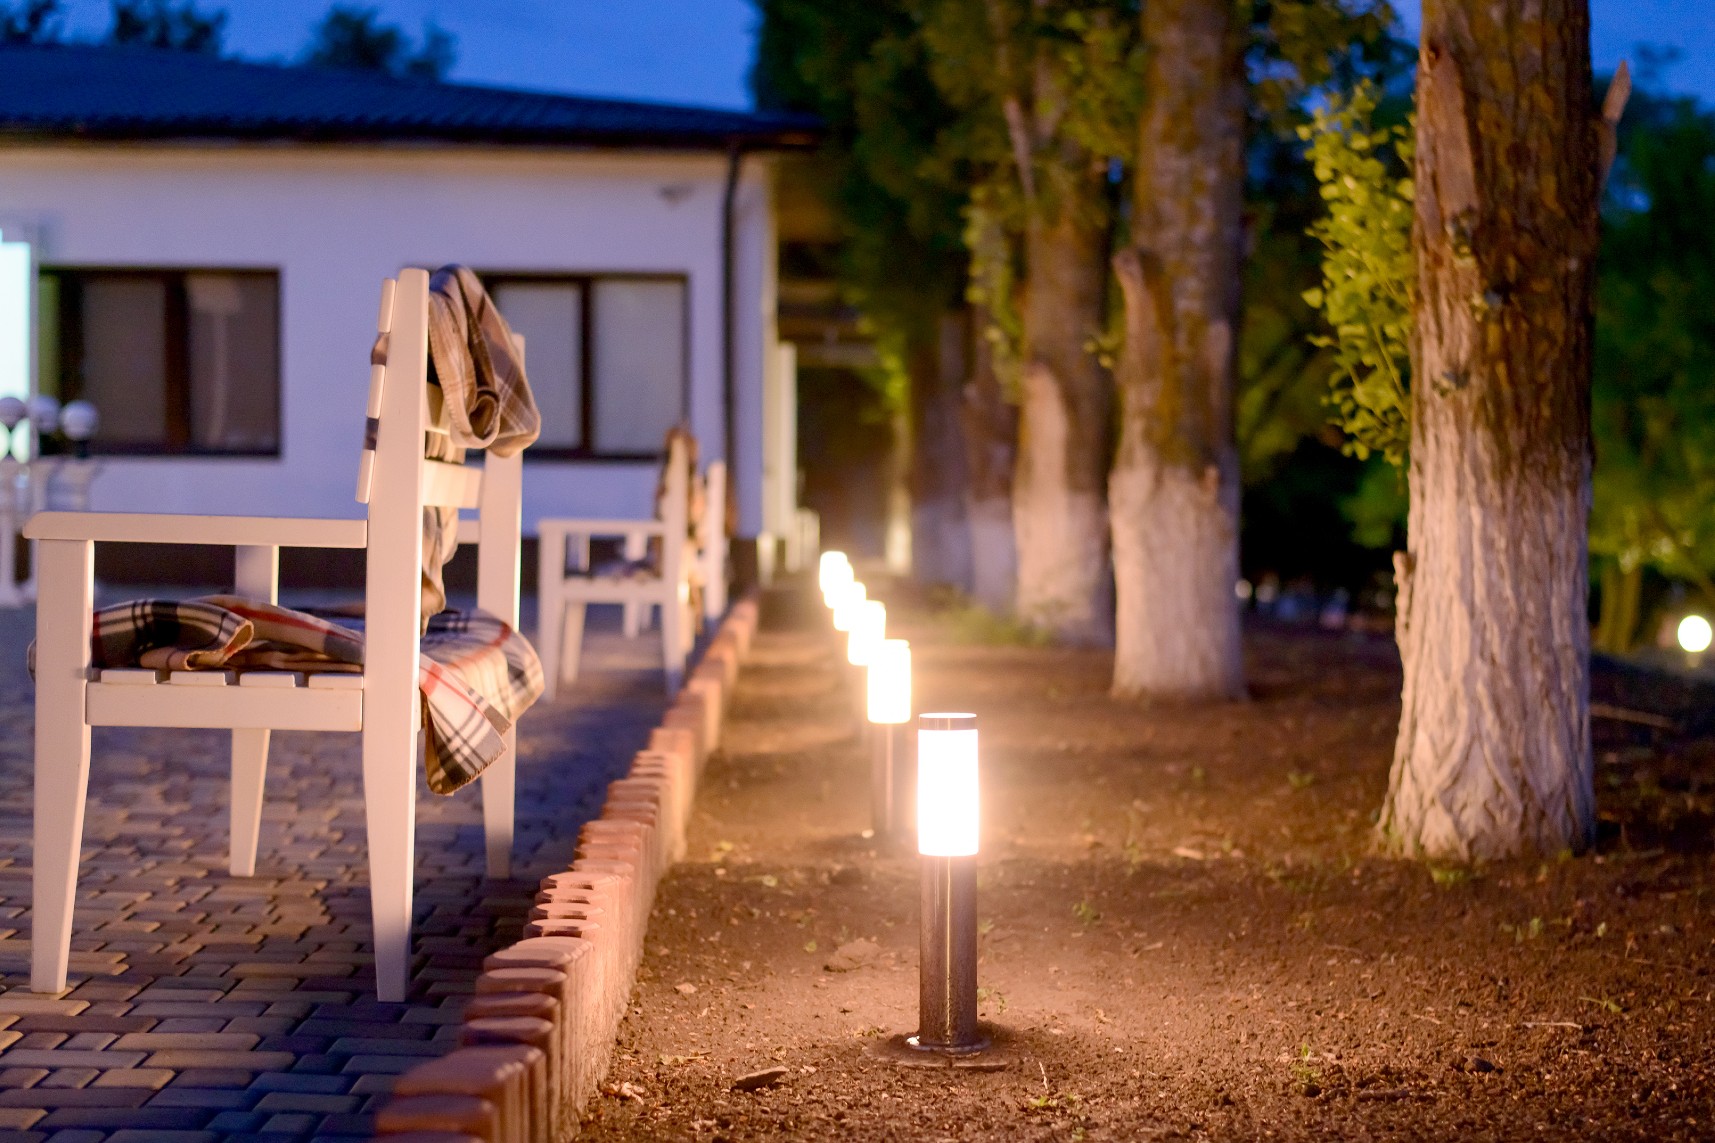
  • Walkway lighting. Installing lights along your sidewalk or pathway becomes increasingly important for safety as the days shorten. These types of light can serve multiple purposes. Not only do they improve visibility along your sidewalk, but they also can protect border plants from pedestrians, mark boundaries, and highlight plants.
  • Driveway lighting. These lights provide greater visibility for your driveway, which can be especially helpful for guests. They also can be used to highlight any potential hazards along your driveway such as a steep embankment or sharp curve. Whatever driveway lights you choose, make sure they complement your other landscape lighting so you have a cohesive look.
  • Downlighting. This lighting adds depth to your landscaping. Since the lighting focuses downward, you can draw attention to landscaping, water features, and other ground-level focal points such as a beautiful hosta. It also is a practical choice for outdoor seating.
  • Accent lighting. This type of outdoor lighting is used when you want to highlight a specific area in your garden. For example, if you have an exciting sculpture, fountain, or tree in your front yard, you can install accent lights to make it the center of attention.

What is the best material for outdoor lighting fixtures?

Backyard pathway with trees and outdoor lights
Mikhaylov/Shuttrstock

Fixtures come with a variety of material options such as plastic, aluminum, brass, copper, and stainless-steel. For auxiliary lighting, it is essential to consider the weather conditions in your region, humidity levels, gardening habits, and long-term expectations. Let’s take a closer look at each tangible option for the pros and cons:

  •  Plastic. This is the least durable option but usually the cheapest. Plastic can deteriorate over time in bad weather, with deformation and general structural damage.
  • Aluminum. Aluminum doesn’t last long in the open air. There are added finishes that can help reduce corrosion, but eventually, they will need to be replaced.
  • Stainless. If you opt for stainless-steel, be sure to use accessories with an electropolished finish to avoid discoloration caused by weather conditions. Also, consider the grade of steel, as some are more susceptible to corrosion than others.
  • Brass. Brass can withstand weather conditions very well. Over time, it looks more like copper. Brass will last for many years because of its resistance to corrosion. Brass is a solid metal that is durable but also more expensive than other options. However, you can save money in the long run because you do not need to replace accessories very often.

You can use outdoor lighting for a variety of reasons, from creating drama around your home to providing safety. It also will improve your property’s curb appeal, especially when you highlight a beautiful architecture feature or draw attention to a prized tree. Get creative and let the inner designer in you shine!

Editors' Recommendations

Topics
HappySprout Contributor
The 5 best outdoor floodlights for your yard
Outdoor home security light

If you’re someone who thinks about safety and who wants your home lit up in the dark, you've probably considered investing in floodlights for the outside of your home. Not only do floodlights accentuate a building’s architectural design, but they can also help deter criminal activity and keep you safe while walking to your car or going in your yard at night.

However, as great as floodlights are, the market is saturated, and it can be difficult to whittle down which type of floodlight is right for you, especially since there's so much to consider when purchasing. That's where we come in.

Read more
3 of the best solar garden lights for a bright and eco-friendly yard
outdoor sitting with lights

It's important to decorate your garden with stunning flowers and veggies, but it's also vital that your garden be well lit. Whether for parties, late-night harvesting, or quiet nights reading in the warm summer air, solar lights make a fantastic addition to any garden. They can transform a backyard into a cozy after-dinner area, light up a walkway for safe navigation, or bring attention to a favorite tree. Here we'll be going over the essential considerations to keep in mind while shopping for solar garden lights. We'll also include a few of our favorites you might want to add to your landscaping.

What to consider when buying a solar garden light
Not all solar garden lights are created equal; there are a few things you'll want to keep in mind.
Cost
The cost is one of the most important aspects of purchasing a new item for almost everyone. Although solar garden lights are very similar in price, it's still crucial to consider how much you're willing to spend on lights before you go looking. Having a better idea of your budget will help you find the ideal solution.
Ease of install
If you need something easy to put up for a party this weekend, you won't want to buy a setup that'll take hours to put together. Instead, finding a solar light that's easy to install will make life easier and allow you to get back to doing other things like gardening!
Lifespan
Outdoor products never last as long as their indoor cousins, so it's not surprising to find that solar garden lights have a shorter shelf life than other indoor lights. However, this doesn't mean you should have to replace your garden lights every year or bring them in during the winter. Instead, look for a light that can withstand the types of weather you often see and be sure to care for the light properly so it can last a long time.
Aesthetic
Of course, you should like the way your new lights look! If they don't suit the aesthetic of your garden, you'll likely be disappointed and tempted to go looking for other options. So be sure you're looking for a light that's going to suit the rest of your garden, or at least blend in and not take away from your garden ornaments.
MAGGIFT Solar Pathway Lights
These pathway lights by MAGGIFT are ideal for lighting the way during the darker hours of the day. Whether it's the path from the driveway to the house or the deck to the flower garden, these lights will soak up sun rays and provide you with plenty of light to see your way.

Read more
When and how to transplant tomato plants for the best results
baby tomato plants

There's a time in every gardener's life when they try to grow their own veggie plants from seed. This is a gratifying process, and there are many benefits to growing your own seed starts. One of those benefits is bigger and healthier plants. By growing your own baby tomato plants, you can ensure that the plants are well cared for, never given anything you don't want them to have, and transplanted in just the right way at just the right time for optimal plant health. So how do you transplant tomato plants to ensure they're happy and healthy and live to produce lots of yummy tomatoes for your home?

How do you transplant a grown tomato plant?
If you've never transplanted tomatoes before, the idea can be intimidating. You have all these tiny plants that you've cared for over the last several weeks, and now it's time to pluck them out of their nursery pots and plop them into the outside soil where they're exposed to sun, weather, and critters. Luckily, you've cared for them so well that they're healthy and robust plants that will be able to handle anything nature throws at them.
Step one: Harden the plants
Hardening the plants is a term gardeners use when talking about the process of acclimating a greenhouse-grown plant to outside conditions. Typically it refers to sunlight, but it could also refer to wind and other weather that could harm the plant. About a week before you're ready to transplant, you'll want to harden your baby tomato plants by exposing them to sunlight at increasing increments each day. For example, day one should be about 30 minutes, then 45, then 50, and so on until the day of transplanting. If you don't do this, you'll risk your plant being burnt and killed when you transplant it outside.
Step two: Don't water the plants
Before you start pulling little plants out of their pots, you mustn't water the plants a few days before transplanting. Wet soil can make the transplanting process much harder on you and the plant. Dry soil falls away easier and is less likely to break off roots as you move the plants to their new home.
Step three: Prepare the new soil
The new location for your tomato plants will need to be prepped before you get all those babies out of their homes. Whether you are planting into the ground, a raised bed, or a pot, you'll want to amend the soil to guarantee that the plant has many nutrients to soak up. It also is easier if you dampen the soil right before transplanting. Damp soil is much more manageable and more easily manipulated around the plant.
Step four: Plant deeply
As you gently pull out the baby tomato plants, you'll want to shake off the old soil to expose the roots. This will ensure the plant has access to the new soil and nutrients you're about to provide it with. 

Read more