
Start these vegetables in the greenhouse this winter for a delicious harvest

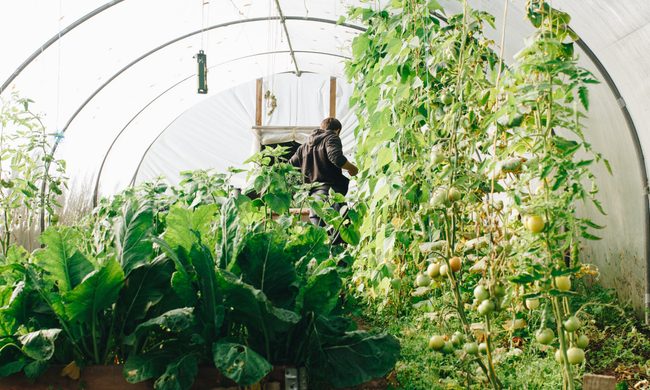
Many people associate garden-fresh vegetables and fruits with the fall or warmer-weather months. But if you have a greenhouse or access to a greenhouse, you don’t have to halt production just because winter has arrived.

Are greenhouses suitable for growing vegetables when thermometers drop? You bet. A vegetable greenhouse can give back a significant yield in the winter, especially if you know which vegetables do well in this environment. It may take a little extra knowledge and focus, but most experienced gardeners should be able to transition to the winter vegetable greenhouse without any major headaches.

To get you going, start these vegetables in the greenhouse now for a delicious harvest down the road.

Image used with permission by copyright holder

Before we get started, a few caveats: First, you may want to learn more about what grows well in your particular climate. Although winter vegetables are pretty hardy customers, not all winters are created equal. Check seed catalogs, local businesses, or other resources to learn more about what works for you.

Carrots

It doesn’t get much hardier than the carrot. Carrots can resist frost; they were built to thrive in cooler weather.

Plant seeds in loose, well-aerated soil (forget the manure, which can over nourish the seeds). They do best at temperatures between 55 and 75 degrees Fahrenheit — conveniently, the typical temperature range for a greenhouse not heated by artificial sources. Plant seeds in a large planter or another container, about six inches apart. Eliminate weaker seedlings as they grow. Water no more than an inch a week, achieving moist but not soggy soil.

Carrots are normally ready to harvest about two months after sowing.

For some extra fun, try growing an heirloom carrot variety, which is just as good in cold weather as their traditional counterparts.

Beets

Beets are a versatile root vegetable that are good roasted, pickled, or anything in between.

Start prepping for your beet crop in late autumn by laying down straw or leaf mulch over planting before the soil freezes. Beets like fertilizers, including compost and manure, so feel free to add some to the soil before sowing.

Dampen seeds just before planting, plant rows roughly four inches apart, and cover seeds with about a half-inch of soil. The soil must be at least eight inches deep for large, healthy roots to grow. Keep soil moist but not too wet.

Your beets will be ready to harvest in roughly 40 to 60 days.
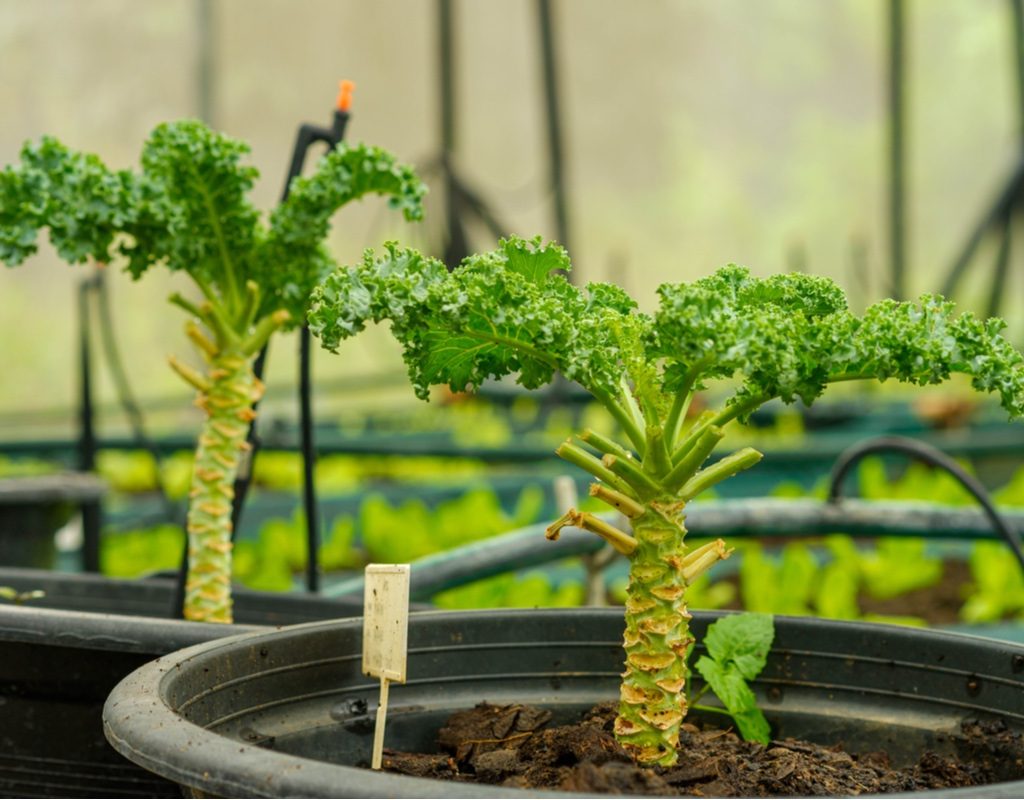
Image used with permission by copyright holder

Kale

Kale is widely viewed as one of the world’s great superfoods, and its tough-leafed exterior makes it one of the hardiest and most winter-friendly vegetables out there.

Plant seeds about a quarter- to a half-inch deep in the soil. Kale thrives in direct sunlight, ideally about six hours of full light per day. Kale also loves water, preferring about one to 1.5 inches of watering per week. Mulch is important to keep weeds at bay and prevent erosion. It also provides extra nutrients.

Other greens like arugula, spinach, endive, and certain types of lettuce also can work in the winter.

Radishes

This root vegetable is famously easy to grow, and that certainly goes for a winter vegetable greenhouse. This one could be a great option for inexperienced gardeners or families with young children.

Use loose, easy-draining soil that’s free of debris like loose stones or wood chips. This is the hardiest of crops, but exposure to direct sunlight will ensure a healthier plant. Keep soil moist, and you can see your radish tops emerging from the ground in as few as five days.

Image used with permission by copyright holder

Green onions

Green onions are a versatile veggie that’s a snap to grow in a winter vegetable greenhouse, as their natural temperature preference nicely overlaps that of an unheated greenhouse.

Plant onions half an inch deep in six-inch-deep flats or another container, using sterile potting soil mix. You’ll want to create a flat, smooth seedbed before you plant. Onions should be about an inch apart, with rows about six inches apart. A floating row cover will make for healthier plants. Keep the soil moist but not too wet, and remove any small flowers that may peek out from the soil. They should be ready to harvest in about 30 days.

A winter vegetable greenhouse can be a source of fun — not to mention vegetables — for both experienced and novice gardeners. You may have to say goodbye to those local strawberries for a while, but sautéed kale is healthier anyway.

The real point for many gardeners, though, may be to simply keep busy during the winter; making full use of their greenhouse is an excellent way to do that.

Editors' Recommendations

Scott Harris
Scott Harris is a freelance writer based near Washington, DC, with more than a decade of experience covering health…
What to know about BBQ tool storage: How to store your outdoor grill this winter
Everything you need to know about winterizing your BBQ tools and grill
Cleaning winter grill

An outdoor barbecue grill is a faithful summertime companion. It’s the centerpiece of many an outdoor soiree and a fun and healthier alternative for everyday family dinners. However, when the winter weather moves in, those days of patio fun and sun can seem pretty far away. But don’t leave your grill out in the cold. Proper storage can extend the life of your investment and make sure it’s in top shape once warm weather comes around again. This goes for bbq tool storage as well.

Take a look at these simple steps for safeguarding your barbecue grill and your grilling tools. No matter what kind of grill you have, you’ll be flipping burgers in no time with these helpful tips once spring has properly sprung.

Read more
A complete guide to cleaning your greenhouse for beginners
greenhouse

When you first installed your greenhouse, it probably looked like a glittery glass castle for your lovely plants to grow and live in. However, weather, soil spills, and birds have made their mark on your greenhouse over time and now it's probably looking cloudy and nasty. So how do you clean a greenhouse?
Why worry about a clean greenhouse?
You may be wondering if you even need to worry about cleaning your greenhouse. If you don't mind the dirty look, maybe you could leave it as it is? Unfortunately, it's much better for your greenhouse and your plants if you give the greenhouse a deep clean at least once a year. It'll make it easier to use when it is clean and organized, and the walls of the greenhouse need to be clear so they can let in as much light as possible. Additionally, a clean greenhouse is less likely to spread pests and diseases to your precious plants. And lastly, things last longer when you care for them and greenhouses aren't cheap.

When should you clean a greenhouse?
There's no right time to clean a greenhouse; whenever you can is better than not at all. However, we suggest cleaning it when there isn't so much to do in the garden and it isn't so hot out. Usually, the fall is when the garden chores slow down and it starts to cool out, making cleaning the greenhouse much easier on you.
What is the best way to clean a greenhouse?
You can use whatever cleaning method works for you, but here is our step-by-step process that we recommend.
Step one: Empty the space
Of course, we know you can only empty a greenhouse so much if you have tender plants that need to stay warm. But as much as you can, take out the tools, buckets, and bags of soil. It will be much easier on you if you don't have to fuss with items in your way as you clean the walls and floors. This also allows you to go through what you have and declutter if necessary.
Step two: Rough dusting
Over the season, spiders and bugs and maybe even some mice have tried to make homes in your greenhouse. This has probably led to a few cobwebs and dust piles around the corners. You'll want to remove these large areas of debris before you start the deep cleaning. Use a broom to knock down the cobwebs and sweep up the floor; you've probably spilled some soil during the summer!
Step three: Clean the walls
The panels of your greenhouse will now need to be deep cleaned. You can use a bucket of warm water and a sponge to wipe them down, but we also recommend bringing a long-handled brush to make life easier. This way, you can dip the brush into the bucket of soapy water and scrub down the walls with the long-handled brush. You'll be able to reach every inch of the walls without killing your back.

Read more
When and how to transplant tomato plants for the best results
baby tomato plants

There's a time in every gardener's life when they try to grow their own veggie plants from seed. This is a gratifying process, and there are many benefits to growing your own seed starts. One of those benefits is bigger and healthier plants. By growing your own baby tomato plants, you can ensure that the plants are well cared for, never given anything you don't want them to have, and transplanted in just the right way at just the right time for optimal plant health. So how do you transplant tomato plants to ensure they're happy and healthy and live to produce lots of yummy tomatoes for your home?

How do you transplant a grown tomato plant?
If you've never transplanted tomatoes before, the idea can be intimidating. You have all these tiny plants that you've cared for over the last several weeks, and now it's time to pluck them out of their nursery pots and plop them into the outside soil where they're exposed to sun, weather, and critters. Luckily, you've cared for them so well that they're healthy and robust plants that will be able to handle anything nature throws at them.
Step one: Harden the plants
Hardening the plants is a term gardeners use when talking about the process of acclimating a greenhouse-grown plant to outside conditions. Typically it refers to sunlight, but it could also refer to wind and other weather that could harm the plant. About a week before you're ready to transplant, you'll want to harden your baby tomato plants by exposing them to sunlight at increasing increments each day. For example, day one should be about 30 minutes, then 45, then 50, and so on until the day of transplanting. If you don't do this, you'll risk your plant being burnt and killed when you transplant it outside.
Step two: Don't water the plants
Before you start pulling little plants out of their pots, you mustn't water the plants a few days before transplanting. Wet soil can make the transplanting process much harder on you and the plant. Dry soil falls away easier and is less likely to break off roots as you move the plants to their new home.
Step three: Prepare the new soil
The new location for your tomato plants will need to be prepped before you get all those babies out of their homes. Whether you are planting into the ground, a raised bed, or a pot, you'll want to amend the soil to guarantee that the plant has many nutrients to soak up. It also is easier if you dampen the soil right before transplanting. Damp soil is much more manageable and more easily manipulated around the plant.
Step four: Plant deeply
As you gently pull out the baby tomato plants, you'll want to shake off the old soil to expose the roots. This will ensure the plant has access to the new soil and nutrients you're about to provide it with. 

Read more